


Carrara White Marble Bathroom Vanity Countertops with Black Cabinets
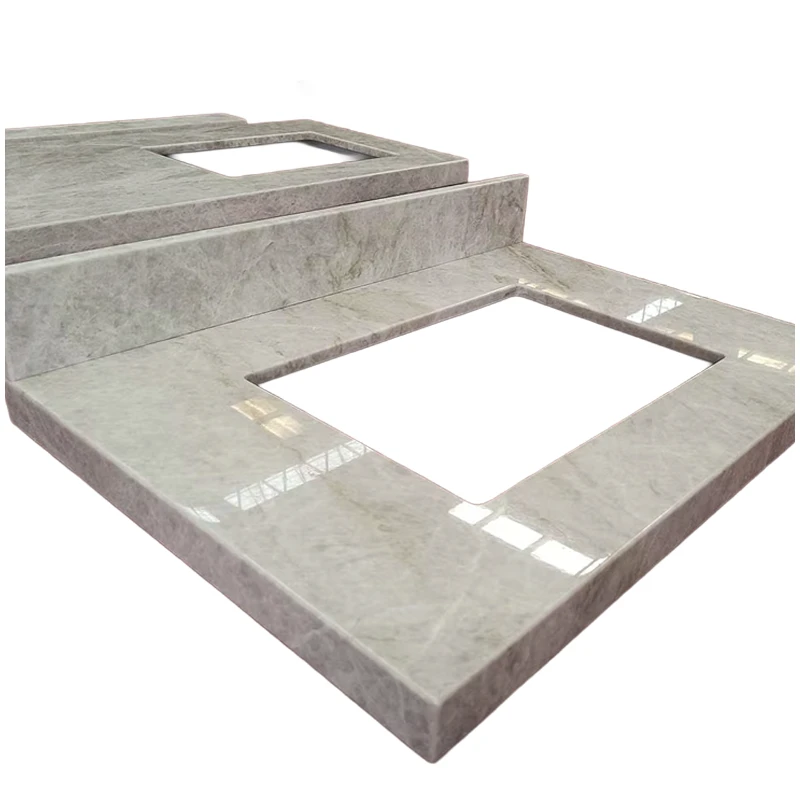
High-end and classic natural Carrara White marble bathroom vanity top will provide you a stunning and clean bathroom and the square edge profile makes the top a unique style.
The natural marble bathroom Vanity surface with Carrara Marble with White Basin features beveled edges for an elegant appearance. Pre-drilled with widespread faucet holes, these marble vanity top slabs fit on top of your bathroom vanity cabinet.
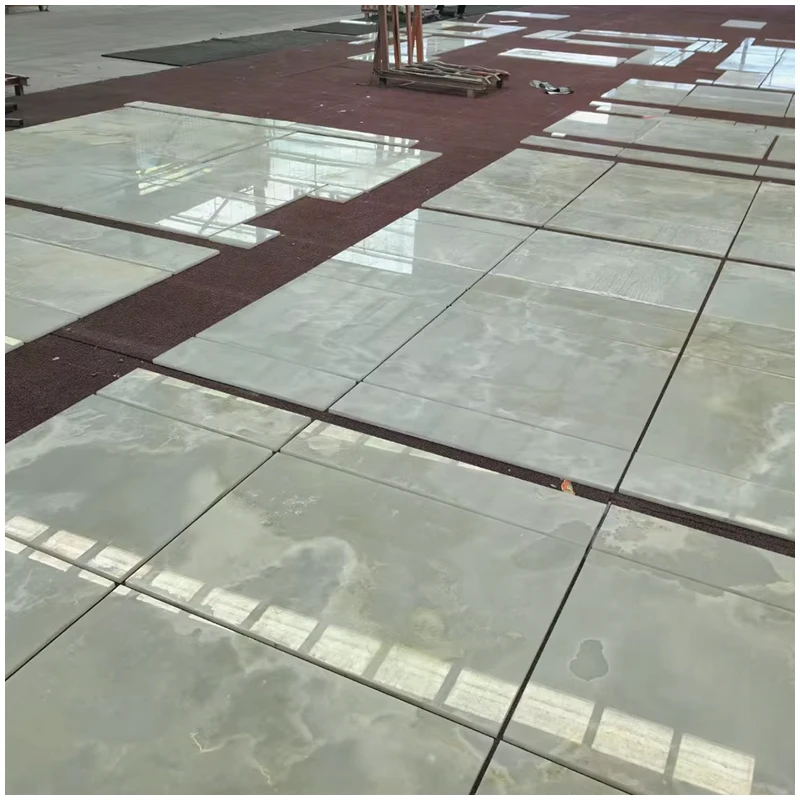
Carrara White Marble Stone is one of the most famous stones in the world. This white marble has been quarried for centuries, due to its elegetant white-gray background and soft gray veins.
Our Carrara White marble bathroom vanity top slab is synonymous with luxury, featuring shades of soft white and gray with touches of subtle veining and a sophisticated honed finish. These marble vanity slabs add interest to backsplash, showers, bathroom floors, and kitchen tops application.
Détails rapides | |||
Garantie : | AUCUN | Nom de la pierre : | Bianco Carrara |
Service après-vente : | Assistance technique en ligne | Type : | Marbre |
Capacité de solution de projet : | Autres | Matériau : | 100% Marbre naturel |
Lieu d'origine : | Chine | couleur : | Blanc avec des veines grises |
Nom de marque : | Esta Stone | Taille : | Taille personnalisée |
Numéro de modèle : | Marbre blanc | Fini : | Poli |
Application : | Carreaux, Comptoirs | Épaisseur : | 10mm-30mm |
Type de marbre : | Pierre de granit | prix : | compétitif |
Forme de la pierre : | Comptoirs de cuisine et plans vasques en granit | Qualité : | Supérieure |
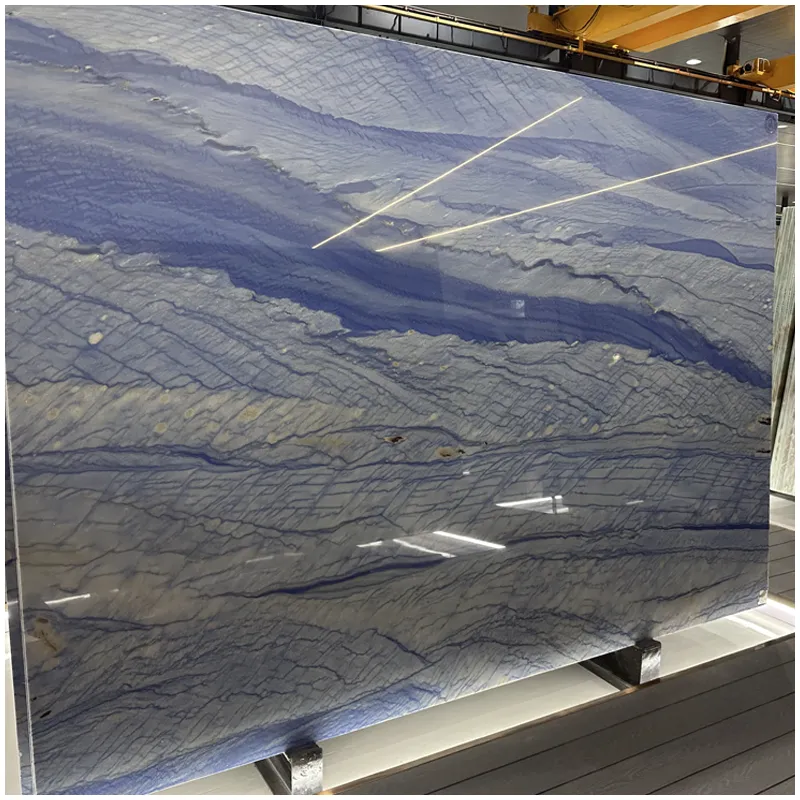
Enhances the delicacy of the most elegant white marble, with subtle veins in soft blues and greys creating a one of a kind harmony. This is a magnificent material to create spaces with a high level of refinement.

Countertop and Vanity Top Detail
Prefab Countertop size | 96"/98"/108"/110"x28"/26"/25.5" etc |
Prefab Vanity top size | 25"/31"/37"/49"/61"/73"x22"/25.5" etc |
Prefab Island Size | 72“/90"/96"x30"/36"/42" etc |
Prefab Peninsula Size | 28"/36"/39"x78" etc |
Prefab Splash Size | 2", 4",6" |
Prefba Snack Bar Size | 12"x78",15"x78",98"x18",108"x18" etc. |
Épaisseur | 2cm (3/4'' ;), 3cm(1 1/4'' ;), 2+2cm laminé, 3+2cm laminé, etc. |
Finition des bords | Eased, full bullnose, half bullnose, OG,Dupont Edge, Etc |
Finition de surface | Polished, Honed, Leather,Brushed, Etd |
Emballage | Seaworthy fumigated wooden crates ,reinforced metal straps outside |
Delivery Terms | FOB, CNF, CIF |
Délai de livraison | 15-25 days after deposit received |


Q1: How do I Install my Marble Vanity Top?
A: Check Cabinets to see if they are level
If not level, shim beneath cabinet
Open on Each End –
When all is level, run a bead of adhesive at corners of cabinet frame
Place Vanity on top of cabinet. Be sure the backsplash is tight against wall. Make sure the over-hang margin is the same on each end. Press firmly into place.
Caulk using latex caulk where marble and wall meet.
Clean excess caulk from walls and marble.
Open-To-Wall –
When all is level, check wall corner to see if it is square.
Place top on vanity to check fit in corner. If it does not fit, sand or cut the amount needed to ensure a good, tight fit.
When cutting and/or cutting has been completed, run a bead of adhesive along corners of cabinet framing
Place vanity onto cabinet
Place splash on vanity against sidewall
Glue side splash to wall
Use silicone caulk where there is a marble-to-marble joint; use latex caulk where there is a marble-to-wall joint
Clean excess caulk off of the walls and marble
Wall-To-Wall –
When the cabinet is level, check corners for squareness
Slide vanity into place to see that it fits properly; cut or sand for proper fit
When cutting/sanding is completed, run a bead of adhesive along corners of cabinet framing
Place vanity onto cabinet
Put side splashes in place to check proper fit; saw or sand as necessary
Glue side splash to wall
Use silicon caulk where there is a marble-to-marble joint; use latex caulk where there is a marble-to-wall joint
Clean excess caulk off of the walls and marble