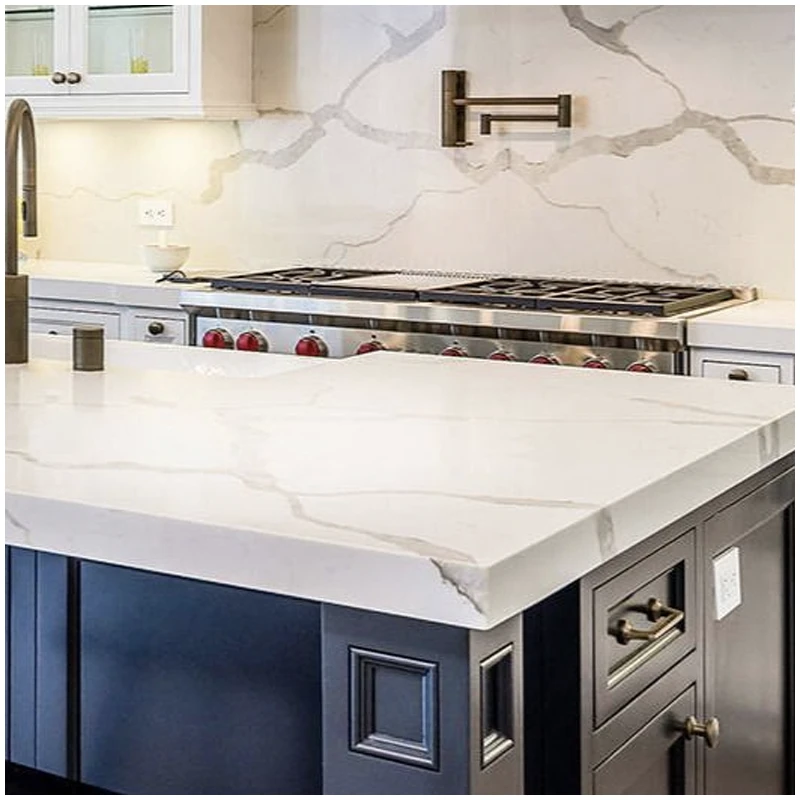


Carrara Marble Shower Walls: Vein Direction, Niches, Warm Light, and Wet-Zone Approval
The warehouse argument starts when a beautiful dry-lay is compared with a disappointing installed wall. The dry-lay showed four uninterrupted panels. The shower now has a niche, mixer, pipe opening, inside corner, glass fixing, and sloped shelf breaking that composition. Nobody approved the wall with those interruptions visible.
The installer cannot restore stone that the layout removed. Nor can grout or sealant repair a vein that changes direction because the return pieces came from random offcuts. That slab doesn’t belong next to your bathtub, and an unplanned fragment does not belong at the center of a shower.
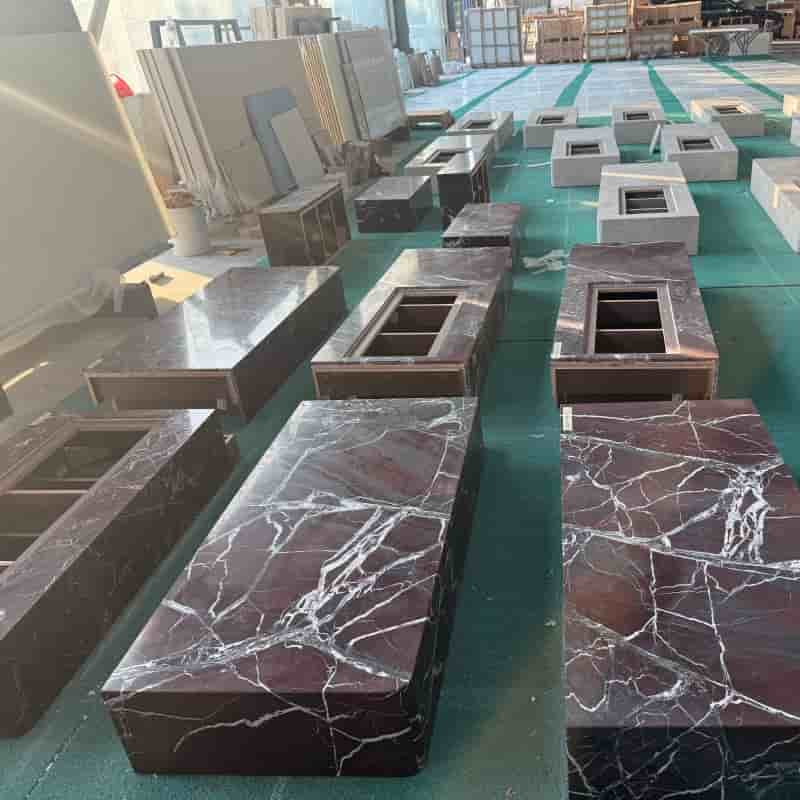
I approve Carrara marble shower walls as complete elevations. The actual slab images sit behind panel joints, niches, fittings, corners, shelf pieces, floor line, ceiling line, and viewing direction. Then the stone and wet-area teams can see what each decision does.
Shower Wall Review
Build the Full Elevation
Resolve Niches and Shelves
Turn Corners Deliberately
Coordinate the Wet-Area Assembly
Inspect Light and Finish
Dry-Lay, Pack, and Install
Draw Carrara Marble Shower Walls as Complete Elevations
Start with the wall as the user sees it: floor line, ceiling, door, fittings, controls, head, hand shower, bench, niche, glass channel, internal corners, external returns, and every joint. Then place the numbered slab images behind that geometry. A panel schedule without the slab faces cannot control veining.
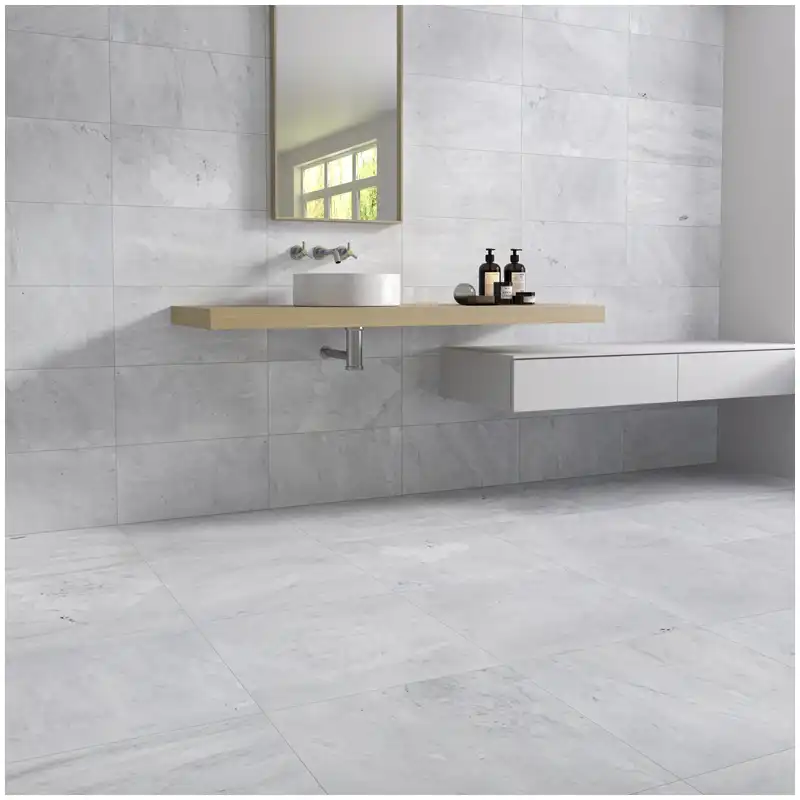
İçin Carrara marble shower walls, mark the top of every slab and the intended cut direction. Carrara often carries soft diagonal grey movement with clouding that expands and disappears. Rotating one panel can reverse that flow and make a calm transition look accidental.
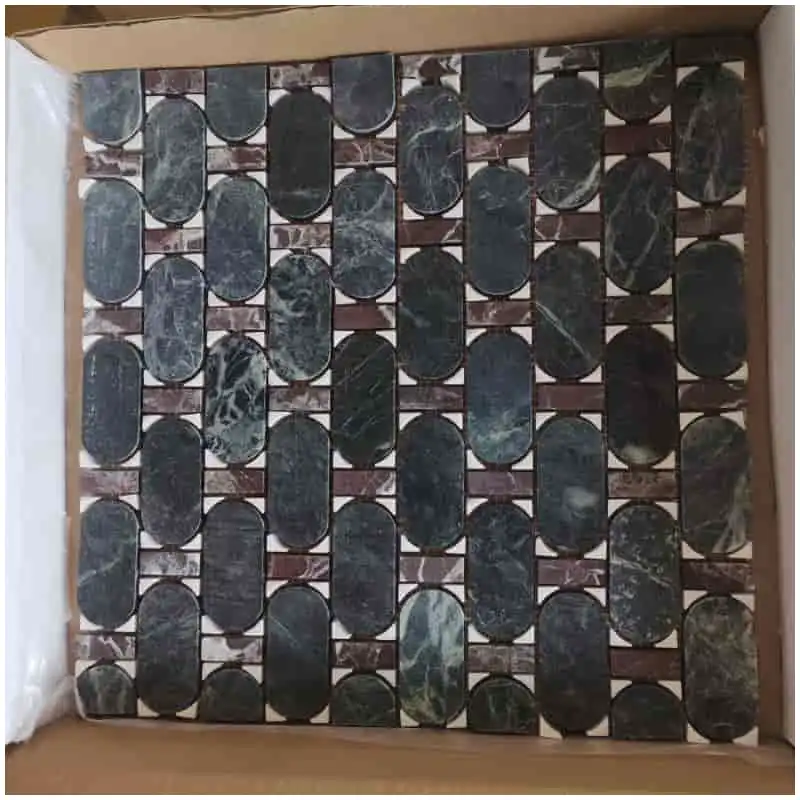
The Carrara mermer karolar selection may suit modular wall or floor work, while larger shower panels need full-slab planning. Do not approve a broad elevation from a loose tile sample. The sample cannot show where the joint will divide a vein or how a niche removes part of the field.
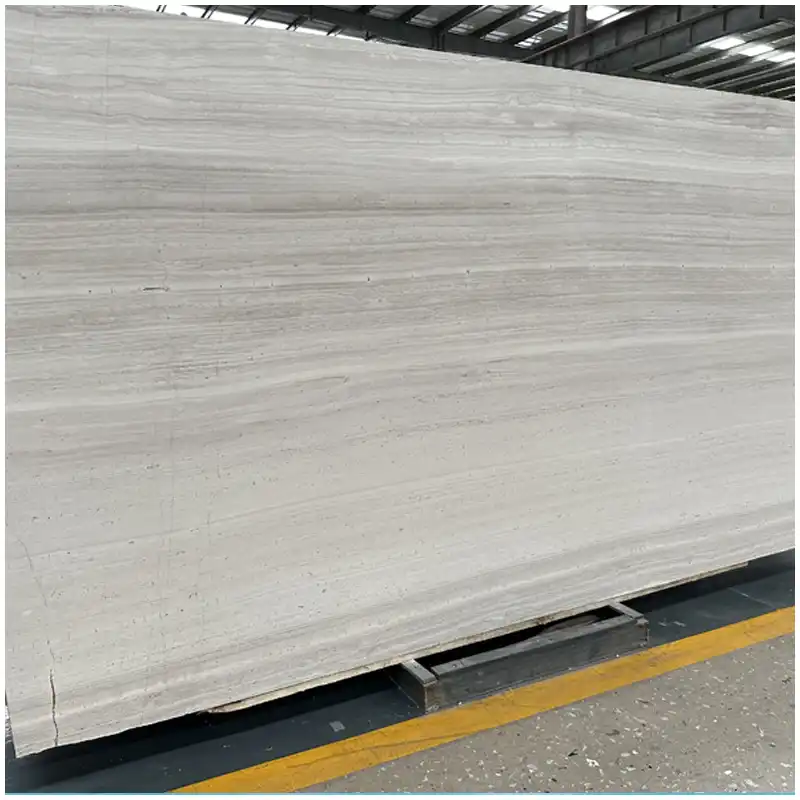
A numbered Carrara beyaz mermer plaka gives the elevation team enough face area to place the entrance, niche, controls, corners, and returns before cutting.
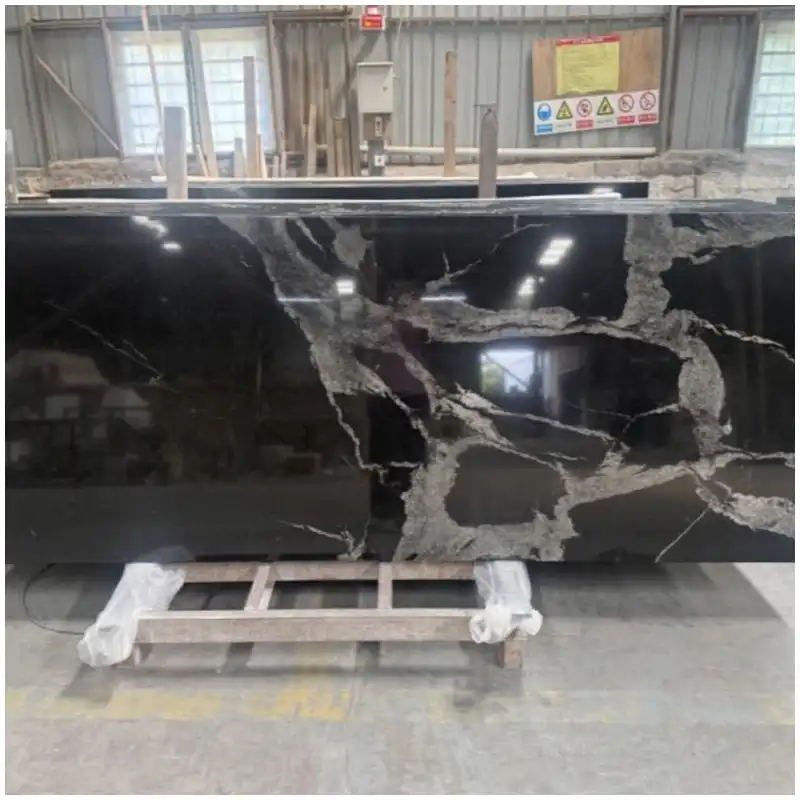
I compare the quietest and busiest slabs in the proposed range before allocation. Don’t just look at samples. A small square may contain one polite grey line while the full slab carries a cloudy band wide enough to dominate an entire wet wall.
Put the Niche, Shelf, and Returns into the Cut Map
A niche is not one rectangular opening. It has a back, two sides, top, bottom or shelf, front edges, joints, waterproofing interface, slope, and sometimes a metal trim. Draw every visible stone piece. State finished dimensions rather than relying on a rough structural opening.
Overlay the niche on the slab elevation before cutting. A strong vein that crosses the main panel may vanish into the opening, then reappear on a return with no visual connection. Move the opening on the slab map where possible, or choose return pieces that make the interruption deliberate.
The shelf needs drainage toward the shower and enough projection for the intended products without creating a sharp exposed corner. The responsible designer sets slope and assembly requirements. I check that the visible Carrara face, polished edge, underside, and neighboring panel remain inside the approved range.
| Shower detail | Drawing must show | White-marble check | Hold condition |
|---|---|---|---|
| Niche back | Finished width, height, joints | Tone and vein relation to main wall | Unapproved color break |
| Shelf | Slope, projection, edge, underside | Vein at exposed edge or thin tip | Wrong slope or weak feature |
| Inside corner | Panel order and joint width | Flow, mirror, or deliberate stop | Near match that visibly misses |
| Glass channel | Position, depth, fixing interface | Vein, repair, and edge condition | Cut crosses unsuitable feature |
The Hard-Won Lesson: The niche removes more stone than its front opening
A front elevation can show one neat rectangle, yet production also needs the shelf, top, sides, back, edge strips, miters, slope, and cutting margins. When those pieces are nested later, they may come from unrelated tones and interrupt the grey movement around the opening.
The Lesson: Approve the niche as a complete stone assembly on the numbered slab map before cutting any wall panel.
Choose How Veins Meet at Corners
Inside corners may flow from one panel to the next, mirror loosely, or stop at a quiet field. External corners expose more information because the eye sees both faces and the edge. Decide whether the detail uses a butt joint, miter, trim, or another approved assembly, then allocate the stone to suit it.
On Carrara marble shower walls, a miter can continue soft movement but also expose a filled line or darker interior tone at the edge. Dry-fit the actual pair. A digital elevation cannot prove that two finished edges meet cleanly after fabrication.
Keep joint width realistic. White or light-grey sealant may blend in one light and become a sharp stripe when wet. Clear products can reveal the substrate. Test the cured joint beside the chosen finish and under the shower light.
Keep Stone Approval Connected to the Wet-Zone Assembly
Stone selection cannot replace waterproofing, substrate, adhesive, movement, drainage, fixing, or sealant design. The responsible installation system and qualified parties control those elements. My warehouse approval checks whether the proposed marble, thickness, finish, backing, repairs, panel size, and edge treatment agree with that system.
White marble can show moisture from behind or beside the face. Darkening near joints, adhesive shadowing, picture framing, metal contamination, and uneven drying need diagnosis, not stronger cleaner. Use compatible setting materials and follow the approved assembly, coverage, curing, and protection requirements.
The parent Bianco Carrara Marble for Bathroom Projects establishes the slab range, lighting, finish, wet-zone allocation, inspection, and replacement logic. The shower elevation turns that range into specific panels and interfaces.
A polished wall reflects more light and can deepen the grey movement. A honed wall looks softer but may show handling or moisture differently. Shower floors add traction and slope requirements that wall panels do not share. Do not approve one finish name for every surface without representative tests.
Compare 3000K, 4000K, Wet, and Dry Conditions
Lighting lies when teams treat one source as neutral. Under 3000K, Carrara’s background may warm and grey veins may soften. Under 4000K, the same field can look cooler and more silver. Lamp spectrum, diffuser, wall-wash angle, reflected tile, and glass all influence the result.
View Carrara marble shower walls dry, then observe a representative wet sample using the approved method. Water can deepen color temporarily and make edges or filled zones more visible. Record the drying sequence before calling a temporary change a permanent stain.
Use normal bathing light, cleaning light, and daylight where relevant. Raking light can expose lippage, polish variation, residue, and joint tooling. Front light helps judge the overall tone. Photographs should identify the condition rather than mixing wet and dry panels in one unexplained image.
The Carrara Marble Slab Grades article defines background and vein range, but grade language alone cannot predict a finished shower. The installed light and wet-zone assembly still need their own approval.
Dry-Lay the Wall, Then Preserve Its Identity
Arrange panels in elevation order with IDs and arrows visible. Include niche pieces, returns, corners, shelf, and any matched edges. Photograph the full dry-lay square to the arrangement, then capture problem areas under closer and raking light.
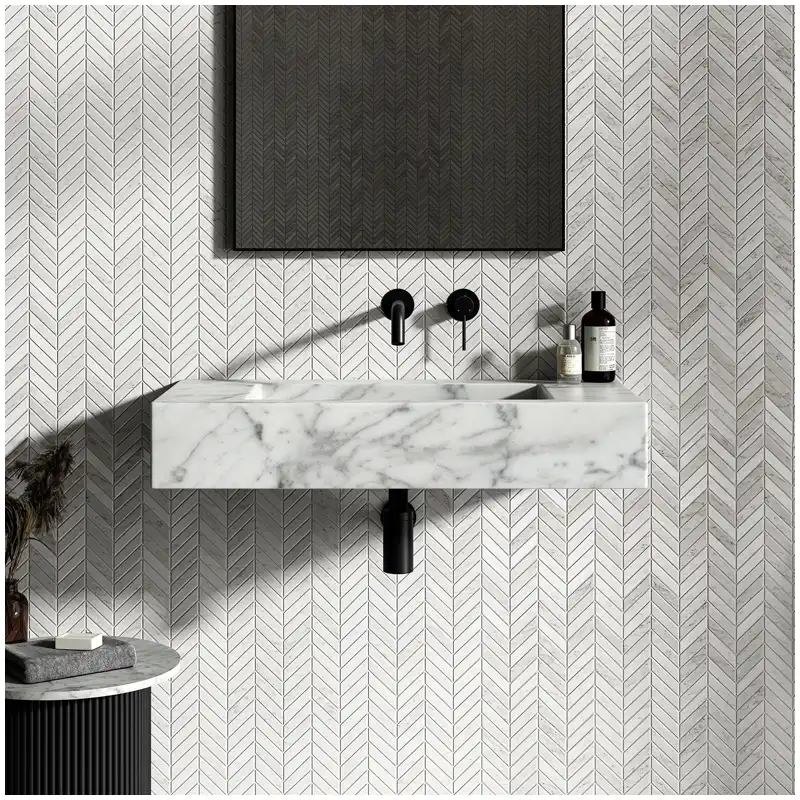
Check tone, vein flow, joint rhythm, finish, repairs, dimensions, edge work, openings, and the relationship between wet-wall fittings and the stone. A dry-lay is not decoration. It is the last practical place to swap or recut a piece before packing fixes the sequence.
Pack and label in installation order where practical. Protect finished faces and exposed corners with compatible clean materials. Keep crate, panel, wall, room, orientation, and dry-lay identities together. The installer should not rebuild the composition from memory.
If the site finds a color, joint, or moisture concern, photograph the complete wall, affected panel codes, lighting, wet or dry condition, joints, and nearby sources. Stop cleaning experiments and connected installation. Compare the approved range, dry-lay, assembly record, and inspection before choosing a response.
Read Every Shower Elevation as One Composition
A shower is not a pile of rectangles. The entrance elevation, control wall, plumbing wall, niche, bench, curb, jambs, and returns are seen together. Mark the primary viewing point on the approved drawings. Then number every face in the order the installer will read it. A calm panel beside the door can make a strong vein inside the niche look intentional; the same panel placed two walls away can leave the niche looking disconnected.
On Carrara marble shower walls, vein scale matters more after cutting. A line that travels gently across a full slab may become several short diagonal fragments around fittings. Overlay the valve, shower head, hand shower rail, niche opening, and grab-bar blocking before nesting. Move a cut line when it leaves a dark vein ending exactly at a visible corner or through a narrow drilled strip.
Detail Niches, Shelves, and Returns before the Slabs Leave the Rack
The niche drawing needs finished opening size, substrate build-up, waterproofing allowance, joint width, shelf thickness, slope, edge finish, back-panel direction, side returns, and corner relationship. Decide whether veins continue through the back and sides or whether the niche reads as a deliberate separate insert. Do not let the installer invent this composition from leftover pieces.
Shelf slopes and drip behavior deserve attention. Water must not sit against the rear joint or run toward the wall. The stone edge needs enough remaining section after profiling and any slot or fixing. If the shelf projects, the support method belongs on the detail. A polished front edge under direct downlight will reveal chips, resin, and uneven handwork more sharply than a wall face.
Control Joints without Pretending Stone Is Waterproofing
The waterproofing system sits behind the finish and follows its own tested assembly. Marble, grout, and sealer do not replace it. Coordinate internal corners, changes of plane, penetrations, curb junctions, and interfaces with trays or tubs. Use sealant and setting materials compatible with the stone and assembly, and follow the relevant manufacturer and project requirements.
Joint width affects the visual rhythm and the installer’s ability to manage dimensional variation. Record target joints on the elevation. Dry-lay critical transitions with spacers that represent the finished joint rather than pushing pieces tightly together for the photograph. Tight dry-lay images can hide a pattern break that appears once real joints separate the veins.
Approve the Shower under More Than One Condition
Photograph the dry-lay under neutral warehouse light, then assess representative stone under the bathroom’s planned color temperature. Around 3000K, Carrara can look warmer and its grey movement may soften. Around 4000K, cool undertones and grey veins can read harder. Lighting lies when one condition is treated as universal.
Also compare dry and damp appearances on an approved test piece. Water can temporarily deepen the ground or expose uneven moisture paths. The purpose is not to promise that every face remains optically unchanged. It is to give the designer and installer an agreed reference for normal wet-zone behavior and for conditions that require investigation.
Quick-Reference Checklist for Carrara Shower Walls
- Draw complete wall elevations with fittings, joints, corners, glass, and niche pieces.
- Place every visible stone component on numbered full-slab photographs.
- Approve finish and tone under 3000K, 4000K, wet, and dry conditions.
- Coordinate marble, backing, repairs, edges, and panel size with the wet-zone assembly.
- Dry-lay the full sequence with IDs and orientations visible.
- Carry wall, panel, room, crate, and installation identities through handover.
Where Shower Approval Usually Fails
It fails between drawings: the designer sees the elevation, the fabricator sees rectangles, and the installer sees substrate and joints. Put those views together before cutting. That slab doesn’t belong next to your bathtub if its range, finish, niche, light, and assembly have never met on one controlled record.
Sıkça Sorulan Sorular
1. Can Carrara marble be used on shower walls?
It can be specified when the actual material, finish, wet-area assembly, waterproofing, setting method, joints, sealant, slope, drainage, cleaning, maintenance, and local requirements are suitable. Approve a representative mock-up and actual slab range.
2. Should the shower niche match the main Carrara wall?
It may continue the movement or form a deliberate contrast. Lay out the back, jambs, head, and sloped sill with the main elevation. Random offcuts often create a patched appearance under niche lighting.
3. How should Carrara veins turn at shower corners?
Decide whether they continue, mirror, stop, or change deliberately. Place the two corner panels together during dry-lay, mark their installed orientation, and coordinate the joint or miter with movement and waterproofing details.
4. Why does white marble look darker when the shower is wet?
Water can temporarily change how light travels through the surface and may enter pores or joints depending on the stone and assembly. Record the dry and wet condition before diagnosing a stain. Persistent or uneven change needs investigation.
5. What should I do if Carrara marble shower walls do not match the approved dry-lay?
Photograph the full wall, panel and room codes, niche or corner, light source, joints, and neighboring pieces. Stop further cutting or installation. Compare the approved slab map, dry-lay, inspection, packing, and site records before deciding the disposition.
Final Conclusion
Carrara marble shower walls must be approved as the installed wall, not an uninterrupted slab. Put joints, niches, returns, corners, holes, slopes, wet-area interfaces, light, piece codes, and crate order into the same record before cutting.
I would rather reject one random niche return in the warehouse than stare at it under a warm light for the life of the bathroom, and that is why Esta Stone treats every small piece as part of the full wall.
Kaynaklar
- Dimension Stone Design Manual, Natural Stone Institute.
- ASTM C503 Standard Specification for Marble Dimension Stone, ASTM International.
- Natural Stone Care and Maintenance Guidance, Natural Stone Institute.
- Natural Stone Institute Technical Guidance for Wet-Area Stone Installation.
- Kitchen & Bathroom Planning Guidelines, National Kitchen & Bath Association.
- Approved Carrara Range Sample, Slab Register, Dry-Lay Record, and Maintenance Method for the Project.
- Mermer, Wikipedia, English edition.