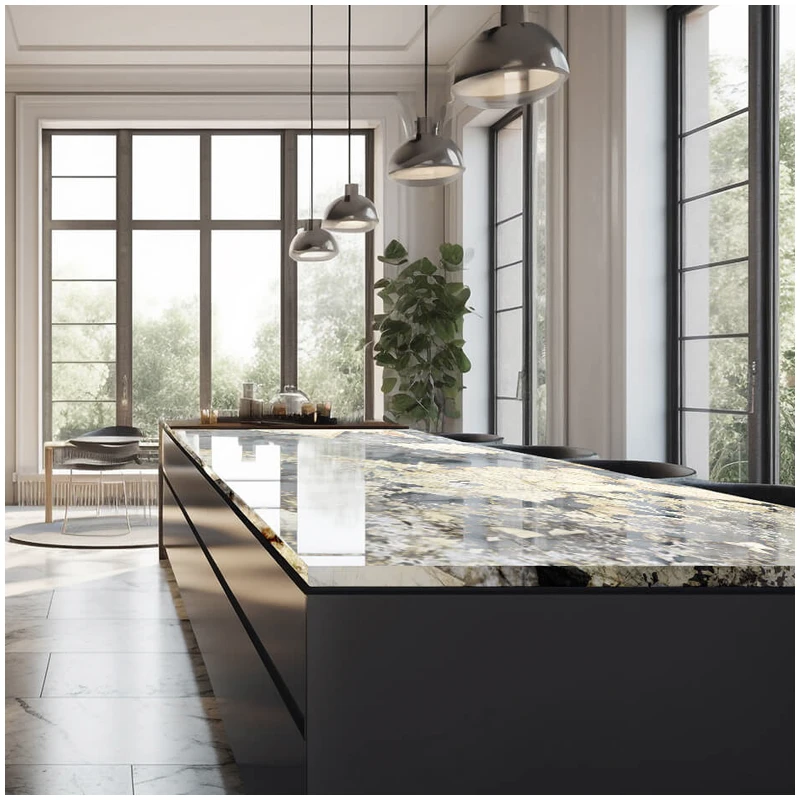
Calacatta Marble Slabs: Complete Guide to Full-Slab Approval, Vein Layout, Batch Matching, and Project Selection
Example: a design team approves a palm-sized Calacatta sample with one clean gray line. The proposed full slabs arrive later with broad gold movement, quieter corners, and several areas where resin reads differently under side light. Nothing is necessarily defective. The sample simply hid the scale of the decision. That is why Calacatta marble slabs must be approved by numbered full faces and intended cuts, not by a piece small enough to fit in an envelope.

My answer is blunt. First choose the Calacatta family and acceptable range. Then review the actual slabs under controlled light, map the finished pieces, test the finish, and dry-lay every area where adjacent veins or tones matter. If a team skips those steps, the argument usually begins after the expensive part has already happened.
Calacatta Is a Family Name, Not a Fixed Appearance
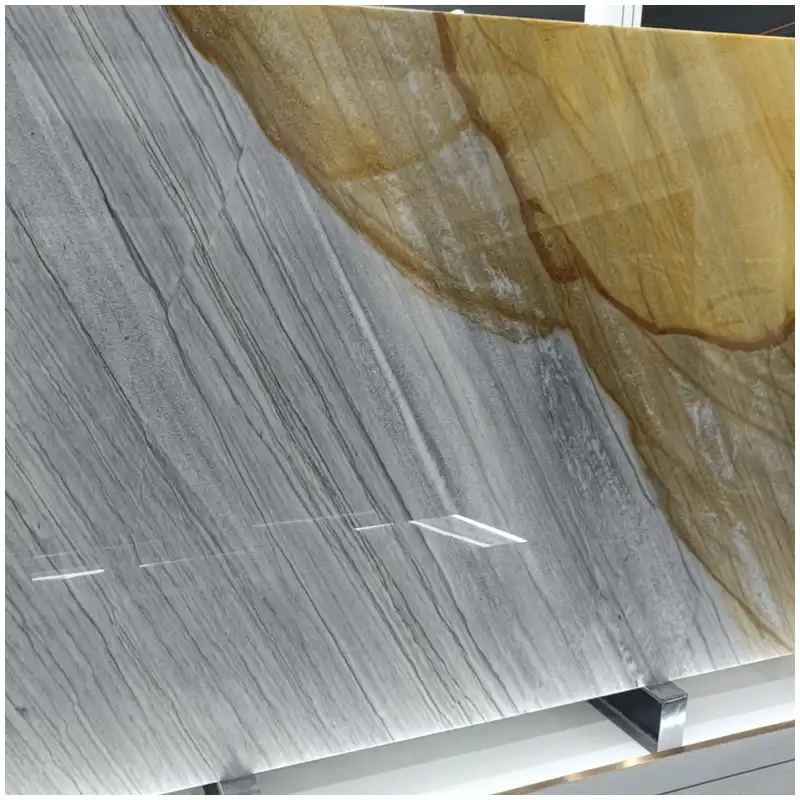
Calacatta selections can differ in background warmth, gray density, gold mineral movement, violet or burgundy markings, open white space, vein width, and pattern frequency. Commercial naming is not perfectly consistent between sellers. I judge the actual material in front of me and record the range the project accepts.
The broad parent reference, White Marble Slabs: Complete Guide to Types, Selection, Price, Bathrooms, Lighting, and Batch Control, compares white-marble families and project controls. This page owns the more commercial Calacatta question: which numbered faces meet the design, where they can be cut, and how a project keeps the approved character through production.
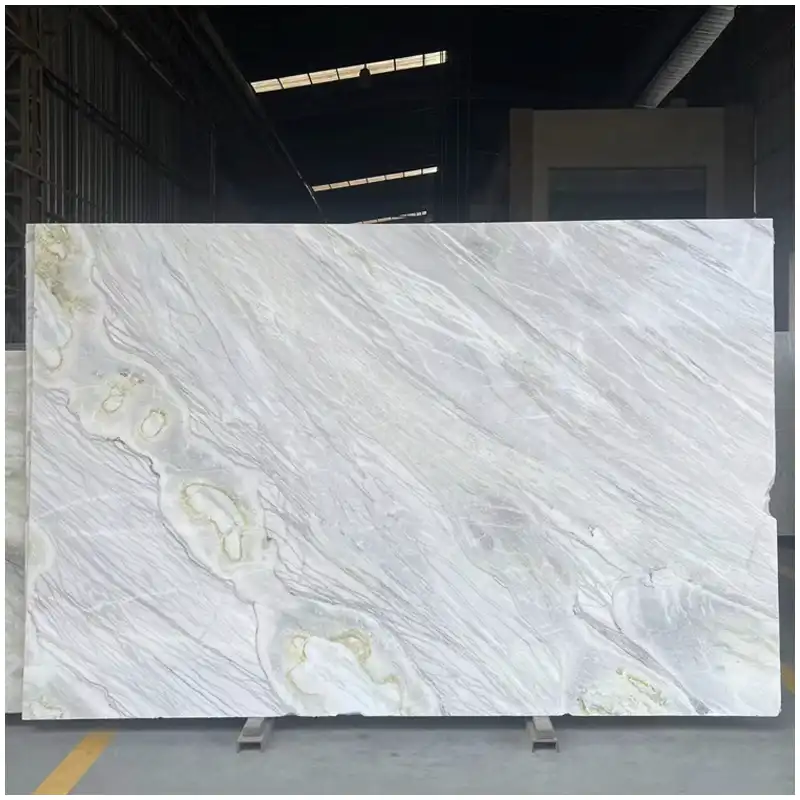
A Calacatta marble slab selection should start with complete front views taken square to the surface. I also want edge and back information where resin, mesh, fissures, or repairs affect fabrication. Close views follow the full face; they never replace it.
Do not let the strongest vein choose the slab by itself. The background field covers more area in the finished room and often drives the perceived warmth. A spectacular line on a warm slab will not suddenly become cool white under a 3000K bathroom fixture.
Set a Calacatta Marble Slabs Range Before Comparing Faces
I make the project describe what it means by acceptable Calacatta. That includes background tone, vein color, pattern scale, amount of movement, open areas, natural features, repair visibility, finish, and intended application. Words such as “clean,” “dramatic,” and “premium” are not enough because different people imagine different stone.
A range board works better than one perfect sample. Include a light face, a stronger face, the warmest acceptable field, the darkest acceptable vein, and any permitted gold or violet movement. Mark the limits clearly. If a slab falls outside the board, it needs a separate decision rather than an optimistic label.
Calacatta batch matching does not mean forcing natural stone into engineered uniformity. It means controlling differences so adjacent pieces and repeated rooms still look intentional. A hotel may accept wider variation between separate floors than within one vanity wall. The area schedule should state that logic.
| Approval item | What I record | Why it changes the project | Reject or hold signal |
|---|---|---|---|
| Background field | Cool, neutral, cream, gray, or warm range under recorded light | Large quiet areas control the room’s overall white | One face shifts beyond the approved limit |
| Vein scale | Width, direction, density, color, interruptions, open zones | Cutouts and joints can turn elegant movement into fragments | Key pieces cannot be placed without awkward breaks |
| Natural features | Fissures, mineral pockets, resin, mesh, repaired zones | Placement and fabrication may expose or remove them | A feature crosses a high-risk edge or visible focal point |
| Finish response | Polished or honed face under front and side light | Reflection changes color depth and repair visibility | Approval sample uses a different finish from production |
| Cut yield | Piece overlays, joint positions, reserve areas, replacement allowance | The usable composition matters more than gross slab area | Required pieces depend on unapproved or weak zones |
| Area relationship | Dry-lay sequence, room code, orientation, neighboring pieces | Natural variation becomes acceptable or disruptive through adjacency | Approved pieces are packed in a different sequence |
Read Full Slabs Under More Than One Light
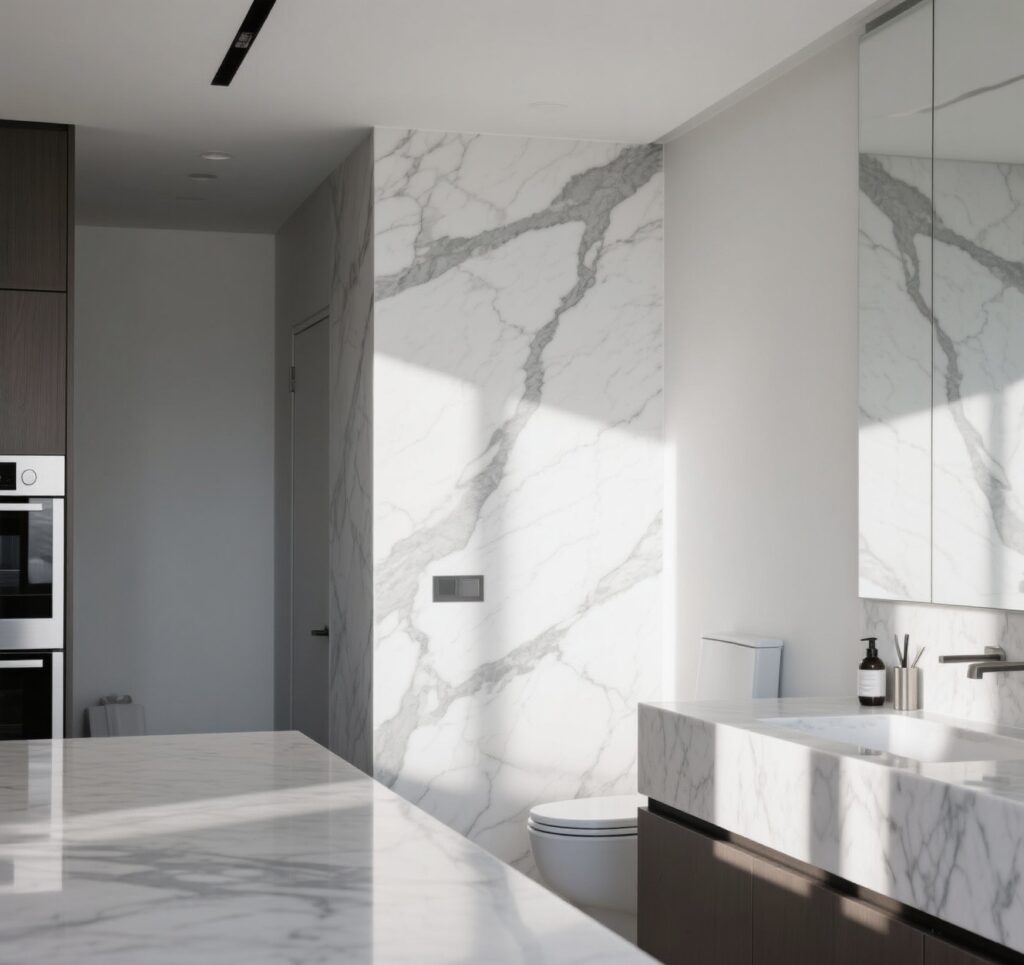
Lighting lies. Calacatta marble slabs can look cooler under a warehouse lamp that sharpens gray movement and suppresses cream undertones. A warm 3000K source can enrich gold but also make the white field read noticeably warmer. A 4000K source often separates cool gray from warm beige more clearly. I use both as comparison conditions and record the actual project light when it is available.
Direction matters too. Front light flattens the face. Low side light reveals surface waviness, resin differences, filled fissures, and changes in polish. Daylight near one end of a room can make two acceptable slabs look less alike than they did under uniform warehouse fixtures.
Full slab approval therefore needs the light source, approximate color temperature, viewing direction, distance, camera settings where controlled, and numbered identity. I do not claim that a phone screen reproduces exact color. The images support a decision; retained physical references and agreed viewing conditions strengthen it.
A Calacatta Gold marble slab for bathrooms deserves a warm-light test because gold and cream movement can either connect beautifully with the interior palette or push the field beyond the selected white. The project should see that before cutting vanity, wall, or tub-surround pieces.
Map Calacatta Marble Slabs Before Sink, Niche, and Joint Cuts
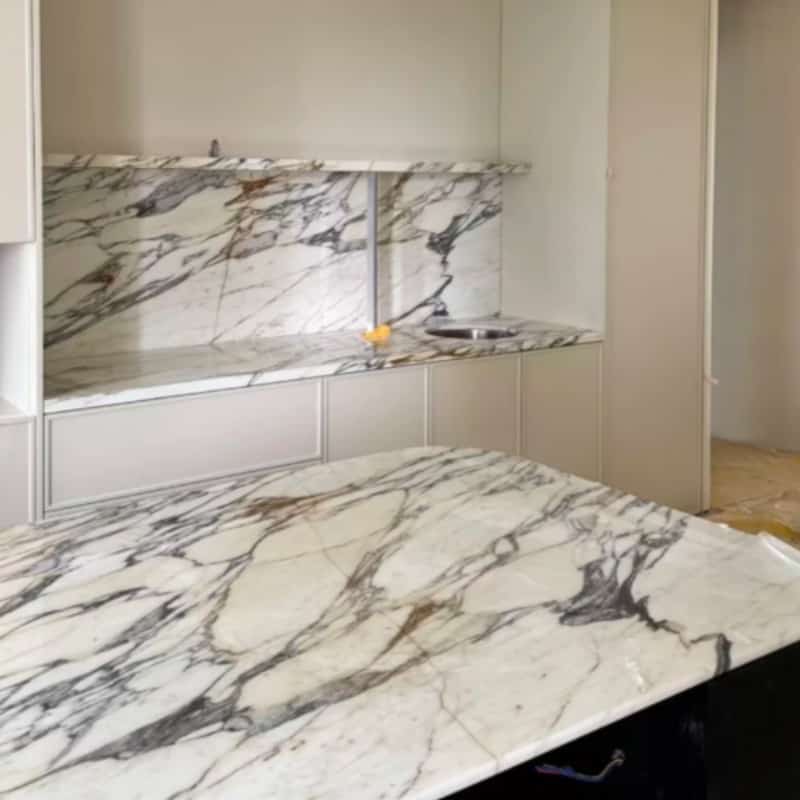
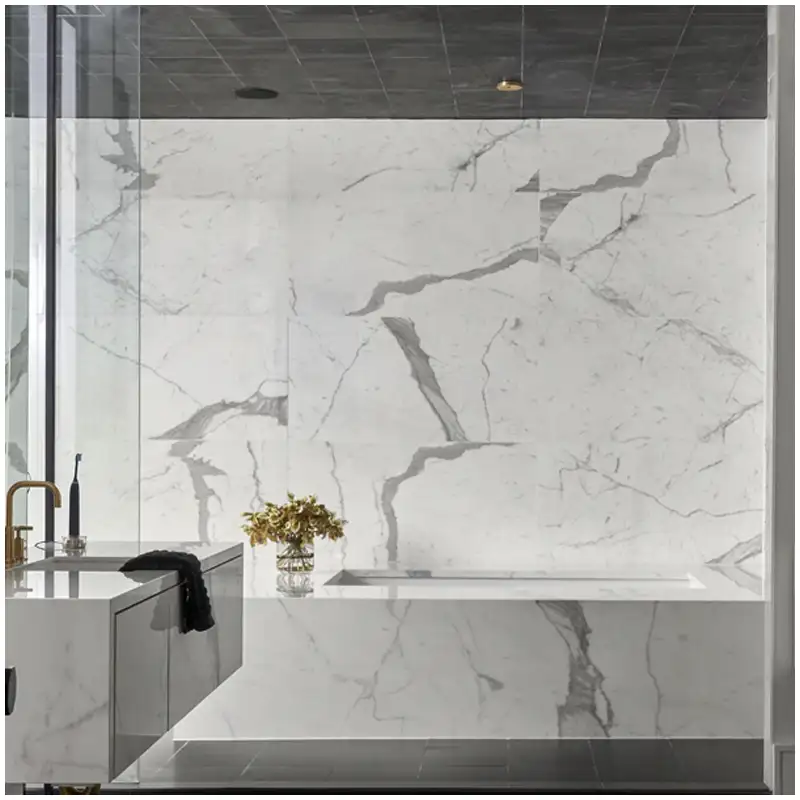
A full slab can look balanced until a sink removes the quiet center and leaves two disconnected dark veins at the rim. A shower niche can cut through the strongest line. A bookmatch can create an unintended shape around a mirror or faucet. I overlay the finished geometry before approving the cut.
Calacatta vein layout begins with the primary viewing axis. Mark the entrance, vanity center, tub, mirror, niche, corner, joint, and any place where the eye expects continuity. Then position the pieces by full shape, not by rough rectangles that ignore cutouts.
For vanity tops, I inspect the narrow stone bridges in front of and behind the basin, faucet-hole zones, edge path, backsplash meeting points, and any laminated build-up. Strong mineral movement near a narrow bridge may change fabrication risk or visual balance. The fabricator decides the technical route using the actual slab and drawing.
A Calacatta Gold marble vanity top makes the cutting decision easy to understand: the buyer sees the finished object, but the approval record should still identify the parent slab, overlay, sink template, edge, finish, and accepted repair zones.
Decision Case: The Best Vein Runs Through the Worst Place
Example: a strong gray-and-gold vein makes one slab the designer’s first choice for a double vanity. When the two basin templates are placed on the full face, one cut removes the calm center of the vein and leaves dark fragments on both inner rims. Moving the top shape within the slab creates a cleaner relationship, but it changes the backsplash cut and reserve area. The decision belongs in the overlay stage, while there is still something useful to move.
Decision rule: Place every cutout, joint, edge, and focal line on the numbered slab before approving beauty; the saw cannot restore the composition it removes.
Match Batch Control to the Area, Not the Order Total
A project can use one broad Calacatta range without putting every face beside every other face. I divide Calacatta marble slabs into visual zones: one lobby wall, one bathroom type, one floor, one feature, or one furniture family. Faces inside a zone receive a tighter relationship than material separated by distance, doors, or lighting.

For repeated rooms, sort faces by field tone, then vein strength and special features. Keep reserve pieces inside the same controlled group, with slab number, usable area, finish, and supported rooms recorded.
Use Dry-Lay for Relationships the Slab Photo Cannot Prove
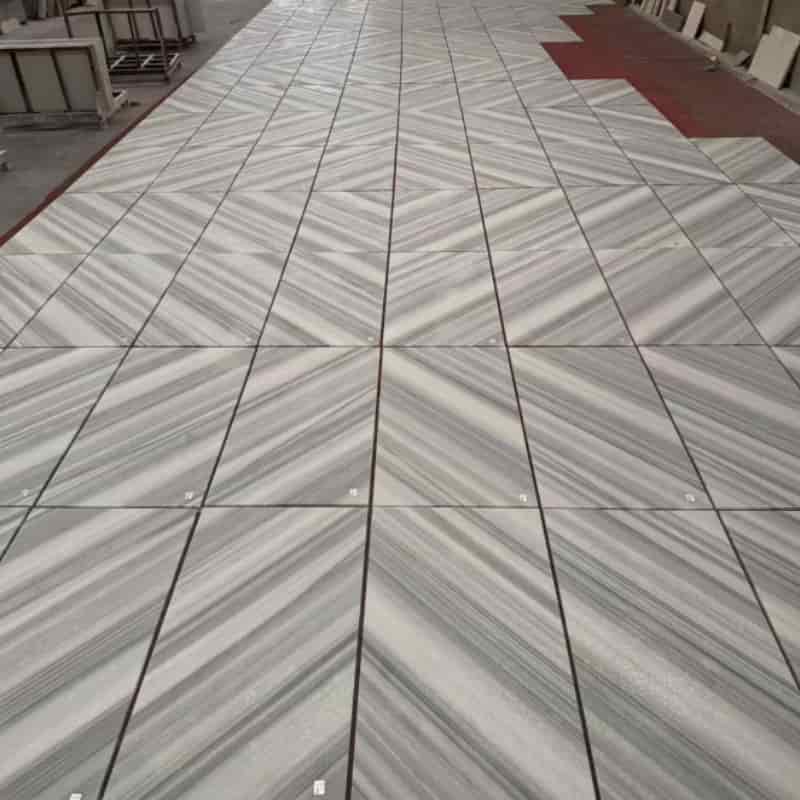
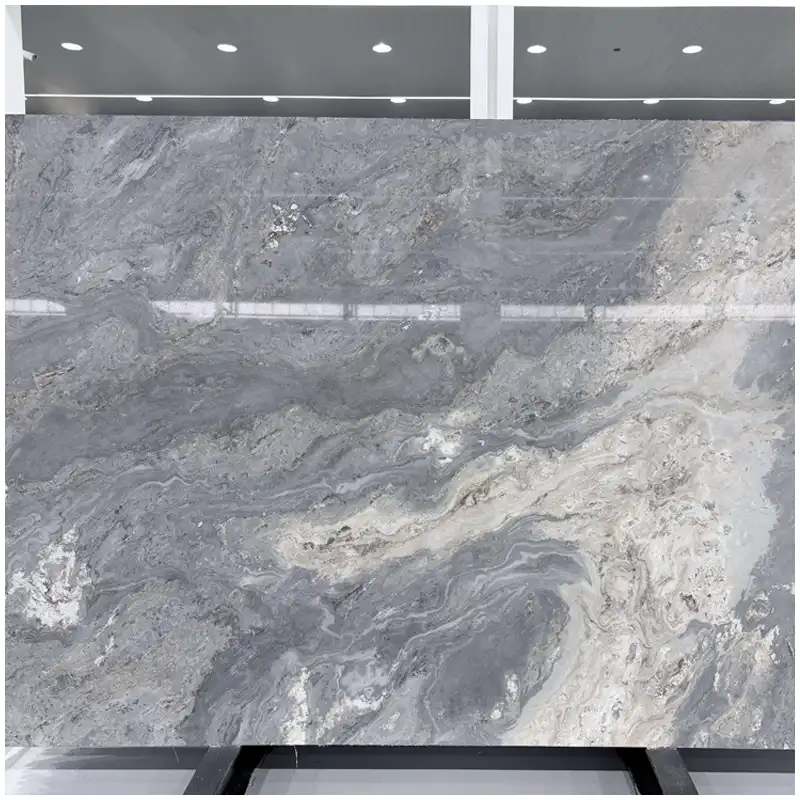
Images of Calacatta marble slabs show the source faces, while dry-lay shows the proposed installation relationship after cutting. Floors, wall panels, tub surrounds, shower sets, bookmatches, and repeated vanity splashes may all need a dry arrangement with piece codes and joint gaps visible.
Stand back before checking joints. Find panels that read warmer, darker, busier, or emptier, then inspect transitions, edges, niches, and replacements. Record orientation and every approved movement in both the drawing and packing map.
A Calacatta Viola marble slab can carry burgundy, violet, gray, and creamy movement with strong scale changes. Those faces demand deliberate placement because a narrow cut may isolate one dark mineral island and lose the composition visible on the full slab.
Separate Finish, Etching, Staining, and Wet-Zone Questions
Calacatta marble slabs are commonly calcite-rich, so acidic products can etch the surface. The mineral behavior of marble explains why sealer may help manage staining but cannot make calcite acid-proof. The maintenance plan should distinguish chemical etching, absorbed staining, hard-water deposits, soap residue, scratches, and normal patina.
Polish sharpens reflection and often deepens perceived color. It can also make dull etches easy to see. Honing reduces mirror reflection and may make small etches blend better, while oils, handling marks, or uneven refinishing can remain visible. Approve the actual production finish on the actual stone.
Bathroom floors and wet areas add traction, drainage, joints, substrate, cleaning, and local-code requirements. “Honed” is not a test result. The responsible design team should select and verify the installed system for the location.
The published Statuario Marble Slab Approval: Photos, Lighting, and Bathroom Use provides a useful white-marble comparison. It also shows why brand-like stone names never remove the need for full-face, light, finish, and application evidence.
Price the Approved Yield, Not Just the Square Meter
Source, selection range, size, finish, pattern, matching, cut complexity, repairs, dry-lay, packing, and reserves all affect cost. Gross area is not usable area when the cut map avoids warm zones, fissures, or disruptive fragments. Compare offers against the same approved range instead of inventing one universal Calacatta premium.
Release Calacatta Marble Slabs Only When the Evidence Agrees
I release the material when the numbered slab list, accepted range, light record, finish, cut overlays, batch groups, dry-lay, repairs, piece schedule, reserve plan, and packing map agree. If one record changes, the affected approval returns to the right stage.
Keep one physical finish reference and a searchable image set after shipment. If the site later asks whether a warmer panel, filled fissure, or softer polish was inside the accepted range, the answer should come from the original evidence rather than somebody’s memory of a computer screen.
Use the broad white-marble reference to compare families and applications, then use the checks here when the project has narrowed the decision to Calacatta faces, cuts, finishes, and area groups.
If a mismatch appears on site, photograph the complete area, labels, lighting condition, and close issue. Stop installation or alteration of affected pieces. Send the supplier that evidence with numbered slab images, approved range, cut overlay, dry-lay, finish reference, and packing record before deciding on replacement or remapping.
Calacatta Full-Slab Approval Checklist
- Define the acceptable field tone, vein scale, mineral color, and natural-feature range.
- Review complete numbered slabs under recorded front, side, warm, and cool light.
- Overlay every sink, niche, joint, edge, and focal line before cutting.
- Group slabs by installed area and keep room codes tied to those visual groups.
- Approve the production finish on the actual stone rather than a different sample.
- Dry-lay dependent walls, floors, surrounds, and bookmatched pieces with visible codes.
- Record reserve faces and update the packing map after every approved movement.
Frequently Asked Questions
1. How should Calacatta marble slabs be approved for a project?
Approve a written visual range and complete numbered slab faces under recorded lighting. Add finish samples, cut overlays, area grouping, dry-lay where adjacent relationships matter, repair limits, reserve planning, and a packing map. A small sample can begin the discussion but cannot release the full order.
2. Why can two Calacatta slabs look different under bathroom lighting?
Their field tone, mineral color, vein density, finish, surrounding colors, and reflected light may differ. Warm 3000K and cooler 4000K sources can change how cream, gold, and gray read. Compare actual faces under both reference conditions and the intended fixture where possible.
3. Is Calacatta Gold the same as every other Calacatta selection?
No. Calacatta is a commercial family with many selections and inconsistent naming between sellers. Calacatta Gold commonly includes warm or gold movement, while other varieties may show gray, violet, burgundy, or different pattern scales. Approve the actual numbered material, not the name alone.
4. Can sealer stop Calacatta marble from etching?
Sealer can help reduce absorption and staining when correctly selected and maintained, but it does not make calcite resistant to acidic cleaners, citrus, wine, or cosmetics. Test the intended cleaner and finish, then give the maintenance team accurate care instructions.
5. What should happen first if installed Calacatta does not match the approval?
Photograph the complete area, labels, lighting condition, and close difference. Stop installation or modification of affected pieces. Send the supplier the evidence with approved slab photos, range board, finish, overlay, dry-lay, and packing records so both sides compare the same material and condition.
Final Conclusion
Calacatta marble slabs deserve a decision based on their real scale. Approve the range, read every numbered face, map the cuts, group the areas, test the finish and light, dry-lay dependent pieces, and keep the records tied to the crate. Don’t just look at samples. Esta Stone would rather reject one attractive but unsuitable face in the warehouse than explain a preventable tone or vein dispute after installation.

References
- Dimension Stone Design Manual, Natural Stone Institute.
- Natural Stone Care and Cleaning Guidance, Natural Stone Institute.
- ASTM C503 Standard Specification for Marble Dimension Stone, ASTM International.
- ASTM C97 Standard Test Methods for Absorption and Bulk Specific Gravity of Dimension Stone, ASTM International.
- ASTM C880 Standard Test Method for Flexural Strength of Dimension Stone, ASTM International.
- Natural Stone Flooring: Industry Standards and Best Practice, Stone Federation Great Britain.
- Bathroom Planning Guidelines, National Kitchen & Bath Association.
- Search Quality Evaluator Guidelines, Google.