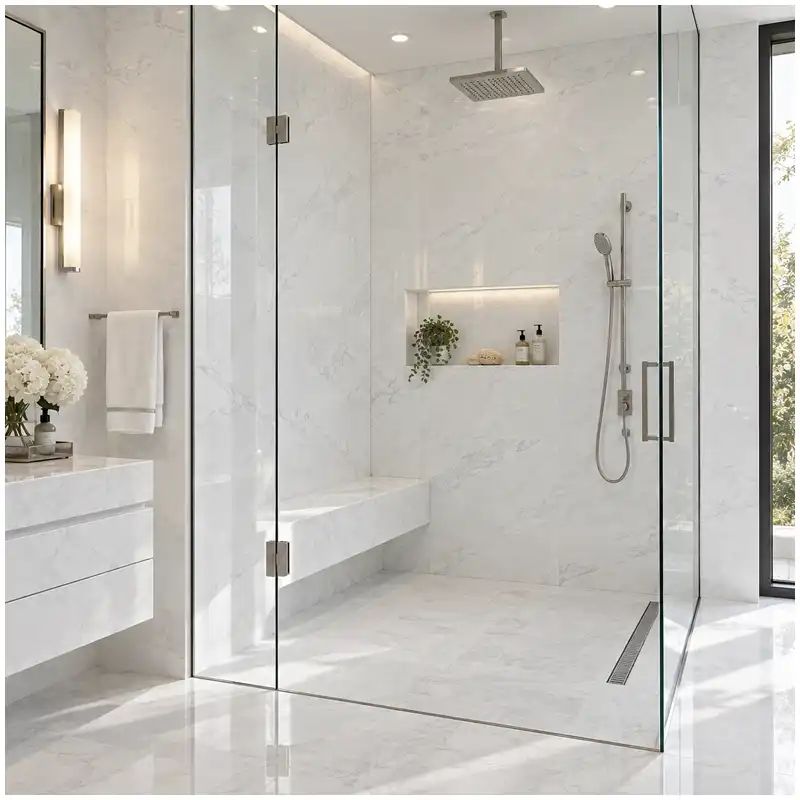
A shower floor has no patience for a beautiful white tile that cannot follow the drain, keep its joints readable, or stay consistent beside the wall field. A Thassos marble shower floor needs a real mock-up under water and light. Esta Stone checks the mosaic scale, selected finish, grout, fall, and batch range before the bright material reaches the site. My warehouse rule is simple: Let the drainage geometry choose the floor module before a wall-scale preference chooses it for you.
Thassos can look almost silent in a warehouse, then turn cold, creamy, or glittering when it meets grout, steam, and warm mirror light. A Thassos marble bathroom needs more than a white sample. Esta Stone compares the full slab, finish, wet-zone detail, and room lighting so the chosen white field still behaves honestly after installation. My warehouse rule is simple: Approve the full white field under the project light before using one sample as a promise for every later piece.
A narrow Volakas sill can look harmless on a cutting list, then become the most obvious grey line in a bright bathroom. Volakas marble window sills need the same slab review as a vanity or wall panel: face direction, finish, drip detail, return condition, and actual light. Esta Stone keeps those decisions visible before small pieces are cut from the wrong part of a good slab.
A repair can be technically stable and still be wrong for a pale bathroom wall, vanity, or floor. Volakas marble repair acceptance needs the repair to be judged where it sits in the full face, under the same light and finish as the installed piece. Esta Stone keeps the repair map, photos, slab range, and project viewing conditions together before a client sees a surprise line. My warehouse rule is simple: Judge every visible repair after the surface reaches the finish and lighting it will keep.
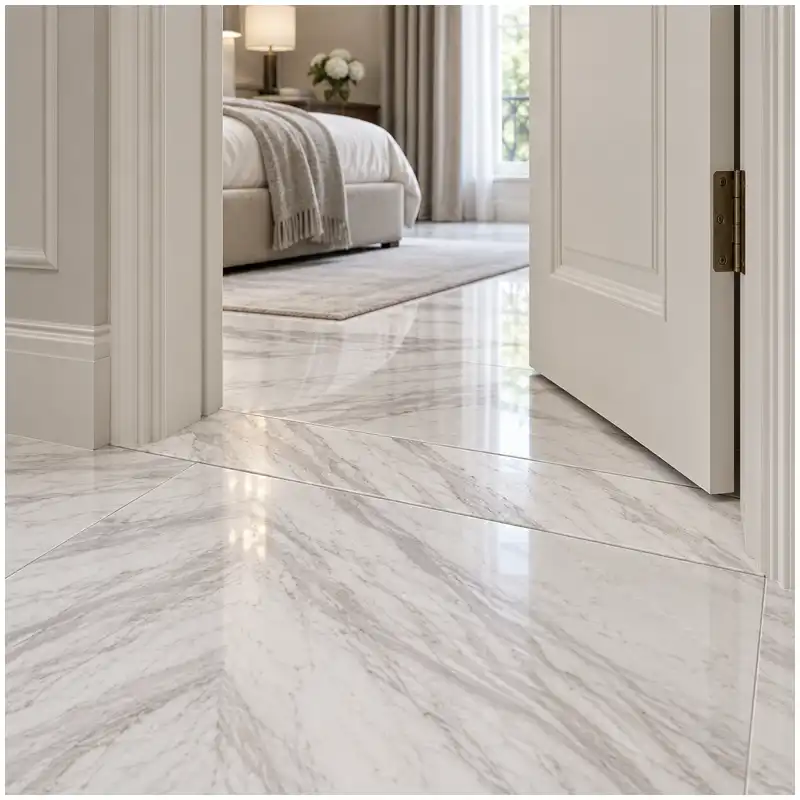
A threshold is small enough to be dismissed in a drawing and large enough to expose every bad decision at a bathroom doorway. Volakas marble thresholds need to clear the door, manage water, sit within the floor’s tone range, and carry a sensible vein direction. Esta Stone checks the actual slab, the finished floor build-up, and the wet-side detail before a thin piece is cut from a good block. My warehouse rule is simple: Choose a threshold from the floor layout, not from the prettiest spare strip.
A white marble bathroom usually discovers its cleaning limit in the first weeks of use, not in the drawing review. Volakas marble maintenance samples fix that before handover: sealed and unsealed reference offcuts from the reserved lot, the approved cleaner written down with its dilution, dwell time, and neutral pH, and photographs of how water marks, soap film, and sealer haze appear on the pale field. The set also says what it cannot prove, so an absorbed or etched mark is not mistaken for ordinary residue. Esta Stone keeps the sample, the lot record, the room condition, and the release decision together so the maintenance team starts from a tested method rather than a guess.
A pale Volakas slab can look calm in a small cut and busy the moment it becomes a floor. The difference is the tile module, the joint grid, where the grey diagonal movement lands across the field, and how the drain cut interrupts it. Volakas marble shower floor work is decided while the pieces are still loose, not after the layout is fixed. Plan the heavy movement, hold back the cloudy zones, and photograph the field toward the drain. Esta Stone keeps the slab, the allocation and the bathroom record together.
A Volakas bathroom passes sealing at handover only when the evidence survives the last coat. Susan Zheng closes the room against a fixed file: the reserved lot and its installed finish and zones, the exact sealer product and batch, treated and bare reference offcuts, cure and release dates, the edges deliberately left unsealed, and the cleaning method handed to the maintenance team. The test method itself belongs to the sealer trial; this record is what protects the room after the crew leaves. Esta Stone signs Volakas marble sealing only when all seven entries match the stone that stays in the wall.
One Volakas lot carries quiet panels and active panels at the same time, and a single grout decision does not read the same on both. Susan Zheng matches Volakas marble grout color to the vein density of each field inside the reserved batch, because the joint that lets a quiet panel disappear can turn a cloudy panel into a grid. Esta Stone groups the panels before the joint tone is fixed and records which reading each field received, so the grout follows the stone instead of fighting it.
A single Volakas slab can look calm, but a hotel bathroom run exposes every difference in grey vein direction, white ground tone, cut order, and lighting. Volakas marble batch matching is the work of deciding which blocks and bundles can sit in the same room before the saw starts. I match the ground tone first, keep the reserved reference sample beside the lot record, and hold any bundle that reads outside the agreed span instead of pushing it into a repeat room. The full-slab photo set, the room-by-room dry-lay, and the stated lighting condition travel with that decision. Esta Stone ties slab approval, bundle continuity, dry-lay inspection, lighting checks, and final quality control into one white-marble decision.
A wall panel drawing rarely fails all at once. Volakas carries a pale field with grey movement running at an angle across the face, and that angle ignores where a joint is placed later. Volakas marble wall panels work best when the project drawing, the reserved lot, and the approved full-slab reference are read together before any panel is cut. Vertical joints, mirror lines, and fitting lines can all still move at that stage. I would rather settle the setout on paper and on the slab photograph than find it on a fixed wall. Esta Stone keeps the slab map, the numbered layout, and the fabrication record in one place.