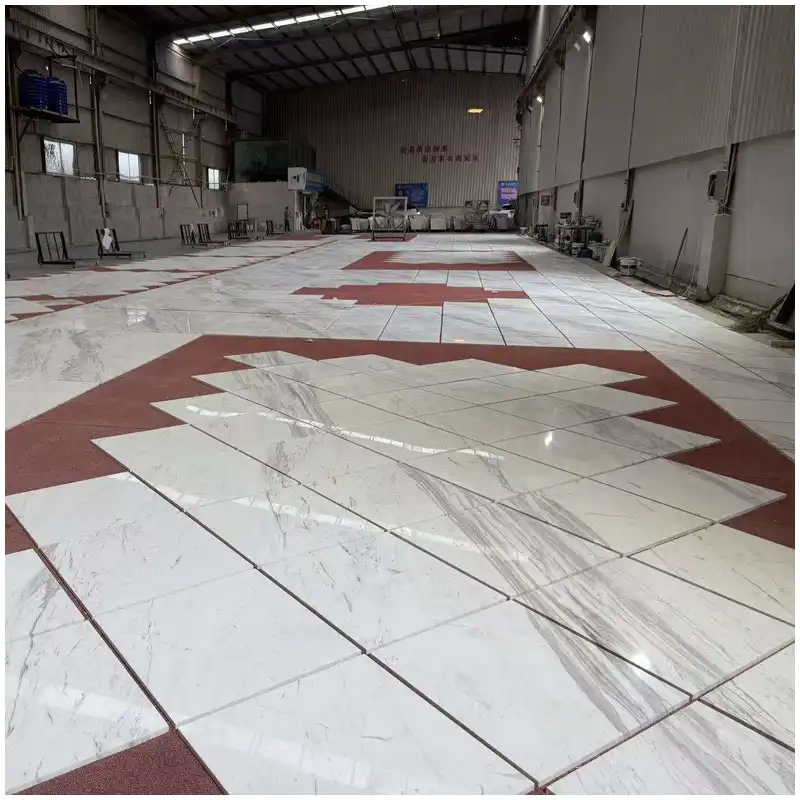
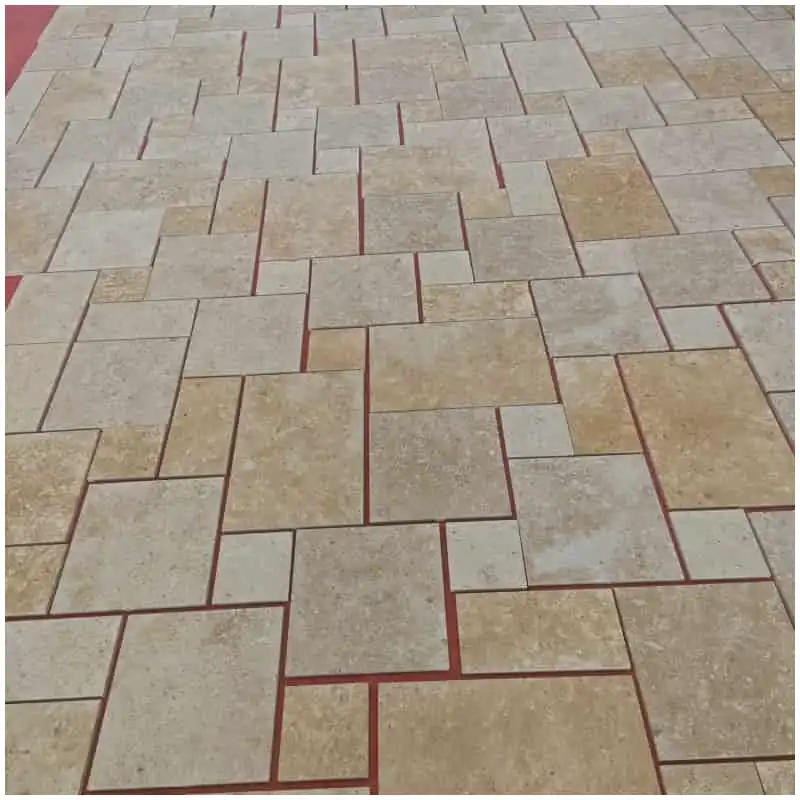
White Marble Picture Framing: Diagnose Dark Edges after Installation
Every tile center looks pale, but each perimeter forms a darker rectangle. The pattern repeats too evenly to belong to the veining. I hold the wall because white marble picture framing points toward an edge or installation interaction that needs evidence before cleaning.
I photograph the whole field first. One close-up hides repetition. Then I compare a loose control piece, a freshly installed area and the oldest installed area under the same light.
Read White Marble Picture Framing as a Repeated Geometry
A border that follows four edges across many pieces differs from one dark vein or local stain. I note whether corners are stronger, whether vertical and horizontal joints behave alike and whether cut edges differ from factory edges.

Това White Marble Slabs: Complete Guide to Types, Selection, Price, Bathrooms, Lighting, and Batch Control gives me the approved face and batch range. The loose stone establishes what natural variation looked like before setting materials touched the perimeter.
Compare Marble Edge Darkening through the Drying Cycle
Freshly installed white marble often reads darker while moisture remains in the assembly. Uniform drying may reduce that difference. A persistent border, a border that grows after wet use or a border that changes after treatment needs a separate cause review.
Capillary action describes one way liquid can move through narrow pores, but the actual assembly and product records must establish whether that mechanism fits the observed border.
White marble picture framing cannot be accepted from a photograph taken immediately after cleaning. I record time since installation, recent wetting, coverings, room use and whether heating or ventilation changed.
Use one lighting position
Polished faces reflect fixtures and can make a perimeter appear stronger from one angle. Honed surfaces scatter light but may show moisture contrast. I repeat photographs from the same marked position under the project light and a neutral inspection source.
Inspect Adhesive Contact behind White Marble Picture Framing
Adhesive color, moisture, additives, coverage and edge accumulation can influence a pale, partly translucent stone. The installation team checks the specified product, mixing, open time, trowel direction, back-buttering and actual contact.
The published White Marble Adhesive Selection owns product choice. This diagnosis begins after a perimeter appears and asks whether the installed method matches that approval.
| Border clue | Record to inspect | Controlled comparison | Decision |
|---|---|---|---|
| All four edges repeat | Adhesive, edge treatment and grout sequence | Loose piece and mock-up | Hold broad treatment |
| Cut edges darker than factory edges | Cutting water, drying and edge resin | Matched cut offcut | Inspect fabrication condition |
| Border stronger after wet use | Waterproofing, joints and moisture route | Dry observation window | Find repeated wetting |
| Border changed after sealer | Application rate and edge absorption | Treated and untreated offcuts | Test compatible correction |
| Only side light reveals border | Finish and surface-plane variation | Front and grazing light | Separate optical from material change |
The center dried while the perimeter stayed outlined
A controlled panel shows the center returning toward the loose reference piece, but the edges remain darker after the agreed observation period. The difference follows the same geometry on adjacent pieces. That evidence shifts the review from general construction moisture to edge contact, grout, treatment and setting-material behavior.
The Lesson: Compare loose, newly set and aged control pieces before deciding that a repeated border will disappear.
Check Grout, Resin and Edge Treatment
Grout can hold moisture against an edge or transfer pigment where products and stone are incompatible. Factory resin or mesh treatment may also stop short of edges or respond differently at a cut. The fabrication and installation records need to meet at that line.
Setting material migration is a diagnosis to verify, not a label to paste on every border. A qualified installer or laboratory may need to examine a removed spare or prepared mock-up when appearance alone cannot separate mechanisms.
Test Sealer Distribution and Surface Cleaning
Uneven sealer application can darken absorbent edges or change sheen. Cleaning residue may collect at joints and create an optical border. I compare texture and reflection as well as color, then test on spare material with the documented method.
A Sivec White marble tile field can make slight edge shifts very visible because the background is quiet. That visibility is why the approval sample needs real joints and the final treatment sequence.
Use White Marble Picture Framing in Mock-Up Approval
White marble picture framing belongs in a sample panel that includes the approved stone range, real edge condition, adhesive, joint width, grout, sealer, cleaning and drying period. A dry loose sample cannot test the installed border.

I inspect the mock-up at 3000K and 4000K where both conditions matter. Warm light can soften a gray perimeter; cool light can sharpen it. The acceptance record must name the lighting basis.
Separate Optical Borders from Physical Discoloration
Small lippage, recessed grout and chamfered edges create shadow lines. Before assuming chemical migration, I run a straightedge check and move the light. If the border changes mainly with angle, plane and finish may be contributing.
The published White Marble Tile Lippage gives that plane check its own record. The two conditions can coexist, but they need separate acceptance decisions.
Set a Dry Acceptance Window
The responsible installation team defines when the assembly has had a reasonable drying opportunity based on products and conditions. I do not promise a universal number of days. I record dates, wet use, ventilation and the control comparison.
White marble picture framing that remains outside the approved appearance after controlled drying moves to testing, treatment or replacement review. No one should coat it first and ask questions later.
How to Respond when the Border Appears
Document the field
Photograph several complete modules, one detailed edge and one loose or unaffected control under repeatable light. Mark dates and recent wetting.
Hold the finish
Stop sealer, aggressive cleaning and additional installation in the affected condition. Preserve product bags, batch codes and method records.
Build one comparison
Prepare or retain a sample using the actual stone, cut edge, adhesive, grout and treatment. Compare it through the same drying and lighting conditions before releasing a correction.
Photograph the Border without Letting the Camera Correct It
Automatic exposure can brighten a dark perimeter and automatic white balance can neutralize a warm or gray shift. I include a neutral reference, keep the same camera position and record the room light. The images support comparison; they do not replace the physical face.
One photograph uses front light to show color. Another uses shallow side light to expose plane and joint shadow. A third includes several modules. Together they separate a true material or moisture difference from a lighting artifact that appears only at one angle.
Compare Factory Edges with Freshly Cut Edges
Factory edges may carry resin, mesh, polishing residue or a different drying history. Site-cut edges may absorb setting moisture differently. I label both in the mock-up and record which edge faces the joint. Mixing them without a record can make a repeated pattern look random.
За Мраморни плочи от Карара, fine movement can make an edge border look less regular, so the comparison still needs several numbered modules.
If a cut edge darkens, inspect cutting water, drying time and any applied resin or sealer. Do not polish the visible face again merely to reduce contrast. That can alter thickness and reflection while the edge condition remains.
Check Joint Depth and Cleaning Practice
A deep recessed joint casts a line. Excess wash water can wet edges repeatedly. Pigmented residue can sit inside microtexture. The installer records joint depth, tooling, cleaning passes, sponge condition and timing. I compare those details with the approved mock-up.
Joint appearance also changes between walls and floors. Floors collect water and dirt at edges; walls show vertical shadow and reflected light. A single grout sample may be acceptable for color yet fail to reproduce the installed geometry.
Review Mesh, Resin, and Back Treatment
Some slabs or tiles use reinforcement or resin on the back. The factory record should identify treatment coverage and whether cut pieces expose untreated margins. The installation-material manufacturer and stone specialist need that information when selecting the system.
I do not infer back treatment from the face. Two visually similar tiles can have different histories. Retained production samples and labeled photographs are more useful than assumptions made after the pieces are fixed to the wall.
Create a Drying Curve instead of a Single Deadline
Record the perimeter and center at agreed intervals using the same light. Note room use, ventilation, temperature where available and recent cleaning. The purpose is not to force a universal drying time; it is to show whether the contrast is narrowing, stable or returning after wetting.
A stable border after controlled drying asks for material and treatment review. A narrowing border may need more observation. A border that disappears and returns after shower use points back to repeated moisture. Those paths should not receive the same remedy.
Set a Visual Limit in the Mock-Up
The accepted sample should show actual tile size, joint, light and viewing distance. The team can then define whether a faint perimeter visible only under grazing inspection light is acceptable, while a strong rectangle under normal room light is not.
This is not permission to lower standards after installation. It is a way to state the standard before quantity work. Keep the accepted sample and images available so later rooms are judged against the same basis.
Close Every Contributing Condition
The final report may identify more than one contributor: uneven drying plus recessed joints, or edge treatment plus side light. List each condition and the action taken. A one-word cause such as “moisture” is too broad to guide future rooms.
Release requires the dry visual result, confirmed installation action and a prevention note for remaining areas. If the team cannot explain why the border changed, it should not hide uncertainty behind a stronger sealer or cleaner.
Check Perimeter Width as a Measurable Feature
I measure the visible border at corners and edge midpoints on several pieces. A consistent width may relate to the contact zone or edge treatment. An irregular width may follow water, trowel coverage or local absorption. The measurement does not identify cause, but it makes later comparison more reliable than words such as faint or heavy.
Repeat the measurement after the agreed drying interval. If the width contracts toward the joint, moisture movement remains a useful lead. If it stays fixed while color lightens, more than one process may be present. Record both geometry and color instead of reducing the condition to one pass or fail photograph.
Review Corners, Returns, and Cutouts Separately
Corners have two exposed edges and often more grout or sealant contact. Returns can include miter resin or a laminated edge. Cutouts create curved, freshly machined surfaces. I do not assume the flat field mock-up represents all of them.
Build at least one representative corner or cutout sample when the visible application includes many repeated details. Inspect the sample wet and dry under the intended light. If the perimeter behaves differently at the detail, write a separate installation and acceptance instruction rather than hiding it inside the general tile approval.
Coordinate Maintenance after Acceptance
The maintenance file names neutral cleaning products, water-control steps and any restriction on coatings or sealers. It also shows what the accepted dry perimeter looks like. Without that image, later staff may treat an approved natural or installation shadow as a new stain.
Recurring darkening after normal use is documented from the same positions and escalated with the original system record. Do not let repeated cleaning become an uncontrolled experiment. A condition that changes with use belongs back in the moisture and joint review.
Frequently Asked Questions
1. What is white marble picture framing?
It is a repeated visible border around a marble tile or panel where the perimeter reads differently from the center. Moisture, setting materials, grout, edge treatment, sealer, drying and shadow can contribute.
2. Will dark marble edges always dry out?
No universal promise is reliable. Compare the installed field through a documented drying period with loose and mock-up controls. Persistent or recurring borders need source investigation before acceptance.
3. Can grout cause a picture-frame effect?
Grout moisture, pigment, cleaning and contact may influence edges, but appearance alone does not prove it. Review the complete adhesive, edge, joint and treatment system.
4. Does lippage make edge darkening look worse?
Yes. A small plane difference or recessed joint can cast a shadow that strengthens a perimeter. Check the surface with changing light and a straightedge before assigning a chemical cause.
5. What should we do first when repeated dark borders appear?
Photograph complete modules and controls, stop further treatment and installation in that condition, preserve materials and records, and contact the supplier and installer for a joint source review.
White Marble Picture Framing Inspection
- Photograph several complete modules, not one edge.
- Compare loose, new and aged pieces under the same light.
- Record wetting, coverings and drying conditions.
- Check adhesive contact, grout and edge treatment records.
- Move the light and check lippage before assigning cause.
- Test sealer or cleaner on matching spare material.
- Approve the dry result in writing before wider work.
Final Conclusion
White marble picture framing should be read as geometry, timing and installation evidence. Compare controls, inspect contact, test treatment and approve the dry result instead of guessing from one close-up.
Esta Stone will accept a natural vein, but not an unexplained dark rectangle repeated across every carefully selected white marble tile.

References
- Picture Framing and Moisture Related Stone Conditions, Natural Stone Institute.
- Dimension Stone Design Manual, Natural Stone Institute.
- Installation Guide and Reference Manual, Natural Stone Institute.
- ASTM C503 Standard Specification for Marble Dimension Stone, ASTM International.
- ANSI A108 and A118 Installation Standards, Tile Council of North America.
- TCNA Handbook for Ceramic, Glass, and Stone Tile Installation, Tile Council of North America.