

White Marble Resin and Mesh Backing: Full-Slab Approval, Cutouts, Adhesive Compatibility, and Fabrication Limits
Example: a slab looks calm under the front warehouse lights, and the sample photographs show a clean white field. When the crane turns it for back inspection, a broad fiberglass patch crosses the planned basin cutout. Nobody has cut anything yet. Good. That is the moment white marble resin and mesh backing must enter the approval record instead of remaining an unseen factory detail.

My direct answer is blunt: photograph both faces of every selected slab, map resin and reinforcement against the cutting drawing, and test the proposed adhesive and fabrication method. Mesh is not automatically a defect. Resin is not automatically harmless. The question is what treatment exists, where it sits, and whether the final application can accept it.
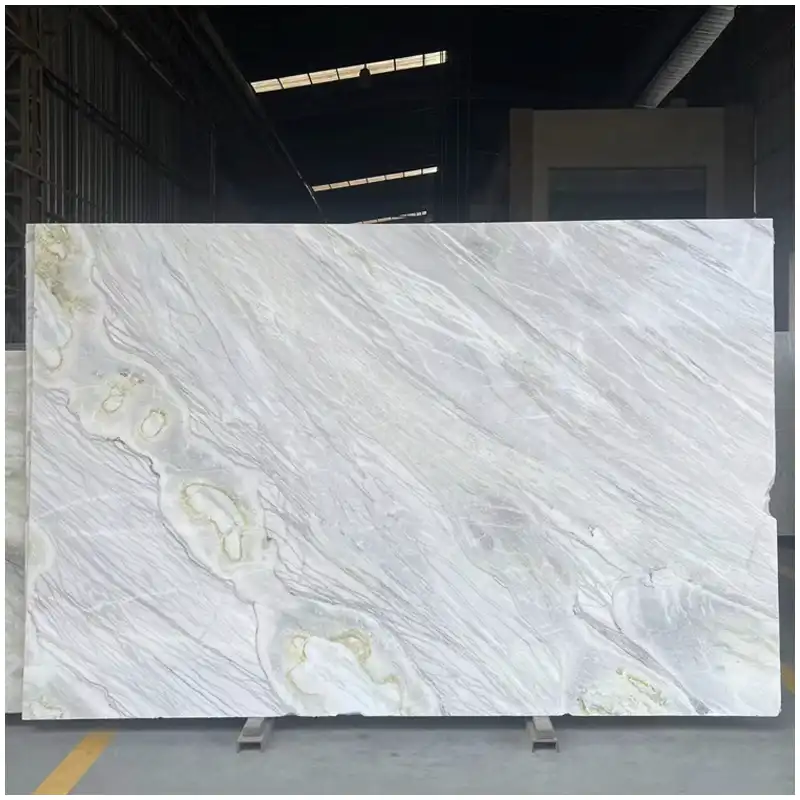
Inspect White Marble Resin and Mesh Backing on the Full Slab
I start with the front under diffuse light, then low-angle light, then the back under even warehouse lighting. Front photographs show color, veins, filled lines, and polish behavior. Back photographs show mesh coverage, resin spread, patches, labels, and marks that disappear once the slab reaches the cutting bed.
The unpublished White Marble Slabs: Complete Guide to Types, Selection, Price, Bathrooms, Lighting, and Batch Control provides the broader batch-control framework. Here I narrow the decision to stabilization and its effect on fabrication and installation.
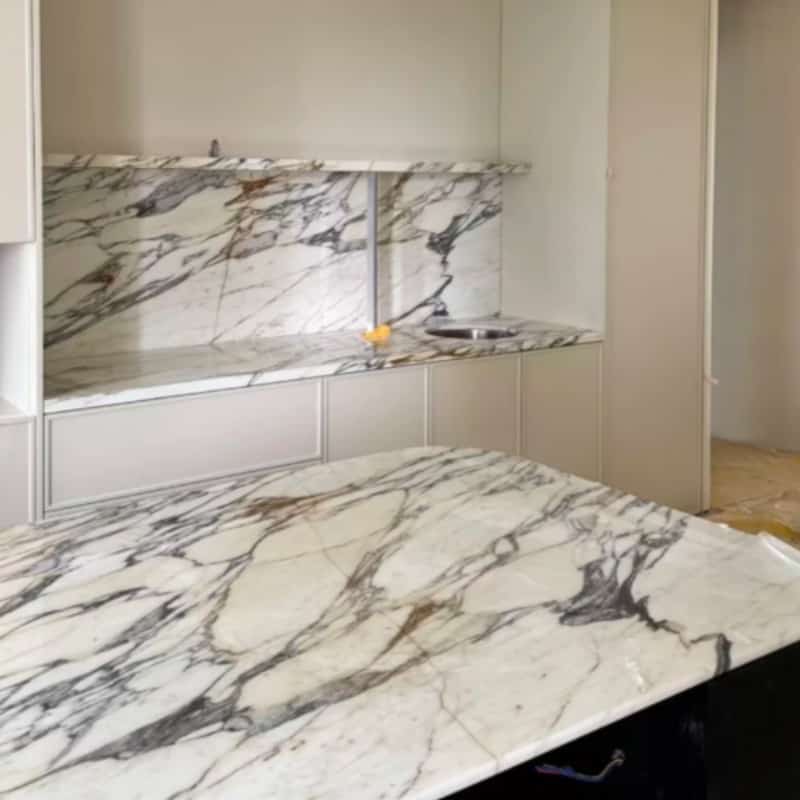
A full view of Calacatta marble slabs matters because a dramatic grey vein can coincide with a treated fissure. On a 100 mm sample, that relationship may never appear. Don’t just look at samples.
Resin filling and structural reinforcement are not the same record
A resin treated marble slab may have small pits or natural fissures filled at the face, broader resin application on the back, mesh reinforcement, or a local patch. I ask the factory to identify the treatment rather than letting one word cover several conditions.
I do not diagnose unseen strength from a photograph. The stone professional, fabricator, adhesive supplier, and project designer must work from the real slab, intended cut sizes, support, and installation system. My job in the warehouse is to make the treatment visible and traceable before approval.
| Inspection point | What I record | Why it matters | Hold trigger |
|---|---|---|---|
| Front face | Filled fissures, pits, resin gloss, color shift | Treatment may read differently after finishing | Local fill crosses a focal or cutout zone |
| Back face | Mesh area, resin spread, patches, slab label | Fabricator and installer need the real backing condition | Backing is hidden or photographed too closely |
| Cutting overlay | Sink holes, outlets, anchors, narrow strips, edges | Cuts can intersect stabilized areas | No drawing-to-slab map exists |
| Edge sample | Resin line at exposed profile and finish response | A hidden face treatment may appear at the edge | Edge appearance differs from approved expectation |
| Bond test | Adhesive, primer, preparation, cure condition | Mesh and resin alter the bonding surface | Installer has no accepted system |
| Batch range | Treatment frequency and location across selected slabs | One clean sample does not describe the order | Selected slabs vary without classification |
Map White Marble Resin and Mesh Backing across Cutouts
A sink opening, outlet, anchor slot, or narrow wall strip can cross a reinforced area. I place the cutting drawing over the back-face photograph and mark every intersection. The fabricator then decides whether the layout, support, tooling, or selected slab needs to change.
Der Marble Vanity Countertop: Sink Cutouts, Veins, Light, and Batch Tone explains how a basin opening interacts with the visible face. This inspection adds the hidden marble mesh backing to the same drawing.
With Statuario white marble, a bold vein may control the layout around the sink. I will not move the cutout casually to avoid a patch, because that can ruin the elevation. I bring the conflict to the fabricator before anyone chooses beauty or convenience in isolation.
Exposed edges need their own approval
A mesh-backed slab can look normal on the front while resin or reinforcement becomes visible at a miter, bullnose, laminated edge, sink rim, or open shelf. I ask for one representative edge sample using the intended tooling and finish.
White marble resin and mesh backing also affects what remains after the back is calibrated or prepared. The installer needs to know whether any treatment may be removed and what surface preparation the approved bonding system requires.
The Hard-Won Lesson: The Patch Sat Directly under the Basin Bridge
Example: the front-face approval marks a balanced vein layout for a double vanity. The back photograph later shows a local mesh patch crossing the narrow strip between two sink openings. The slab has not failed, but the approved cutting plan now depends on an area the fabricator has not assessed. The order pauses while the patch, cutout geometry, and support detail are evaluated together.
The Lesson: Turn every selected slab over and overlay every opening before approval; never discover reinforcement from the first cut piece.
Check White Marble Adhesive Compatibility as a System
Adhesive selection depends on the stone, backing, substrate, piece size, environment, preparation, and manufacturer’s instructions. I do not approve a bonding claim from a resin label or a small sample. The actual rear surface and proposed products need a documented test or accepted technical route.
White marble adhesive compatibility includes primers and preparation. Dust, release material, dense resin, exposed mesh, or inconsistent grinding can change contact. The adhesive manufacturer and installation professional should state the accepted method in writing for the condition supplied. The English overview of epoxy gives general chemistry context, but it does not approve a project bonding system.
A Sivec white marble slab still needs this check when resin or mesh appears. Material name alone does not tell the installer what has been applied to the back.
Translucency can reveal treatment under light
Some white marble transmits enough light for resin, backing, adhesive coverage, or substrate tone to influence the installed face. Lighting lies when a warehouse has one color temperature and the room has another. I inspect a sample build-up under the project lighting when the application or slab shows meaningful translucency.

At 3000K, warm substrate or resin effects can feel stronger. At 4000K, cool zones and grey repairs can become more obvious. These are visual observations, not universal color measurements. The approved mock-up must use the actual light source, finish, backing, adhesive, and substrate.
Define What the Approval Photographs Must Show
I require a full front, full back, label close-up, treated-zone close-ups, and one image that locates each close-up on the slab. The frame includes a neutral reference where practical, but the written slab code remains the identity record.
The article Statuario Marble Slab Approval Photos, Lighting, and Bathroom Use sets useful front-face discipline. Here the back-face sequence is equally important because the treatment disappears after cutting or bonding.
A PDF montage cannot replace original-resolution files. I want enough detail to see mesh overlap, resin boundaries, and labels without losing the full-slab context. Marble mesh backing should never be documented as an anonymous close-up.
Inspect White Marble Resin and Mesh Backing after Fabrication
After cutting, I compare the exposed edge, cutout, face, and rear condition with the approved slab map. New chips, opened fissures, visible fill, or altered backing are recorded by piece code. The acceptance decision uses the application and viewing distance, not a blanket promise that every repair is invisible.
A resin treated marble slab can produce several pieces with different visible treatment. I keep each piece linked to its slab and cutting position so a later question can be traced instead of debated from memory.
The forthcoming White Marble Repair Acceptance: Resin Lines, Pinholes, Edge Chips, Color-Matched Fill, and Final Lighting covers the visible repair decision after fabrication. This article stops earlier: it establishes what stabilization existed before cutting.
Where White Marble Resin and Mesh Backing Decisions Go Wrong
The first mistake is approving only polished faces. The second is treating all resin as identical. The third is cutting before overlaying sinks and anchors. The fourth is asking the installer to accept an unknown backing after delivery. None of these problems can be fixed by a better marketing photograph.
White marble resin and mesh backing must remain linked to the exact slab code. Batch-level statements are too broad when reinforcement location varies from slab to slab.
I also reject the phrase “standard factory treatment” when it replaces evidence. Show me the rear face, the affected area, the cutting plan, and the proposed installation system. Then we can make a project decision.
What to Do When White Marble Resin and Mesh Backing Appears Unexpectedly
First, photograph the front, back, label, affected zone, and adjacent pieces with a scale. Second, do not grind off mesh, apply adhesive, or install the piece until the condition is reviewed. Third, send the supplier the original slab photographs, cutting map, treatment record, adhesive plan, and factory inspection images for comparison.
The response may require a bond test, different preparation, a layout change, a replacement piece, or acceptance as supplied. Do not let an installer make that decision alone while adhesive is already curing.
Frequently Asked Questions
1. Is white marble resin and mesh backing always a defect?
No. Resin and mesh may be used to fill natural features or stabilize a slab. Approval depends on the treatment, location, proposed cuts, exposed edges, support, bonding system, appearance, and project requirements.
2. Why must both faces of a white marble slab be photographed?
The front shows color, veins, fill, and finish. The back reveals mesh, resin spread, patches, labels, and conditions that can affect cutting or bonding but disappear after installation.
3. Can a mesh-backed marble slab be used for a vanity top?
Possibly, but the fabricator must assess the exact slab, sink opening, remaining strips, edge detail, support, and treatment. The installer also needs an accepted bonding and preparation method.
4. How is adhesive compatibility checked on resin-backed marble?
Identify the rear treatment, proposed adhesive, primer, substrate, preparation, piece size, and environment. Follow manufacturer guidance and use a documented test or accepted system before production installation.
5. What should I do if unexpected mesh appears after delivery?
First, photograph both faces, the label, and the affected zone. Second, stop grinding and installation. Third, compare the condition with the approved slab images, cutting map, treatment record, and factory inspection through the supplier.
Quick-Reference Checklist for Resin and Mesh Inspection
- Photograph every selected slab from the front and back with its label visible.
- Mark face fill, back resin, full mesh, local patches, and treatment boundaries separately.
- Overlay sinks, outlets, anchors, narrow strips, and exposed edges on the back image.
- Ask the fabricator to assess each treated intersection before cutting.
- Document the adhesive, primer, preparation, substrate, and sample build-up where required.
- Trace every fabricated piece back to its slab and cutting position.
Final Conclusion
White marble resin and mesh backing needs a slab-specific record, a cutting overlay, a fabricator decision, and an accepted bonding route. Inspect both faces, trace every piece, and stop before cutting when treatment crosses a sensitive zone.
I would rather turn one more slab in the Esta Stone warehouse than let a hidden patch introduce itself beside a finished basin.

Referenzen
- Dimension Stone Design Manual, Natural Stone Institute.
- Natural Stone Institute Technical Bulletin: Repair of Dimension Stone, Natural Stone Institute.
- ASTM C503 Standard Specification for Marble Dimension Stone, ASTM International.
- ASTM C97 Standard Test Methods for Absorption and Bulk Specific Gravity of Dimension Stone, ASTM International.
- ASTM C880 Standard Test Method for Flexural Strength of Dimension Stone, ASTM International.
- Natural Stone Flooring and Paving Technical Guidance, Stone Federation Great Britain.
- Epoxy, Wikipedia, Wikimedia Foundation.