

White Marble Adhesive Selection When the Wrong Background Shows Through
Put four matching white marble tiles on a warehouse rack and they may look perfectly calm. Install them, and two can develop grey crescents while another reveals parallel trowel bands under the vanity lights. The batch did not suddenly change. White marble adhesive selection, coverage, substrate, and moisture created a pattern behind the stone.
I want the assembly tested before repeated work begins. Use the actual marble thickness and backing, proposed adhesive, waterproofing, substrate, trowel method, grout, cure conditions, cleaner, sealer if specified, and project light. A loose sample cannot answer an installed question.
Start White Marble Adhesive Selection with the Actual Stone
I check translucency by holding a strong light near an edge and by placing the piece over light and dark neutral backgrounds. Thin, pale, crystalline, or locally translucent material can reveal more from behind than a dense grey-veined piece.
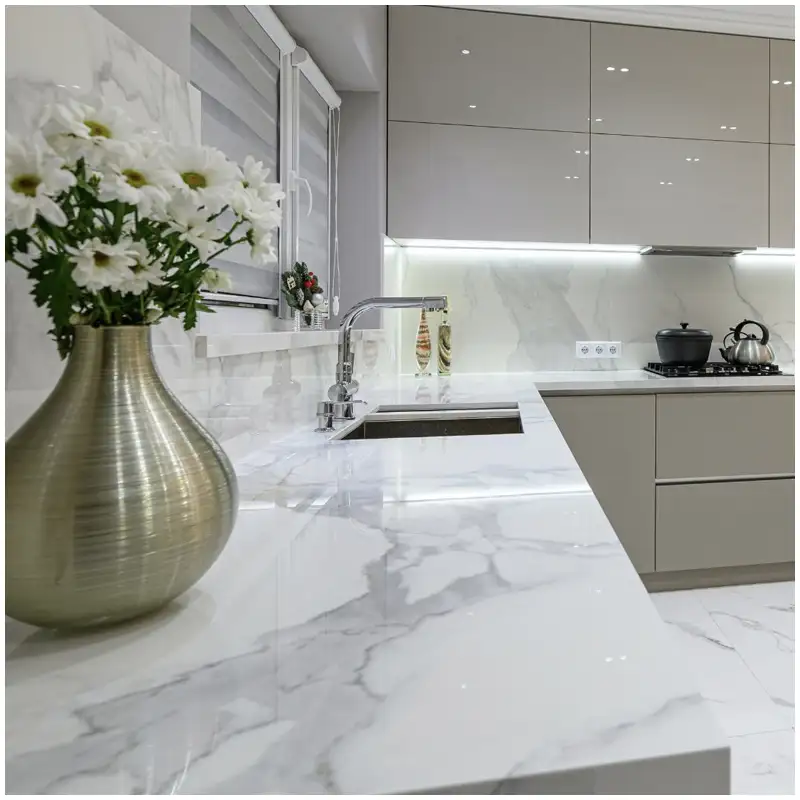
Der White Marble Slabs: Complete Guide to Types, Selection, Price, Bathrooms, Lighting, and Batch Control gives the selection and batch framework. Adhesive testing follows that work because one installation method cannot erase meaningful differences between varieties, thicknesses, resin treatments, and slab sections.
Marble consists mainly of calcite, though other minerals and structure affect color and light behavior. I do not use geology as an excuse. I use the visible character to decide how demanding the assembly test must be.
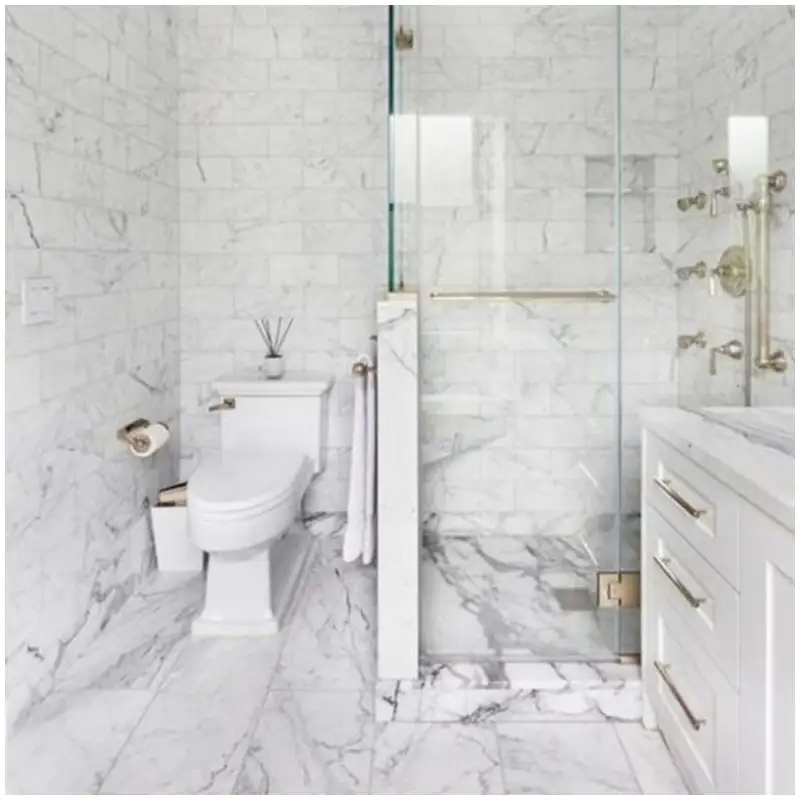
A Calacatta Gold marble slab selected for a bathroom may have broad pale fields beside stronger veins. Those quiet areas can make backing shadows easier to see, especially around vanity lighting.
Reject the phrase any white adhesive
Product color is one variable. Open time, cure chemistry, water demand, layer thickness, substrate compatibility, stone backing, manufacturer limits, and installer method also matter. I ask the adhesive manufacturer and installation professional to confirm the system for the actual stone and exposure.
A white stone adhesive should be evaluated after curing, not judged only from wet material in a bucket. Some differences reduce as moisture leaves; others remain because coverage or background contrast is uneven.
Build a Test Panel That Can Fail Honestly
A useful panel includes several pieces from the production range, at least one quiet face, one stronger vein area, and any resin-backed or mesh-backed condition present in the order. It uses the intended joint, edge, grout, substrate, waterproofing, and cleaning process.
Room-side light belongs in white marble adhesive selection. I inspect under a stable 4000K warehouse source and then under the project’s expected 3000K or 4000K bathroom lighting. Lighting lies when one source is treated as universal.
A Sivec white marble tile can read very clean under cool light. Under warmer mirror lighting, a cream substrate or uneven dampness may become easier to notice across repeated wall pieces.
| Test item | Pass evidence | Warning sign | Required record |
|---|---|---|---|
| Adhesive color | Uniform background after cure | Warm, grey, or patchy cast | Product ID, batch, cured photographs |
| Coverage | Continuous support suited to the system | Trowel ribs or hollow-looking bands | Application method and lifted control piece |
| Moisture | Even drying without persistent dark zones | Edges dry while centers remain shadowed | Cure timeline and environmental notes |
| Backing | Compatible bond to mesh, resin, or bare stone | Delamination or differential color | Backing identification and manufacturer response |
| Lighting | Accepted under inspection and room light | Passes in one light and fails in another | Lamp type, color temperature, viewing distance |
| Cleaning | No staining or residue after approved method | Darkened joints, hazing, or absorbed cleaner | Cleaner, dilution, timing, final images |
The Hard-Won Lesson: The Trowel Pattern Became the Wall Pattern
Imagine a test that uses one small tile and looks clean. Production switches to larger pieces, keeps the same casual spreading method, and leaves regular adhesive ridges beneath pale fields. Under grazing mirror light, those ridges read as repeated grey bands. The stone face has no matching mineral pattern, so the likely cause is already visible before anyone removes a tile.
The Lesson: Prove full, even support on the real piece size before repeating the installation method.
Control Coverage without Guessing from the Face
I ask the installer to lift a control piece during the test and record the transfer pattern before cure. The installation professional follows the adhesive manufacturer’s method and applicable standard; I judge whether the resulting face remains even and whether edges receive reliable support.
A marble test panel is not a sales display. Mark the date, products, batches, substrate, trowel, installer, ambient condition, cure milestones, and exact pieces used. Keep it long enough to reveal delayed changes.
Der Bathroom Vanity Top Supplier for White Marble Project Orders helps coordinate cut pieces and bathroom use. For wall cladding and vanity aprons, I add the installation background to the same approval route.
Separate Moisture Shadow from Material Variation
Freshly installed stone often darkens where moisture enters. The pattern, timing, and recovery matter. Uniform temporary darkening differs from isolated wet pockets, leaking services, saturated substrates, edge entry, or stains carried by contaminated water.
Because drying is not instant, white marble adhesive selection tracks the panel at agreed intervals instead of inventing a universal cure time. Product system, layer thickness, substrate, ventilation, temperature, humidity, stone structure, and waterproofing can all change the result.
A Carrara white marble slab often carries soft grey movement. I compare suspicious shadows with dry full-slab photographs so normal mineral tone is not misdiagnosed as moisture.
Do not seal a wet answer into the stone
Sealer is not a repair for trapped moisture or poor coverage. Before applying any treatment, the responsible installer checks product compatibility and confirms that the test panel has reached the condition used for approval.
The first adhesive shadowing review uses side light and face light. A regular geometric pattern often points behind the stone; a natural irregular line may follow the mineral structure. Both need evidence, not immediate blame.
Approve the Finished Assembly by Area
I approve material range, adhesive system, installation method, grout, and lighting as connected records. The project identifies where the panel applies and whether floors, wet walls, dry walls, vanity faces, or thicker pieces need separate tests.
White marble adhesive selection belongs before the first repeated room. If the project changes marble thickness, backing, adhesive, waterproofing, substrate, or lighting, I reopen the test instead of assuming the old result follows.
Der Statuario Marble Slab Approval Photos, Lighting, and Bathroom Use shows how full-slab and lighting evidence protect selection. Installation approval adds the layers behind that accepted face.
A second white stone adhesive check verifies the exact product and batch delivered to site against the approved panel record. Similar packaging or a supplier substitution is not enough.
Investigate Dark Patches before Pulling Stone Off the Wall
First, photograph the whole area and coded close views under known light. Record installation date, substrate, adhesive batch, moisture sources, ventilation, cleaning, and whether the pattern changes over time. Do not flood, heat, seal, polish, or remove the affected area before the responsible team sees it.
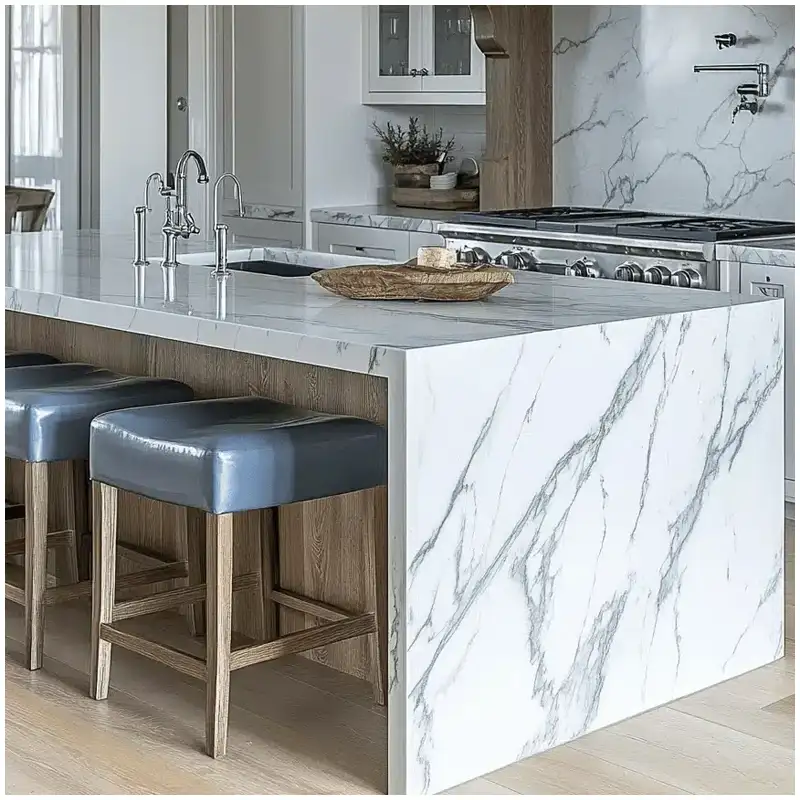
When patches appear, white marble adhesive selection is checked against trowel direction, joints, service routes, backing, slab photographs, and the control panel. That comparison narrows causes without pretending a remote photograph can prove chemistry.
A second marble test panel may be needed when a site condition differs from the approved assembly. Reproduce one changed variable at a time or the test produces another argument.
Release Repeated Bathrooms Only after the Panel Holds
I record who accepts appearance, who confirms technical compatibility, and who controls installation. The warehouse can identify material and finish; the adhesive manufacturer and installer own their system instructions; the project designer accepts the visible result.
For repeated rooms, white marble adhesive selection ties the accepted assembly to drawings, material batch, and inspection. If a new batch introduces noticeably different translucency, I ask for a comparison before assuming the original backing effect remains invisible.
After cleaning, adhesive shadowing is checked under the final light position. Construction lamps at a shallow angle can exaggerate temporary conditions, while finished mirror lights may reveal others.
If the result is wrong, white marble adhesive selection becomes a practical stop: document the issue, halt the affected method, and send the supplier and installation team the approved panel record before anyone covers or destroys the evidence.
My white marble adhesive selection verdict is strict because the visible wall is an assembly. Do not just look at samples. Approve the layers that will sit behind them.
Frequently Asked Questions
1. Why can white marble show adhesive shadows?
Pale or locally translucent stone can reveal background color, uneven coverage, moisture, trowel patterns, substrate variation, or backing differences. A controlled assembly test helps separate those causes.
2. Does white adhesive guarantee an even marble face?
No. Color helps, but compatibility, coverage, layer thickness, substrate, backing, moisture, cure, and installer method still affect the result.
3. How large should a marble test panel be?
Use enough actual pieces to represent quiet and veined areas, production size, joints, backing, substrate, adhesive method, grout, and project lighting. One small tile is rarely enough.
4. When should white marble adhesive selection be repeated?
Repeat or extend testing when stone batch, thickness, backing, adhesive, waterproofing, substrate, grout, sealer, lighting, or installation method changes materially.
5. What should happen first when dark patches appear after installation?
Photograph the full area and details, stop repeating or treating the affected work, and compare site conditions with slab images, product batches, method records, and the approved test panel.
Quick-Reference Adhesive Test Checklist
- Select production pieces that represent quiet, veined, and translucent areas.
- Record stone thickness, backing, substrate, waterproofing, adhesive, grout, and cleaner.
- Install the real piece size with the intended trowel and coverage method.
- Inspect under stable warehouse light and the planned bathroom light.
- Track cure and moisture changes without forcing a universal timeline.
- Approve the complete assembly and define exactly where that approval applies.
- Reopen testing whenever a material or installation variable changes.
Final Conclusion
White marble adhesive selection succeeds only when the actual marble, backing, substrate, waterproofing, adhesive, coverage, grout, cure, cleaning, and project light produce an accepted test assembly.
At Esta Stone, I reject a neat-looking panel if it has not proved what will sit behind the marble.

Referenzen
- Dimension Stone Design Manual, Natural Stone Institute.
- ASTM C503 Standard Specification for Marble Dimension Stone, ASTM International.
- ASTM C1528 Standard Guide for Selection of Calcite Dimension Stone, ASTM International.
- TCNA Handbook for Ceramic, Glass, and Stone Tile Installation, Tile Council of North America.
- Natural Stone Tiling Technical Guidance, Stone Federation Great Britain.
- ANSI A108/A118/A136 Installation Standards, Tile Council of North America.