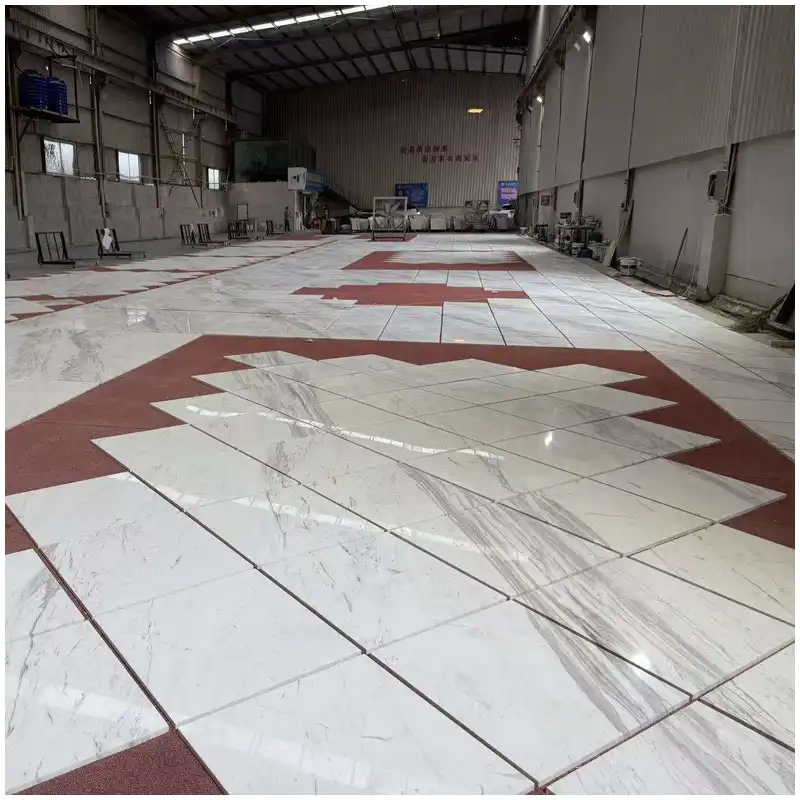
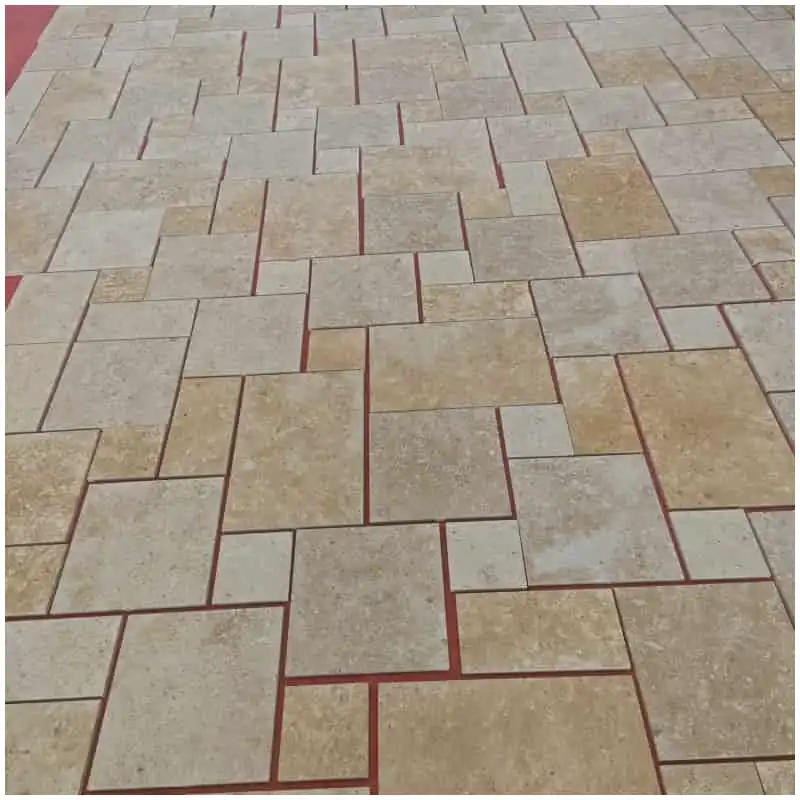
Marble Kitchen Countertop: 2026 Proven White Marble Guide
When a client asks me about a marble kitchen countertop, the conversation usually opens with an island photo and closes with a price question. Between the photo and the price sits the slab: family, base density, board thickness, basin cutout and seams are settled at the rack before the order is written.
The white range is narrower than clients expect, and each family behaves differently on a countertop. Carrara, Calacatta, Statuario and Sivec all read as white, yet each shows a different base tone, vein density and answer to the same kitchen question. The Marble Slabs Procurement Guide 2026 documents the full order cycle, from the inquiry to the opened container.
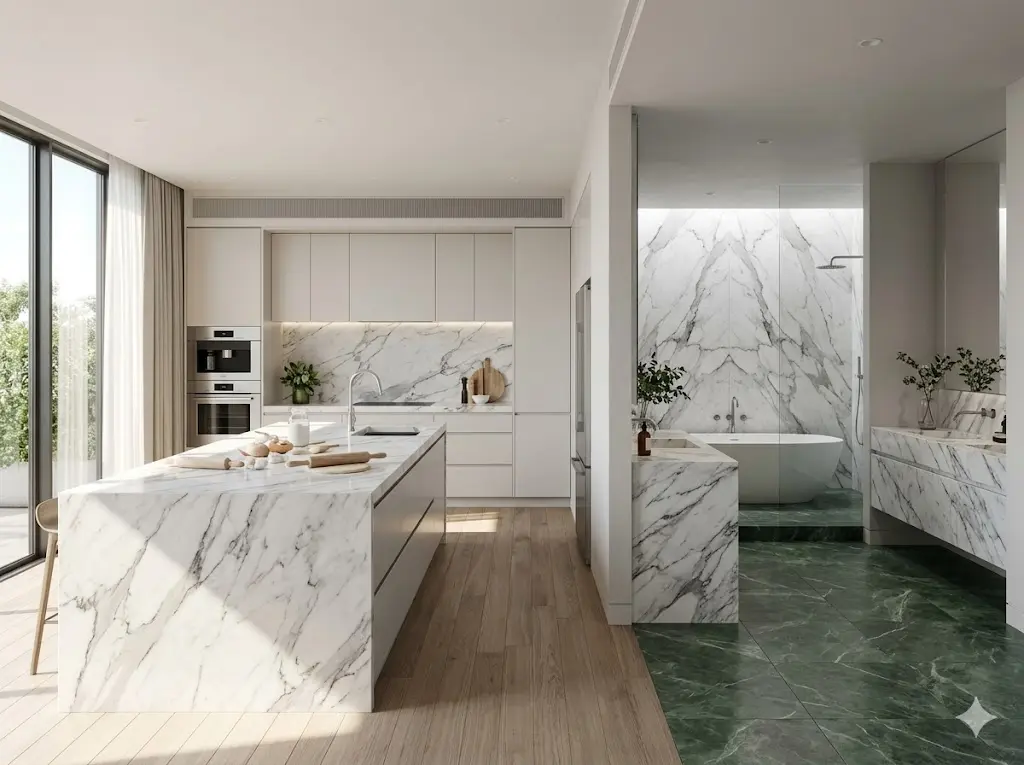
Table of Contents
- White Marble Families: Base Tone and Vein Density
- Etching and Staining on a Marble Kitchen Countertop
- Slab Thickness: 18, 20 or 30 mm
- Basins, Cutouts and Seams: Layout before the Slab Is Cut
- When the Dry-Lay Fails: My Three-Step Route
- Frequently Asked Questions
- Related Project Guides
- Final Conclusion
- Referenzen
White Marble Families: Base Tone and Vein Density Decide the Top
White marble is not one stone, and the name on a quotation tells less than the slab in front of the buyer. Four things separate one white board from another: base whiteness, vein colour, vein density and face evenness, and how the block was formed explains most of the difference.
Carrara: A Cool Grey Base That Stays Quiet
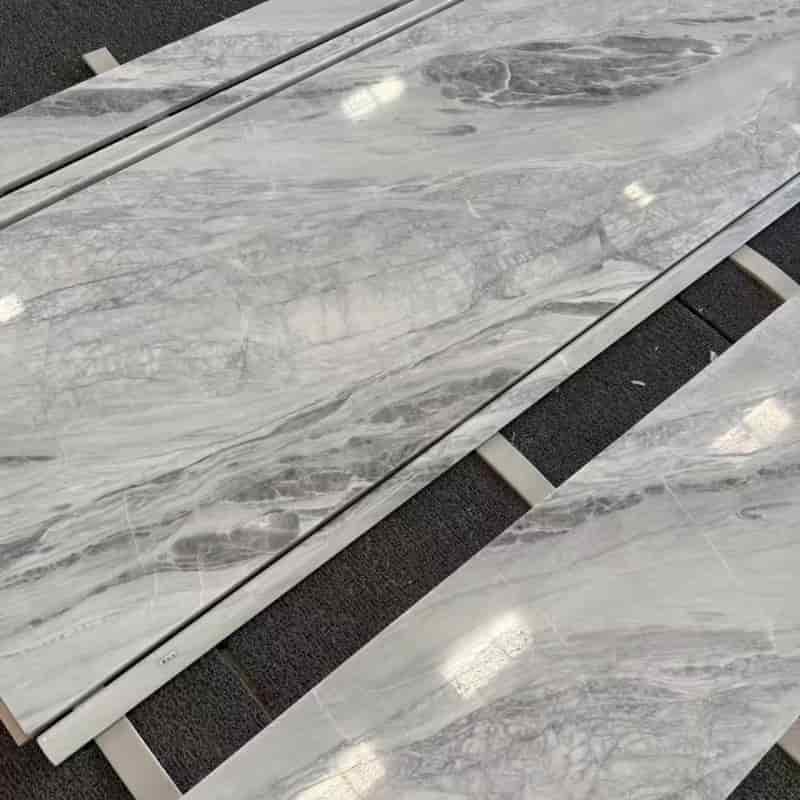
Carrara runs a cool grey-white base with soft grey veining, and the tone shifts between blocks. The quiet look suits large surfaces, and moderate vein density keeps seams from becoming the focal point. The base colour is checked across the bundle, because one end of a block can run brighter than the other, so I confirm the tone on the slabs before quoting.
Calacatta: Bold Veins on a Bright Base
Calacatta starts from a brighter white base and shows thicker grey and gold veining, which is why it is chosen when the stone is the decoration. The busier Arabescato expression sits in the same visual family. With either one, vein density is the question: heavy veining changes yield, because cuts must follow the pattern and a bookmatched pair needs two boards from one bundle.

Statuario: Bright Base, Sparse Veins, Grade Discipline
Statuario pairs a bright white base with sparse grey veins, and grade discipline decides the result. Base differences that pass in Carrara become visible on a Statuario top, so the boards of one bundle stay together. Sparse veining leaves less pattern to hide behind, which means a tone jump or a seam shows faster than on a busier stone, so the tone is checked across the bundle before cutting. The Statuario Bianco slabs page shows that range.
Sivec: Uniform Brightness for Large Surfaces
Sivec, from the Prilep region of North Macedonia, pairs a bright white base with light grey hairline veining, and that evenness is its strength. For a long countertop run, a full-height backsplash wall or any top where white should read as white, Sivec holds an even field across boards.
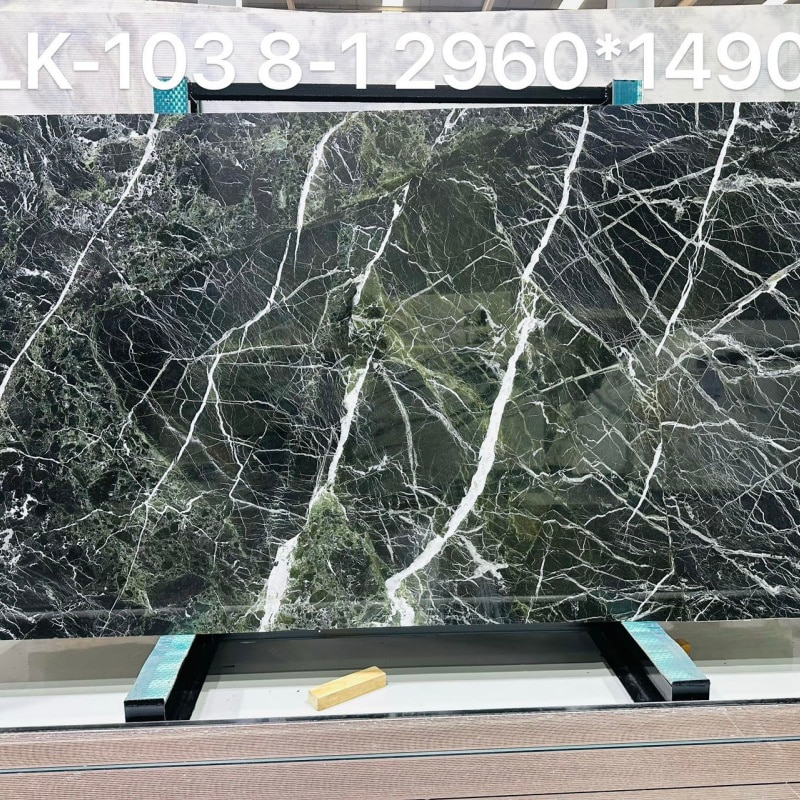
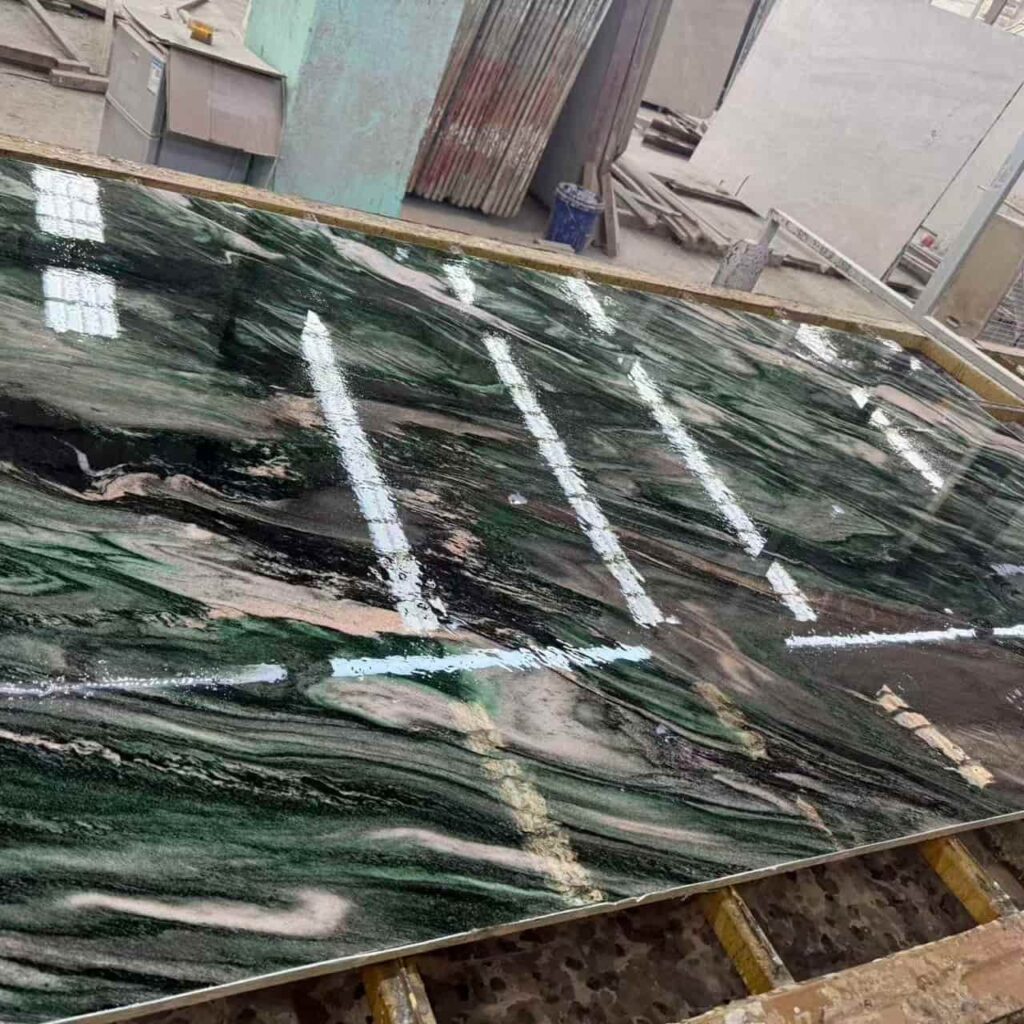
Coloured marble earns a contrast role. A green marble band behind a cooktop or a coloured shelf in a niche gives the eye a resting point while the white stone stays dominant. The marble stone range holds those accent boards, and the tone is matched on the same visit as the white selection.
Etching and Staining on a Marble Kitchen Countertop: What the Stone Data Shows
Etching and staining are the first two questions I hear on any marble kitchen countertop, and both deserve an honest answer before the order. The top meets acids, oils and heat every day, so the stone data sets the boundary: how a face reacts to lemon, red wine or a wet glass depends on the finish, the density and the product documentation.
What Etching Actually Does to a White Marble Face
Etching is an acid reaction with the calcite in the stone, and the acids arrive with citrus, vinegar and wine. The visible result depends on the finish: a polished face shows the contact as a dull spot that catches side light, while a honed face starts matte and moves less. Neither finish is a free pass, and both faces can be renewed by re-polishing later.
Where Stains Come From and What the Slab Data Says
Staining is different: oils and dark liquids penetrate the face, and how far depends on how absorbent the slab is. Absorption is measured under ASTM C97, and I ask for the value on the actual batch. Denser faces with fewer open fissures report lower absorption, yet the value varies slab to slab. Whether a stone needs a sealer depends on the finish, the measured absorption and the documented performance, not on a universal instruction; a sealer can slow oil staining but does not stop the acid reaction.
Settling the Etch and Stain Question in the Project Specification
What gets settled at selection is the plan for the marble kitchen countertop: the food preparation zone, the finish, the absorption data the order requires, where sealer performance data must come from before installation, and a written record of the decisions signed by the designer and the fabricator. The aim is not to promise a stone that cannot mark; it is to agree how the stone will be used.
Slab Thickness: 18, 20 or 30 mm for a Marble Kitchen Countertop
Thickness is invisible in a photograph and obvious on the installed edge. Slabs are sawn to nominal depths, and the ticket number is only a starting point, so I confirm the measure on the board. The right depth for a marble kitchen countertop depends on the span, the substrate, the edge profile and the overhang, and it is settled with the fabricator against the support plan rather than by a default. The full depth-by-use breakdown for walls, vanities and furniture is in the white marble slab thickness guide.
18 mm Slabs: Light Boards for Walls and Supported Tops
An 18 mm slab is a light board for backed locations: backsplashes, niche linings and wall panels, where the substrate holds the face across its whole area. Used as a countertop it needs full support and short spans, because the safe unsupported distance is an engineering question: flexural strength is measured under ASTM C880 and varies by stone, so the span and support plan are confirmed with the fabricator or an engineer rather than assumed.
20 mm Slabs: The Vanity Default with a Support Plan
Twenty millimetres is the common starting point for bathroom vanity tops and for a marble kitchen countertop that sits fully on cabinetry with the support plan confirmed for the run, and it takes an eased edge without looking heavy. The cutout is where the care concentrates: once a basin or tap hole is removed, the load path runs through the stone around the opening, so I confirm the support layout around the cutout before cutting.
30 mm Slabs: Islands, Overhangs and Deeper Edges
Thirty millimetres comes in where the edge profile and the overhang require the deeper board on a marble kitchen countertop, such as an island overhang or a mitered edge that returns the face around the corner. The depth adds weight and price per square metre, so it is specified only where the plan needs it. Whether 30 mm suits a given overhang depends on the stone’s tested flexural strength, the edge geometry and the support frame, so span and support are confirmed with the fabricator or engineer before ordering; overhangs from the kitchen countertop range get the same check.
Basins, Cutouts and Seams: Layout before the Slab Is Cut
The layout is a pre-order decision: it sets how many slabs the project needs, where the seams fall and which veining shows on the finished top. A marble kitchen countertop layout is finished only when the seams and cutouts sit on the real boards; a drawing cannot show where a fissure or a resin repair sits on the stone, so I work from the actual boards with the cutting list.
Basin Cutouts and Tap Holes on a Marble Top
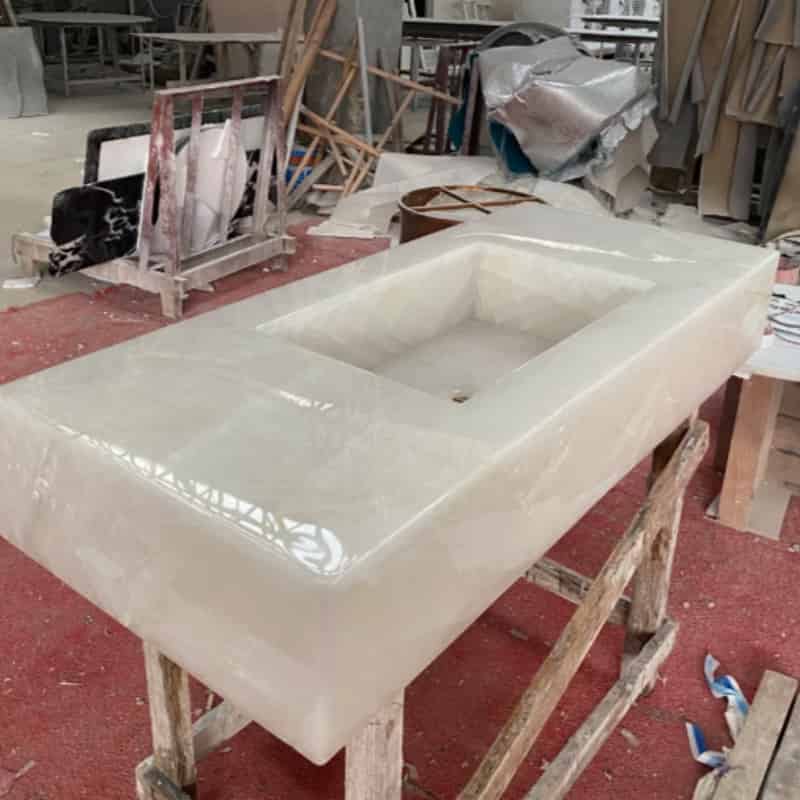
The basin area is where a marble top is weakest, because the sink opening concentrates stress around the hole. I keep the cutout away from marked fissures and resin repairs and ask for generous radius corners, because a tight corner concentrates load. An undermount basin leaves the countertop cutout exposed inside the bowl, so the cut edge is finished clean and tap holes stay clear of the chosen veining. Templates come after the walls and cabinets are finished, because a top cut early cannot be adjusted to the finished room.
Seams: Where They Fall and How the Veins Match
A run wider than one slab has a seam somewhere; the question is where it sits and whether the two neighbours agree. Seams are placed at cabinet junctions or in the quieter part of the run, away from the basin, and the paired slabs are dry-laid together so the vein flow is judged as one. Slab numbers that match across a seam go into the order, so the matched pair is not split later.
Yield and Slab Count: How the Layout Moves the Order
Veining direction decides yield as much as dimensions do. An island wanting the vein along its full length takes the slab that way, leaving offcuts for the pantry, while a bookmatched pair doubles the visual width and uses two boards at once. Yield is where the slab count and the budget meet, so the layout is checked against the bundle before the order.
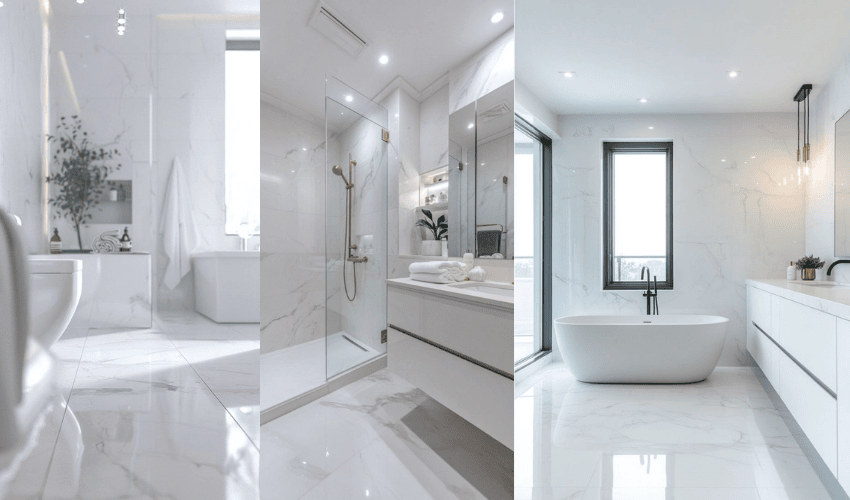
A bathroom vanity top follows the same selection route, and shower walls and floors add finish, slip and joint questions that belong to the installation stage; the honed vs polished white marble in bathrooms guide answers those in full. A marble kitchen countertop decision, in turn, stays on the rack: family, finish, thickness and layout are settled on the real boards before the order.
When the Dry-Lay Fails: My Three-Step Route
When the dry-lay shows a condition the drawing cannot absorb, the order is held and a fixed three-step route is worked, so the evidence stays clean and the decision can be reversed later.
- Document the run as it stands. Photograph the dry-laid boards under the room light with slab numbers visible, note where the tone drift or the lippage starts, and mark which slab numbers the condition affects.
- Isolate the condition before touching the stone. Re-check the boards against the approved reference and decide whether the problem is a repositionable board, a group that needs re-sourcing, or a light or substrate condition that changes the reading.
- Escalate with the file and hold the order. Send the photographs and the slab numbers to the supplier with one clear question, and keep the boards on hold until the release comes back in writing; a verbal reassurance is not a release.
Frequently Asked Questions
1. Which white marble family works for a marble kitchen countertop with regular food preparation?
The right family depends on base tone, vein density, finish and the measured batch absorption, and no single answer fits every kitchen. For a bright quiet field, Statuario or Sivec leads the shortlist; for drama, Calacatta; for a calm grey-white look, Carrara. The dry-lay and the test data confirm the choice before ordering.
2. Should I choose an 18, 20 or 30 mm slab for my marble kitchen countertop?
It depends on the span, the substrate, the edge profile and the overhang of the planned marble kitchen countertop. An 18 mm top belongs on full support with short spans; 20 mm is the common starting point for fully supported runs once the support plan is confirmed; 30 mm is chosen where the edge profile or overhang requires the deeper board, with span and support checked by the fabricator or engineer. Thickness alone does not set a safe span, so the board is measured and the support plan confirmed before the order.
3. Where should the seams and the basin cutout sit on a white marble countertop?
The basin cutout belongs away from marked fissures and resin repairs, with generous radius corners so the opening spreads stress. Seams belong at cabinet junctions or in the quieter part of the run, away from the basin, with the two neighbours dry-laid together before cutting. Matching slab numbers are recorded in the order so the pair is not split later.
4. Can white marble slabs go on bathroom shower walls and floors?
Yes, when the conditions are checked at selection. Shower walls need a finish suited to wet contact, batch absorption data under ASTM C97 reviewed before ordering, and a joint layout that works inside a complete waterproofed assembly of substrate and membrane, penetrations, drainage and movement joints; the seam plan alone is not the waterproofing layer. Wet-area floors add documented slip testing on the chosen finish. Confirm each condition against the actual boards and the project specification before ordering, and keep a spare board from the batch when a later repair is a real risk.
5. How do I confirm what a slab will look like before I place the order?
Stand the boards side by side under the light the stone will live in, and check base tone and vein density across the planned seams. Photograph them with the slab numbers visible, then pull the absorption and flexural strength values for the batch and compare them with how the room will use the stone.
Final Conclusion
A marble kitchen countertop is decided before the saw runs: the family chosen against the actual slab, the etch and stain boundary set from test data, the thickness matched to the span and the support plan, and the layout planned on the real boards. Each of those decisions is easier to change at the rack than after the cut, which is why I put it in writing before the order is placed. Esta Stone keeps the selection on the real slabs, where family, thickness and layout are agreed before the order is written.
Referenzen
- Marmor, Wikipedia.
- ASTM C503/C503M, Standard Specification for Marble Dimension Stone
- ASTM C97/C97M, Standard Test Methods for Absorption and Bulk Specific Gravity of Dimension Stone
- ASTM C170/C170M, Standard Test Method for Compressive Strength of Dimension Stone
- ASTM C880/C880M, Standard Test Method for Flexural Strength of Dimension Stone
- ASTM C99/C99M, Standard Test Method for Modulus of Rupture of Dimension Stone
- ASTM C119, Standard Terminology Relating to Dimension Stone
- ASTM C1528/C1528M, Standard Guide for Selection of Dimension Stone
- Natural Stone Institute, Dimension Stone Design Manual (selection, fabrication and installation guidance for natural stone)