Calacatta Gold Shower Walls before Niches, Corners, and Warm Light Break the Slab
A warm gold vein crosses the slab with plenty of white field around it. Then the shower drawing arrives. The niche takes the quiet center, the mixer hole cuts through a dark branch, and the return panel needs a strip from another slab. I do not release that layout. The stone is fine. The cutting plan is the problem.
My rule for Calacatta Gold shower walls is simple: approve the room elevation on full-slab images before approving individual panel sizes. I want the left wall, plumbing wall, return, niche, bench, curb or threshold, ceiling line, and visible outside edge placed on numbered faces. Do not just look at samples.
Approve Calacatta Gold Shower Walls from the Actual Slab Range
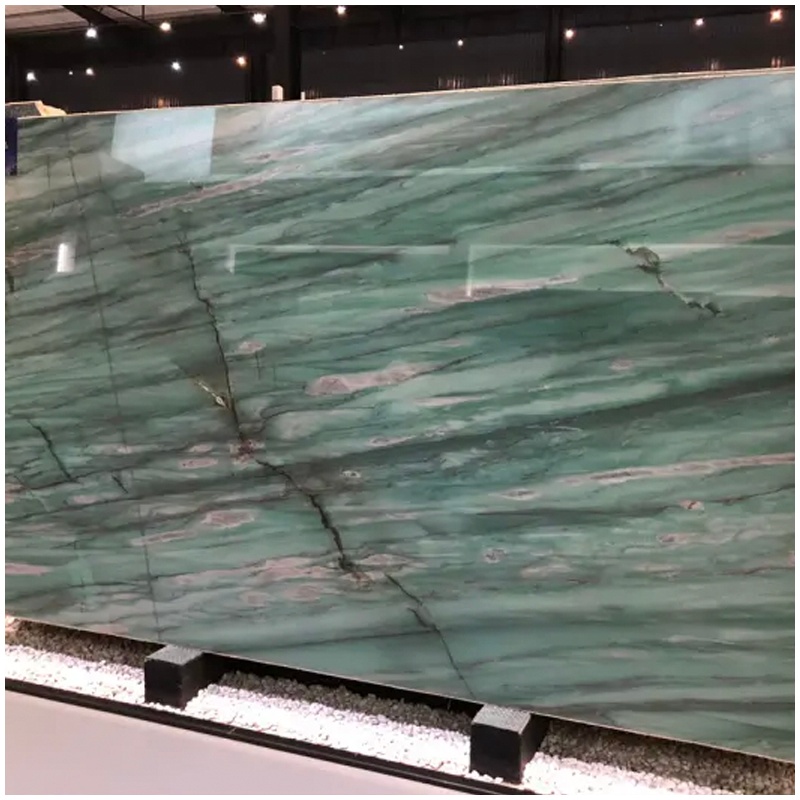
Calacatta Gold is not one fixed drawing. One lot may carry fine grey lines with restrained honey accents. Another may show broad warm movement, taupe clouds, open white areas, or stronger mineral islands. The commercial name does not promise that every slab belongs on the same shower elevation.
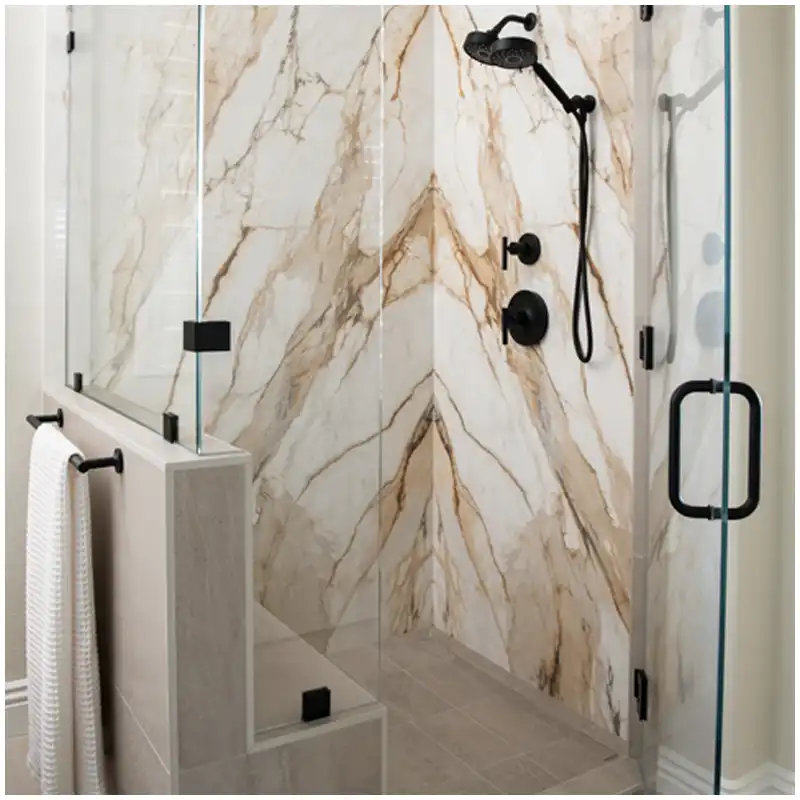
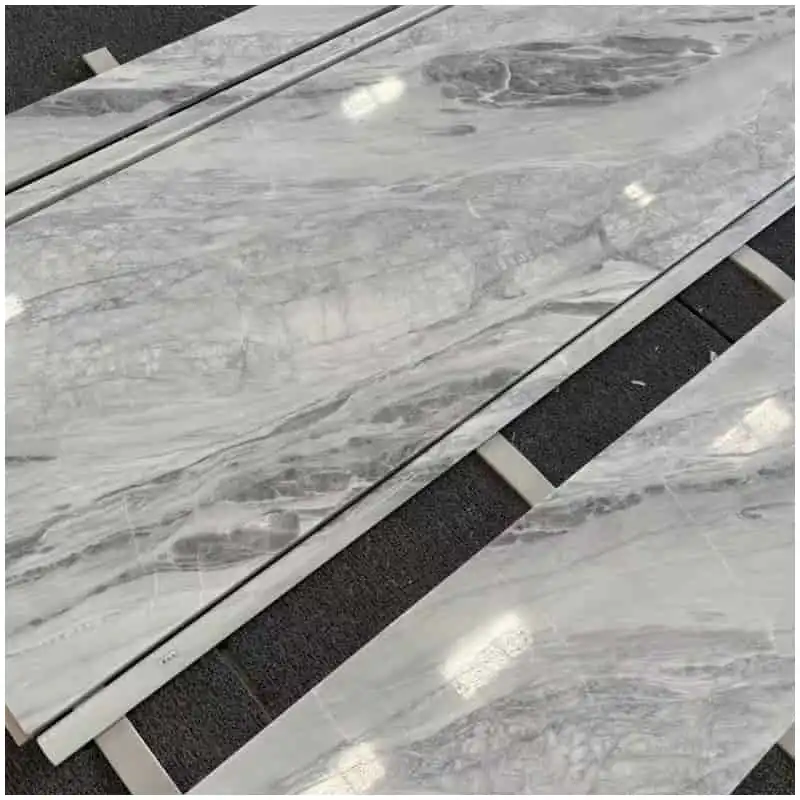
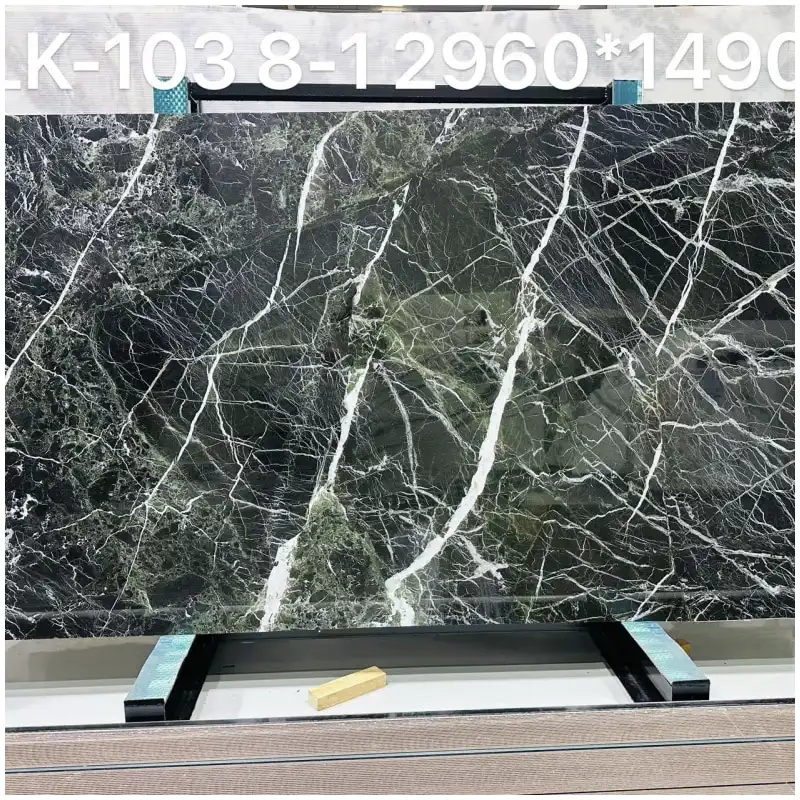
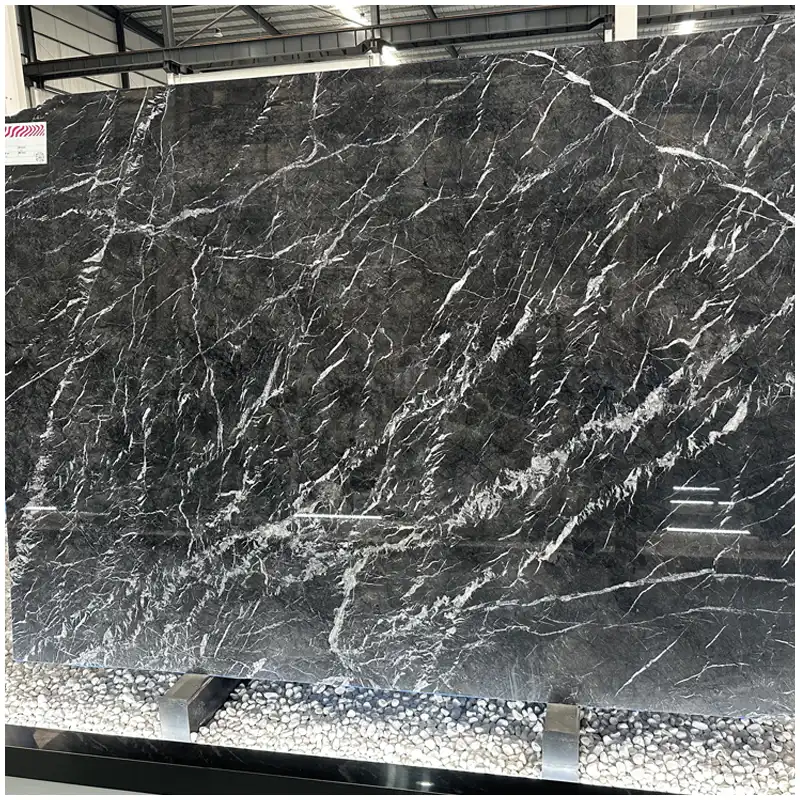
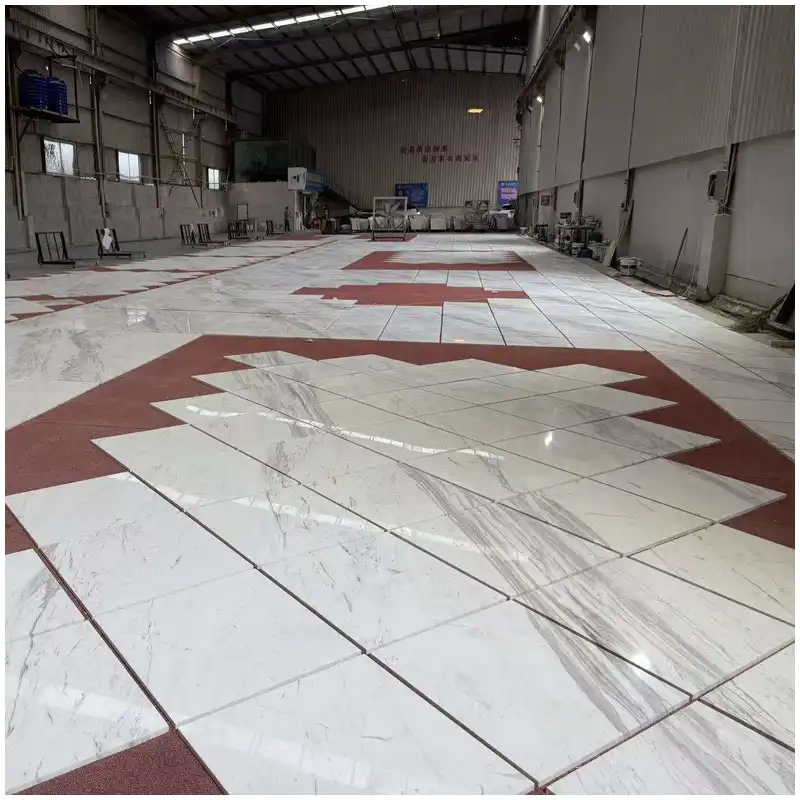
I ask for straight full-face photographs with slab IDs, dimensions, visible finish, and color reference. I also want angled views when polish or resin reflection hides the surface. Cropped detail photographs can show texture, but they cannot prove the balance of white field and movement across a wall.
The Calacatta Gold marble slab for bathroom is useful only after the proposed face is matched to the room. A calm slab may belong behind a vanity or on the main shower wall. A more animated face may work where the architecture gives it enough uninterrupted area.
For Calacatta Gold shower walls, batch range matters across adjacent rooms as well as within one room. A hotel can accept natural variation while still controlling the overall direction. I group slabs into usable ranges, assign them to room types, and retain photographs of the approved limits. A verbal note saying “similar color” is not an inspection standard.
| Warehouse check | Pass record | Hold condition | Room consequence |
|---|---|---|---|
| White field and undertone | Range photographed under controlled neutral and warm light | One slab reads grey while its neighbor turns cream | Corners reveal an unintended color break |
| Vein scale | Major movement mapped across the elevation | The strongest branch disappears into a cutout | The main wall looks fragmented |
| Finition | Representative sample accepted under project light | Gloss, hone level, or surface treatment varies | Panels reflect light as separate products |
| Repairs and natural features | Locations disclosed on identifiable slab images | A repair lands beside a niche edge or fixture hole | Side light makes the area conspicuous |
| Panel sequence | Piece IDs and viewing direction match the elevation | A return is cut from an unrelated face | The vein stops at the corner without intent |
Those checks are visual controls, not promises about installation performance. The responsible designer, installer, waterproofing specialist, fabricator, and local authority determine the wet-area assembly and applicable requirements. My warehouse record makes sure the approved stone can be traced through that work.
Map the Whole Shower before Cutting One Panel
I place the finished elevation over the full slab image. Every panel receives an ID, orientation arrow, finished size, joint allowance, cutout, edge note, and source slab. The map also shows which edges meet at corners and which faces remain visible from the bathroom entrance.
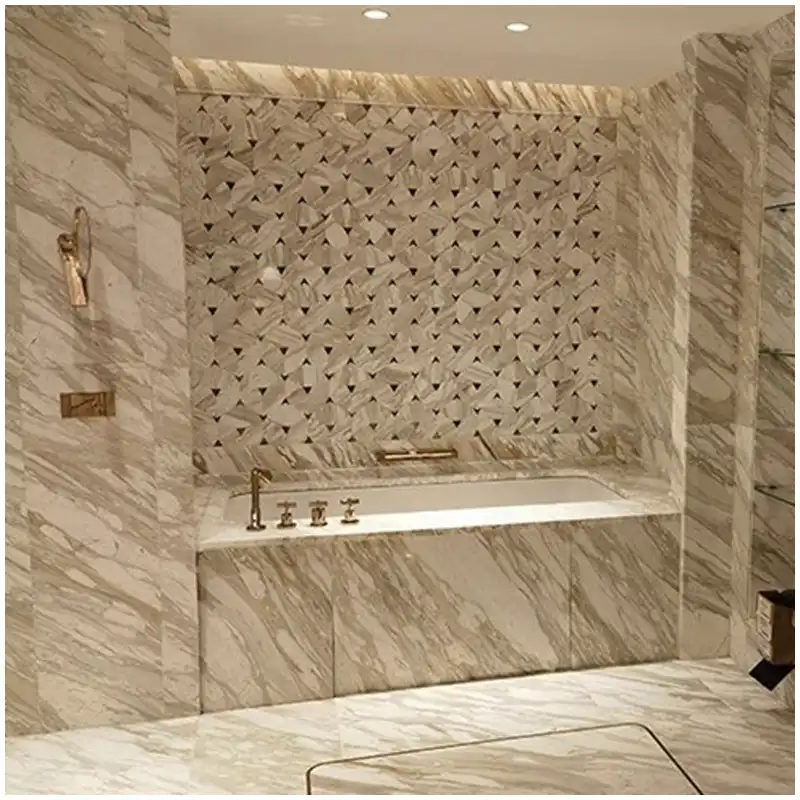
With Calacatta Gold shower walls, I look for a visual hierarchy. One wall may carry the main movement. The return can continue it quietly or provide a controlled pause. The plumbing wall should not collect every busy offcut simply because fixtures already interrupt it.
Joint placement belongs in that composition. A joint through a broad white field is visible in a different way from a joint following movement. I do not hide joints by pretending they disappear. I place them where panel size, handling, substrate, installation system, and the visual rhythm can agree.
Slab yield matters, but yield cannot be the only author of the wall. A layout that saves one strip may reverse a vein or place an unrelated patch beside the shower entrance. I ask the supplier to show alternate maps when material quantity is tight, then the project team chooses with both appearance and replacement allowance visible.
The broad comparison in Calacatta Gold vs Calacatta Viola helps explain why Gold usually needs a different visual rhythm from a highly colored Viola face. This shower plan stays with Gold and asks how its quieter warm movement survives real openings.
Cut Niches, Corners, and Fixture Openings with the Vein in View
A niche is several small elevations, not one rectangular hole. It has a back, top, bottom, and sides. The front wall exposes all of them at once. I decide whether the niche lining continues the surrounding vein, uses a quieter matching area, or intentionally changes scale. Random strips make the opening look patched.
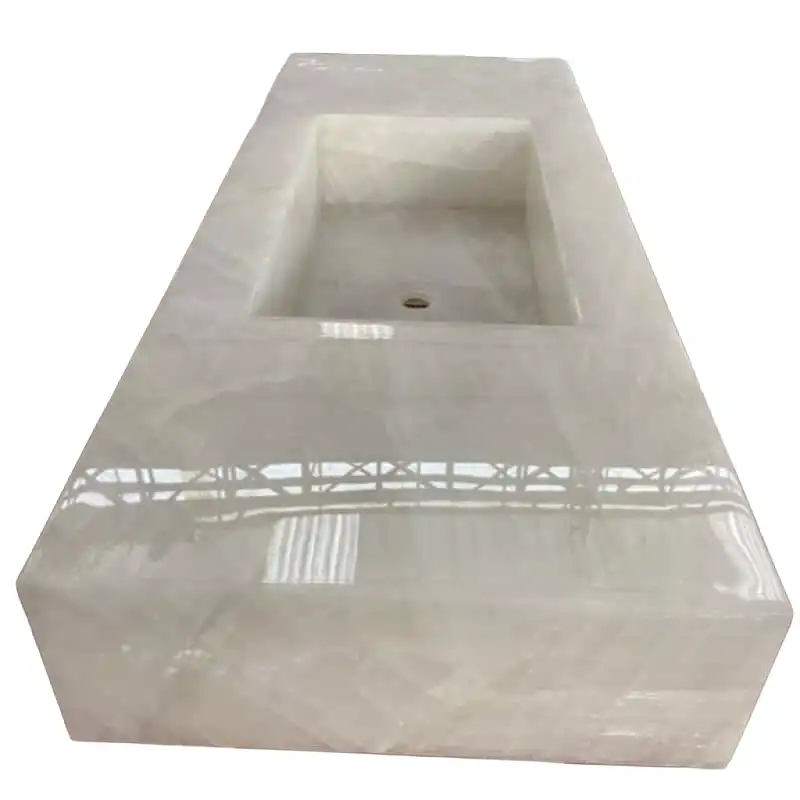
For Calacatta Gold shower walls, the niche shelf also needs drainage and an exposed-edge decision. A mitered return, solid-looking apron, or simple polished edge changes which part of the stone face remains visible. The fabricator needs the final construction before the cut map is approved.
Valve openings, shower-arm holes, hand-shower rails, grab bars, and accessory fixings should appear on the elevation. I avoid placing an inside corner, narrow bridge, or visually dominant vein beside a cutout without fabricator review. Natural movement is not a defect, but the geometry can turn a beautiful feature into a risky or awkward piece.
Corners are where lighting lies most clearly. One wall may face the downlight while the return sits in shadow. The same slab can appear warmer on one plane and cooler on the other. I compare the intended corner under directional light rather than judging two panels flat on a bright warehouse floor.
The Calacatta Gold marble tile can support smaller modules, but tile format does not remove pattern planning. A shower assembled from repeated pieces still needs a deliberate mix, joint layout, and control sample, especially when bold veining crosses several units.
The Hard-Won Lesson: Never Let the Niche Eat the Only Quiet Field
A cut map can place the niche in the broadest white area because the rectangle fits neatly there. After cutting, the calm field disappears into the recess while the visible wall keeps only broken gold branches around the opening. The material has not changed, yet the room reads much busier than the approved slab photograph.
The Lesson: Judge the elevation after every opening is removed, and preserve the visual space the wall needs to breathe.
Coordinate the Stone with the Wet-Area Assembly
Marble is primarily calcite-based and can react with acids. That fact matters in cleaning and maintenance, but it does not define the complete shower assembly. Substrate preparation, waterproofing, setting materials, joints, movement accommodation, slope, sealing decisions, ventilation, and cleaning products require project-specific guidance.
I ask which surfaces receive stone, which edges remain exposed, where water runs, and where different materials meet. The stone drawing must coordinate with waterproofing and installation details without pretending to replace them. Penetrations and niches deserve particular attention because several trades meet in a small area.
For Calacatta Gold shower walls, adhesive and moisture conditions can influence appearance. The installation team should use systems suitable for the stone, substrate, environment, and applicable requirements, following current manufacturer instructions. I want representative tests when there is doubt rather than a confident guess based on another white stone.
Sealer does not make marble immune to etching, poor drainage, incompatible chemicals, or moisture problems. It may help manage certain staining risks when correctly selected and applied, but maintenance expectations must remain realistic. That slab does not belong next to your bathtub if the project expects it to behave like an inert printed surface.
Movement and sealant joints also stay visible. Their width, color, location, and compatibility need approval. A white or translucent sealant can alter at edges, and an unsuitable product can stain adjacent material. Test the actual combination before repeating it across the shower package.
Approve Finish and Light as One Visual Condition
Polished Calacatta Gold reflects fittings, glass, windows, and downlights. Honed material scatters reflection and may make the warm field feel softer, yet it can show handling, water, or local finishing differences in another way. I compare representative pieces rather than claiming one finish is always better.
At 3000K, warm undertones and gold movement may become more prominent. At 4000K, grey structure and surface variation can read more clearly. The actual result also depends on color rendering, beam angle, daylight, wall color, glass, and surrounding finishes. Lighting lies when one photograph becomes the approval standard.
I test Calacatta Gold shower walls with light coming from the expected viewing direction. Front light can flatten repairs and finish differences. Side light reveals lippage, waviness, resin, scratches, and gloss variation. Both views belong in the review.
Calacatta Statuario vs Calacatta Gold under Real Bathroom Light separates the cooler grey definition of Statuario from Gold’s warmer movement. Use that comparison when the material choice remains open. Once Gold is selected, the elevation and wet-zone checks take over.
I also check light after the glass enclosure and metal profiles are selected. Glass reflections can repeat a gold vein or obscure a quiet field, while a dark frame can make a nearby grey branch look heavier. The review does not need theatrical rendering. It needs a realistic view from the bathroom entrance with the principal surrounding finishes identified.
The final dry-lay should reproduce the installation viewing order. I want overall views, corners assembled where practical, close images of joints and repairs, piece IDs, a scale, finish record, and the approved lighting notes. Photographs taken at one bright angle are not enough.
Release the Shower as an Identifiable Set
The material range belongs to named rooms
Assign slab and piece IDs to room types before packing. If several bathrooms share one range, record the allocation. Spare pieces should carry the same information so a later replacement does not arrive as an anonymous warm-white panel.
The elevation remains the visual authority
Individual piece dimensions control fabrication, but the numbered elevation controls sequence and orientation. I keep both documents under the same revision. A corrected panel schedule without a corrected dry-lay map creates another dispute.
A discovered mismatch needs a hold point
When a color, finish, vein, or repair issue appears on site, first photograph the full wall and the piece ID under the installed light. Second, stop installing affected pieces while the sequence remains uncertain. Third, send the supplier the room allocation, dry-lay record, slab map, and original approval photographs for comparison.
The parent selection record stays active
Calacatta Marble Slabs: Complete Guide to Full-Slab Approval, Vein Layout, Batch Matching, and Project Selection remains the broad material-control record. The shower elevation adds the wet-area cuts, corners, finish, and lighting that the broader approval cannot show alone.
Frequently Asked Questions
1. Are Calacatta Gold shower walls suitable for wet areas?
They can be used when the material, finish, substrate, waterproofing, setting system, joints, drainage, sealing decision, ventilation, and maintenance plan suit the project. Natural marble can etch and requires realistic care. The responsible project professionals must define the complete assembly.
2. Should Calacatta Gold shower panels be bookmatched?
Only when the actual slabs open well and the wall proportion supports mirrored movement. Some faces look forced when mirrored. Flow matching or a quieter sequence may suit the room better. Compare scaled elevation options using the full slab images.
3. Is polished or honed Calacatta Gold better in a shower?
Neither finish is universally better. Polish increases reflection and can emphasize depth. Hone softens glare but may reveal handling or local finishing variation differently. Review representative samples under project lighting and follow project-specific wet-area and maintenance requirements.
4. How should a marble shower niche be matched?
Map the back, top, bottom, sides, front-wall opening, exposed edges, slope, and joints together. Decide whether the niche continues surrounding movement or uses a quieter related area. Do not fill it with unrelated offcuts merely because the pieces are small.
5. What photographs are needed before Calacatta Gold shower walls are packed?
Record straight overall dry-lay views, assembled corners where practical, close views of joints and repairs, piece IDs, slab source, scale, finish, viewing direction, room allocation, and the approved lighting condition. The images should connect every packed piece to the final elevation.
Quick-Reference Checklist for Shower Wall Approval
- Photograph and number every proposed slab under controlled light.
- Place the complete shower elevation over the selected full faces.
- Map niches, corners, valves, rails, benches, edges, and joints before cutting.
- Coordinate stone details with the wet-area assembly and current product instructions.
- Test representative finish and sealant combinations under project lighting.
- Dry-lay critical walls in viewing order and record room allocation.
- Pack each piece with the same IDs used on the approved elevation.
Final Conclusion
Calacatta Gold shower walls succeed when the complete room is mapped before a niche, corner, fixture, or joint removes part of the story. Approve the actual slab range, place every visible piece on identified faces, coordinate the wet-area assembly, test finish under installed light, and dry-lay the critical transitions. My final check is blunt: if the wall only works while the slab remains uncut, the layout is not finished, and Esta Stone should not release it.
Références
- Dimension Stone Design Manual, Natural Stone Institute.
- Natural Stone Institute Stone Care Guide, Natural Stone Institute.
- ASTM C503 Standard Specification for Marble Dimension Stone, ASTM International.
- ANSI A108/A118/A136.1 Installation Standards, Tile Council of North America.
- TCNA Handbook for Ceramic, Glass, and Stone Tile Installation, Tile Council of North America.
- Natural Stone Tile Selection and Installation Guide, Stone Federation Great Britain.
- Bathroom of the Week: Marbre Sanctuary With a Curbless Shower, Becky Harris, Houzz.