Iron Inclusions in White Marble: Map Every Feature before Wet-Area Cutting
A warm pinhead sits inside a quiet white field, three centimeters from the planned faucet hole. The feature is small on the slab and prominent on the drawing. I mark it because iron inclusions in white marble need a location decision before the drill exposes a new edge.
I do not call every gold vein iron and I do not promise that every inclusion will change. The approval task is narrower: find uncertain features, preserve their position and place them where the application can accept them.
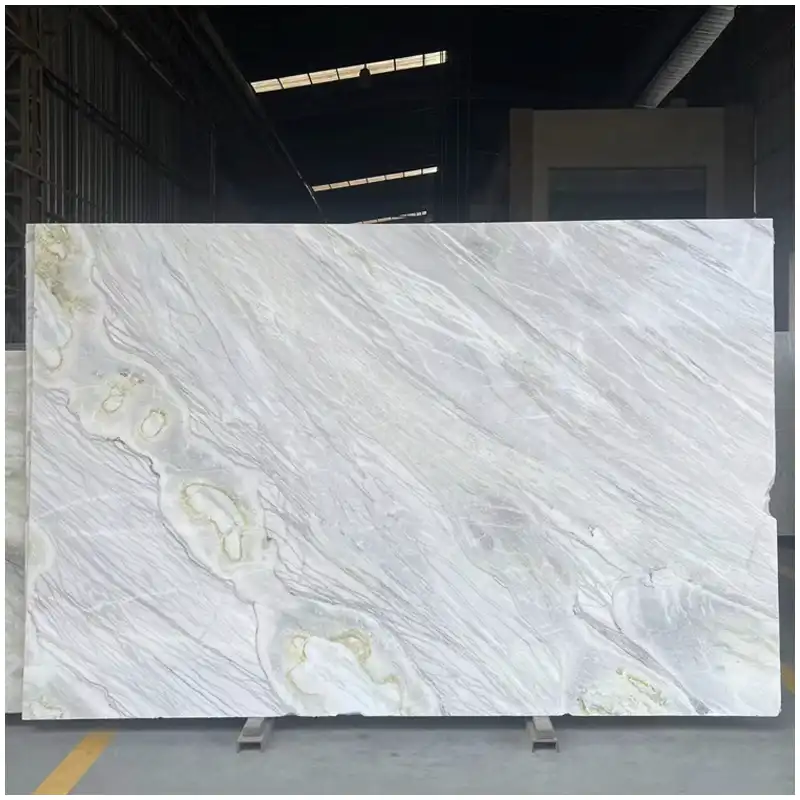
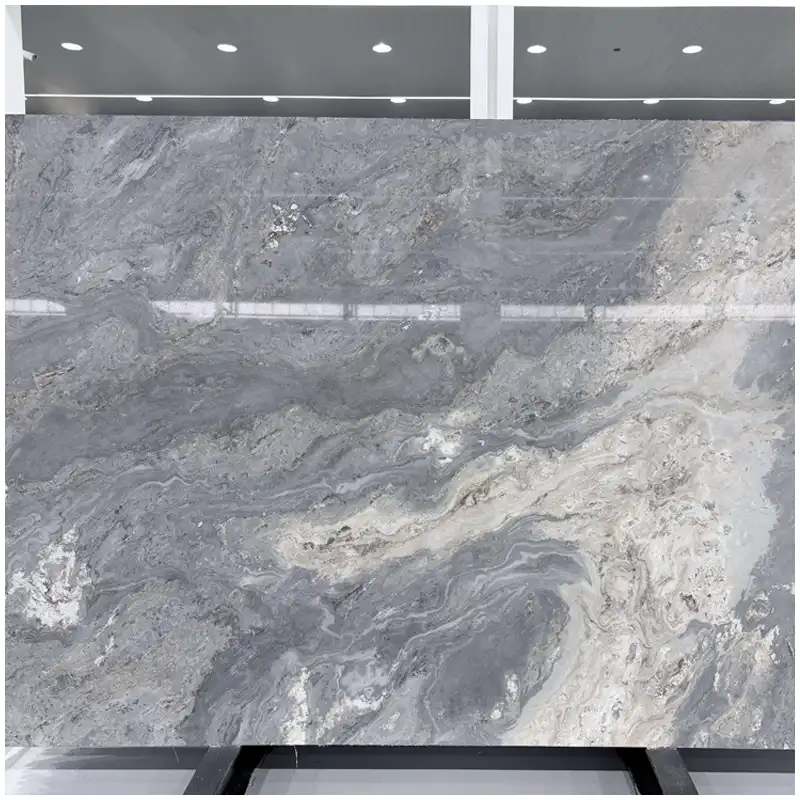
Find Iron Inclusions in White Marble on Full-Slab Images
Use high-resolution front views with slab numbers and a consistent scale. Add angled light only as a second view. A small sample cannot show where a feature sits relative to the usable slab or repeated components.

The White Marble Slabs: Complete Guide to Types, Selection, Price, Bathrooms, Lighting, and Batch Control establishes the accepted visual range. The feature map records exceptions and placement inside that range.
Separate White Marble Mineral Inclusions from Warm Veining
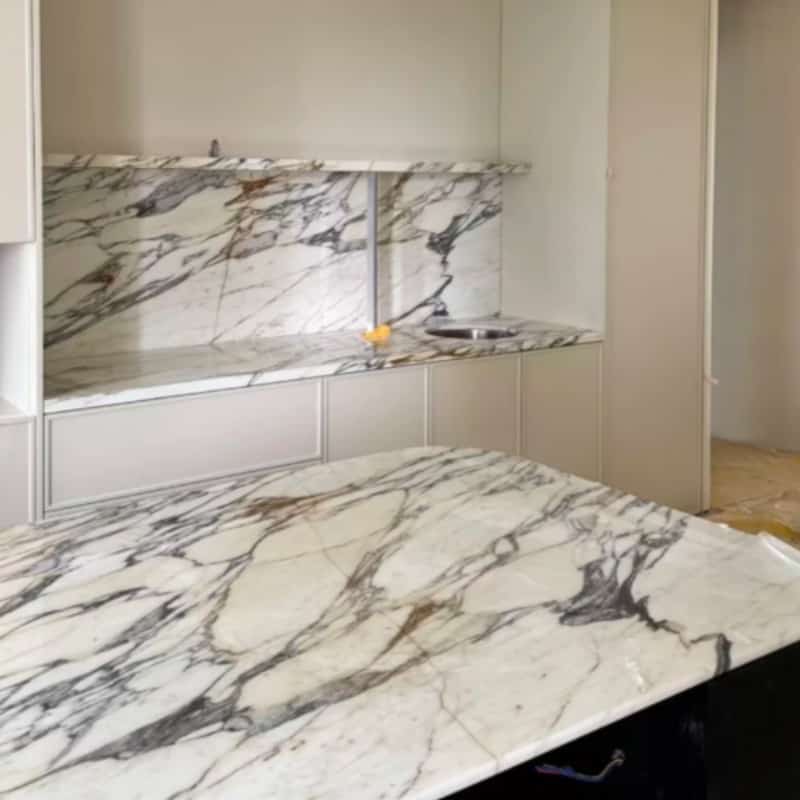
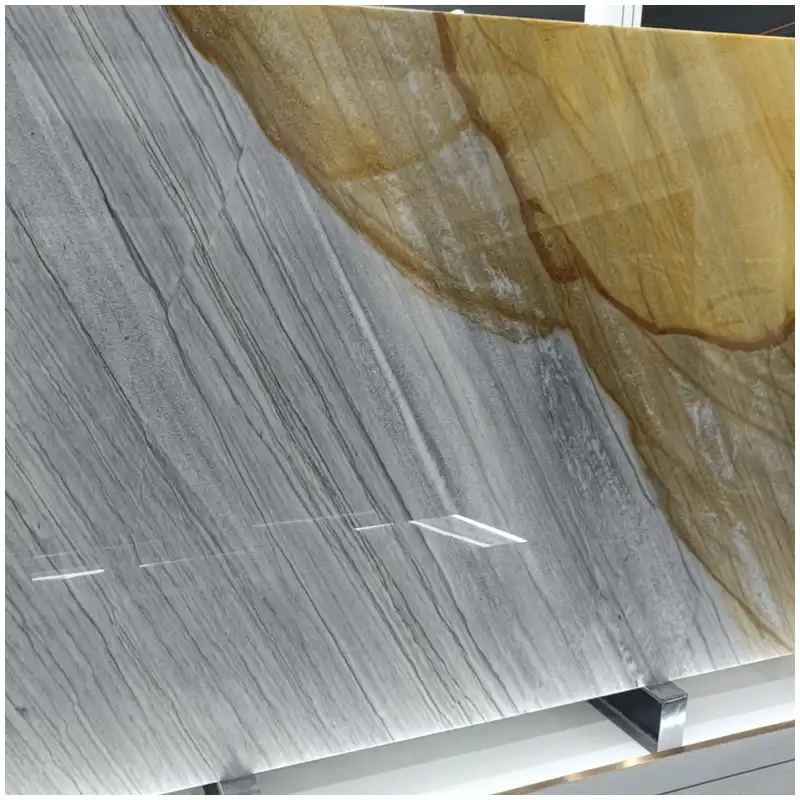
Calacatta can carry gold, beige and brown movement that belongs to its design character. Carrara may show gray lines and scattered mineral points. I read continuity, shape, texture and original photographs rather than judging from the word “brown.”
Iron can occur in minerals and transferred contamination, but a visual feature alone does not establish its composition or source.
Iron inclusions in white marble remain a risk category to inspect, not a diagnosis made by color alone. When identification affects acceptance, a qualified petrographer or laboratory may be needed.
Use neutral and project light
Under 4000K, a warm point can stand sharply against a cool field. Under 3000K, it may merge with surrounding cream. Record both when the installed room uses warm light but the inspection team works under cool warehouse fixtures.
Overlay the Cut Map on Iron Inclusions in White Marble
Place sink openings, tap holes, miter lines, visible edges, seams and backsplashes over the numbered slab photograph. The strongest concern is not always the center of a face. A feature crossing a cut can appear on several new edges.
A Calacatta Gold marble slab for bathroom use needs its natural gold movement preserved while uncertain isolated points are mapped separately. This stops the team from rejecting the character that made the slab desirable.
| Feature position | Cut-map question | Wet-area question | Possible placement response |
|---|---|---|---|
| Beside faucet hole | Will drilling open the feature? | Will water collect around the fitting? | Move hole, move component or reject local area |
| Across sink cutout | Will the seam continue into a thin rail? | Can the exposed edge be inspected and protected? | Reorient layout or choose another slab zone |
| Near lower shower edge | Will the feature sit at a joint or return? | Is repeated wetting expected? | Place in drier zone or reject |
| Inside quiet wall center | Does project light make it dominant? | Is the face outside direct wetting? | Accept as recorded natural variation where suitable |
| At miter or laminated edge | Will two cut faces duplicate the point? | Can treatment alter the edge color? | Build edge sample before approval |
The full face passed but the faucet hole changed the feature
A warm point sits within the accepted natural range on the intact slab. After the cut drawing is overlaid, the faucet hole lands directly through it and would expose the feature on the cylindrical wall beside a regularly wet fitting. The slab does not need wholesale rejection; the component needs a different position or a different local area.
The Lesson: Approve inclusions against the cut map and water exposure, never against the untouched face alone.
Judge Wet-Area Exposure without Making Guarantees
Water, oxygen, cleaning chemicals and metal contact can change how some features behave, but no photograph predicts every reaction. I grade exposure: dry wall, occasional splash, vanity fitting, shower return or floor edge, then ask for project-specific technical review.
Wet area slab selection also checks waterproofing, drainage, sealant, maintenance and compatible treatment. A stone map cannot correct a leaking detail, and sealer is not a guarantee against every internal change.
Check Edges, Holes and Thin Rails
Cutouts create new faces and narrow sections. Photograph uncertain features before and after machining. If an inclusion opens, the fabricator records stability, appearance and any approved repair without hiding it under color-matched fill.
Iron inclusions in white marble at a thin sink rail need both visual and structural judgment. The fabricator decides reinforcement and handling; the design team decides whether the feature belongs in the visible position.
Carry the Feature Map into Dry-Lay
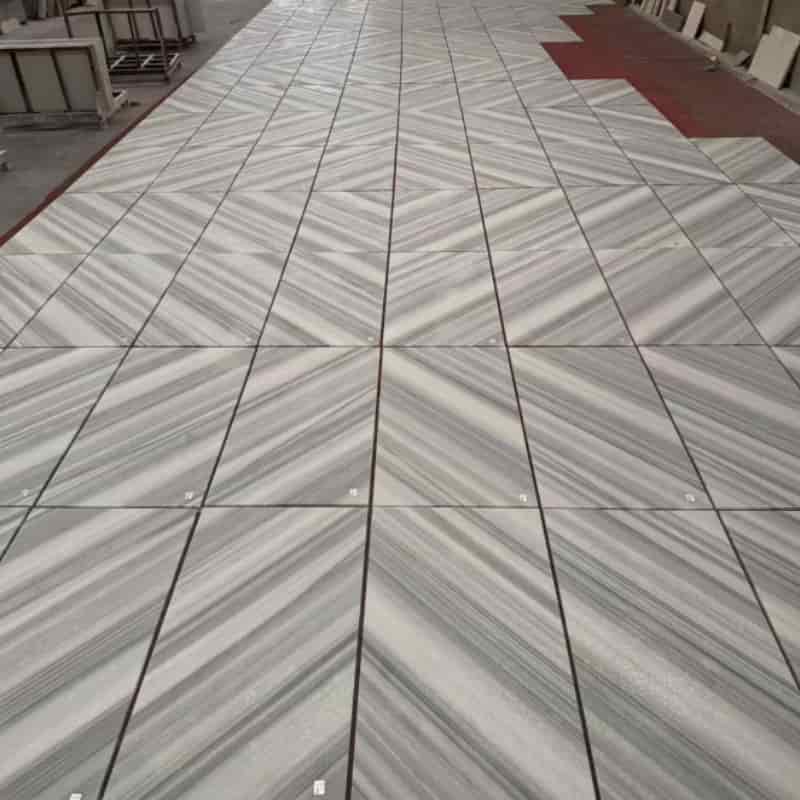
Numbered pieces retain their slab and feature references. During dry-lay, I check whether a small point repeats near several fixtures or forms an unintended line across adjacent panels. Piece-level views reveal what the slab view cannot.

A Statuario marble slab may create strong contrast between a quiet field and one colored feature. The dry-lay should use the intended orientation and light, not a rotated warehouse convenience layout.
Distinguish Acceptance from Concealment
Natural inclusions can be accepted when their location, appearance and application fit the approved range. Filling, coloring or cropping a photograph to make them disappear is not acceptance. The record should show what the finished piece actually contains.
Marble cut map inspection links the designer’s composition with fabrication reality. I preserve rejected zones and revised nesting so another component is not moved into the same feature by accident.
Respond if a Feature Changes after Installation
Compare original slab, fabrication and installation photographs before treatment. Record recent water exposure, metal contact, cleaning and whether the change follows an internal feature or spreads from an interface.
Iron inclusions in white marble that change after installation need the stone supplier, installer and relevant site specialists involved. Stop chemical treatment and preserve the evidence until the source and acceptance route are clear.
A Full-Slab Approval Route that Survives Cutting
Mark
Circle uncertain points and seams on numbered images without retouching the original. Give each mark a reference that survives into the cut drawing.
Place
Overlay components, edges, holes and wet zones. Move the cut or reject the local area when the feature conflicts with exposure or visibility.
Verify
Photograph new cut faces, inspect the dry-lay under relevant light and keep the accepted feature map in the final production record.
Use a Feature Legend that Avoids Loaded Language
I label marks as warm point, dark seam, open mineral, repaired area or uncertain inclusion. I do not write “rust” before evidence supports that word. Neutral labels keep the designer, fabricator and stone specialist focused on position and acceptance rather than a premature cause.
Each feature receives a reference number, slab number, approximate size and photograph. The source image remains untouched. A working copy can carry circles and notes, but the original must remain available for comparison.
Compare Front, Back, and Transmitted Light where Relevant
Front light shows the finished face. Back inspection can reveal reinforcement, fissures or features that do not appear clearly from the front. Thin or translucent areas may also respond to transmitted light, though that condition should match the actual application before it influences acceptance.
These views are evidence, not a laboratory identification. If a feature’s composition matters to the risk decision, arrange qualified testing. The warehouse team should not convert a visual impression into a geological certainty.
Protect the Cut Map from Revision Drift
When a sink, faucet or panel size changes, issue a new cut-map revision and compare every marked feature again. Moving one hole by forty millimeters can turn an accepted point into an exposed edge condition. The approval status from the earlier drawing no longer applies.
I place the revision on the slab image, piece schedule and dry-lay record. File names such as final-new are not enough. One visible revision and date prevent the factory from nesting to an obsolete drawing while the site reviews the latest one.
Check Repaired Areas beside Natural Inclusions
Resin fill and small repairs can sit near natural mineral points. Record them separately. A color-matched fill may change under 3000K or 4000K light and can behave differently at a wet edge. Do not let a repair note erase the underlying feature location.
The acceptance sample uses the final finish and cleaning method. Polishing residue can temporarily soften color contrast, while a washed and dry face may reveal it again. Inspect after production cleaning and full drying.
Plan Spare Pieces with the Same Feature Discipline
Spare material should represent the approved range instead of just the quietest leftovers. Mark its slab source, finish and any visible inclusions. If a future replacement is required, the maintenance team can compare character honestly rather than searching an unlabeled crate.
Storage conditions also matter. Protect identification and surface condition without trapping damaging moisture. A spare whose label has disappeared cannot maintain the original feature map, even if its color looks close in a warehouse corner.
Review Repeated Components as a Group
For hotel vanities or bathroom panels, lay out several repeated pieces together. One accepted feature can become visually distracting when it appears beside the same faucet in ten consecutive rooms. Distribution is part of the composition.
The dry-lay register can spread stronger movement and quieter faces according to room types and agreed ranges. It should never retouch or hide features. The goal is deliberate placement across the package.
Connect the Map to Site Lighting
Mirror lights can put a small point directly inside a bright reflection. Wall washers may reveal seams that looked quiet under warehouse ceiling fixtures. I record the intended light direction and inspect the dry-lay with a representative source where the visual risk is high.
Do not claim that a feature has disappeared because warm light softens it. The feature remains in the acceptance record. Lighting helps judge visual prominence; it does not change the material identity.
Escalate a Changed Inclusion without Guesswork
When a mapped point changes color, size or surface condition, photograph it dry with a scale and repeatable light. Stop cleaners and nearby work, check water and metal interfaces, and retrieve the original slab, fabrication and dry-lay images.
For iron inclusions in white marble, that sequence preserves the distinction between an internal feature and new contamination. The supplier, installer and relevant specialist can then decide testing, treatment or replacement from the same evidence.
Use an Approval Range, Not a Retouched Hero Slab
The approval set should include quiet, typical and stronger faces from the intended batch. If every photograph shows only the cleanest central area, the team cannot judge a natural feature near an edge or within a cut component. I prefer honest range images with slab numbers and scale.
Digital annotations may identify held areas, but they must not cover the feature. Keep the raw image beside the marked copy. The designer can then accept, relocate or reject the actual condition without wondering whether the photograph was cleaned for presentation.
Record the Final Installed Position
After installation, photograph accepted features in room context under the operating light. The maintenance team receives the reference so it can recognize what was present at handover. A later change can then be compared with the original size, color and surrounding vein.
This record protects both sides. It prevents a natural accepted point from being reported as new damage, and it prevents a genuinely changing feature from being dismissed because the marble is natural. The comparison remains specific to one marked position.
Frequently Asked Questions
1. What do iron inclusions in white marble look like?
They may appear as warm points, brown or gray seams, small mineral clusters or features exposed at cut edges. Color alone cannot identify composition, so use full-slab evidence and specialist testing when needed.
2. Should every warm spot be rejected?
No. Gold and beige movement may be normal and desirable in Calacatta and related varieties. Judge continuity, location, application, approved range and whether the cut exposes an uncertain feature.
3. Can sealer prevent an inclusion from changing?
Do not promise that. Sealers address certain surface absorption conditions and vary by product and finish. They do not guarantee that every internal mineral feature will remain unchanged.
4. Why must the cut drawing be overlaid on the slab image?
A feature that is acceptable on a broad face may become problematic when a hole, edge, miter or thin rail cuts through it, especially near repeated water exposure.
5. What should happen first if a mineral point darkens after installation?
Photograph it dry under repeatable light, stop chemicals and further work nearby, compare slab and fabrication records, and contact the supplier and site team with the original feature map.
Iron Inclusions in White Marble Approval Check
- Use numbered, high-resolution full-slab photographs.
- Mark uncertain features without editing the source image.
- Overlay sinks, holes, edges, seams and wet zones.
- Review the map under neutral and project light.
- Inspect new cut faces after fabrication.
- Carry feature references into the dry-lay.
- Preserve the accepted map for site comparison.
Final Conclusion
Iron inclusions in white marble must be approved in position, not as isolated dots on a sample. Map them, overlay the cut, judge wet exposure and inspect every new edge.
Esta Stone keeps that honest feature map because a natural point placed deliberately is acceptable, while the same point discovered beside a faucet becomes an avoidable dispute.

Références
- Petrographic Examination of Dimension Stone, ASTM International and Natural Stone Institute.
- Dimension Stone Design Manual, Natural Stone Institute.
- Installation Guide and Reference Manual, Natural Stone Institute.
- ASTM C503 Standard Specification for Marble Dimension Stone, ASTM International.
- ANSI A108 and A118 Installation Standards, Tile Council of North America.
- TCNA Handbook for Ceramic, Glass, and Stone Tile Installation, Tile Council of North America.
- Search Essentials: Creating Helpful, Reliable, People-First Content, Google Search Central.