
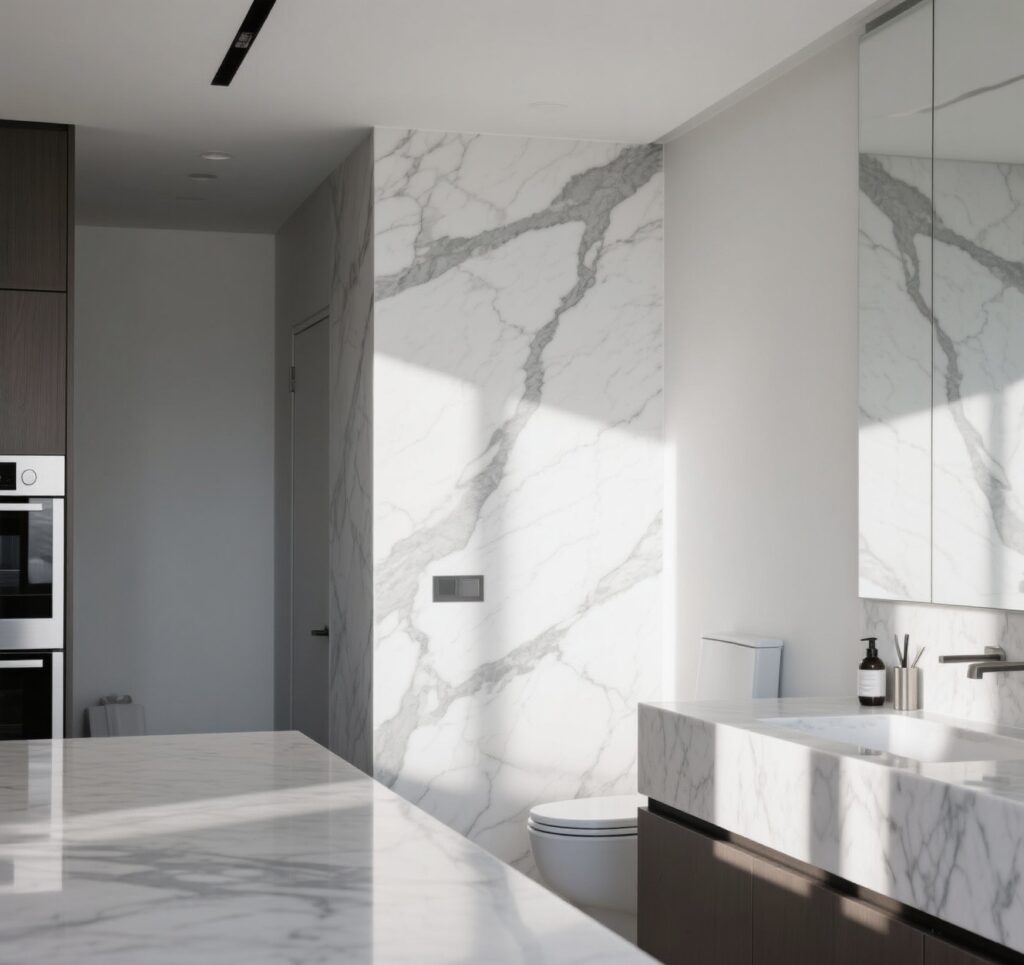
Statuario Marble Slabs for Bathroom Projects
The rejection usually begins with two photographs that appear to show different stones. One was taken in the warehouse under cool overhead light. The other came from a bathroom mock-up under warm mirror lighting. The sample between them looks white enough, so everyone asks which photograph is wrong.
Often, neither is wrong. The approval is wrong because it never fixed the viewing condition, the acceptable background range, or the location of the strongest veins. Lighting lies, and white marble gives it plenty to work with.
I do not release Statuario marble slabs from a sample chip and a product name. I need the actual slab group, upright and face-on photographs, marked vein zones, finish, repaired areas, batch limits, and the bathroom placement drawing. Otherwise, “clean white” becomes an argument after cutting.
Warehouse Approval Route
Confirm the Material Identity
Test Real Lighting
Map Veins and Use Zones
Approve Finish and Repairs
Control Batches and Dry-Lay
Assign Wet-Zone Use
What Statuario Marble Slabs Must Prove before Cutting
Statuario is a commercial stone name used for prized white marbles with grey veining, but a name does not create one uniform geological lot. Quarry area, block, bed, slab position, mineral traces, fissures, and processing all affect the final face. Buyers should approve the material they will receive, not an idealized label.
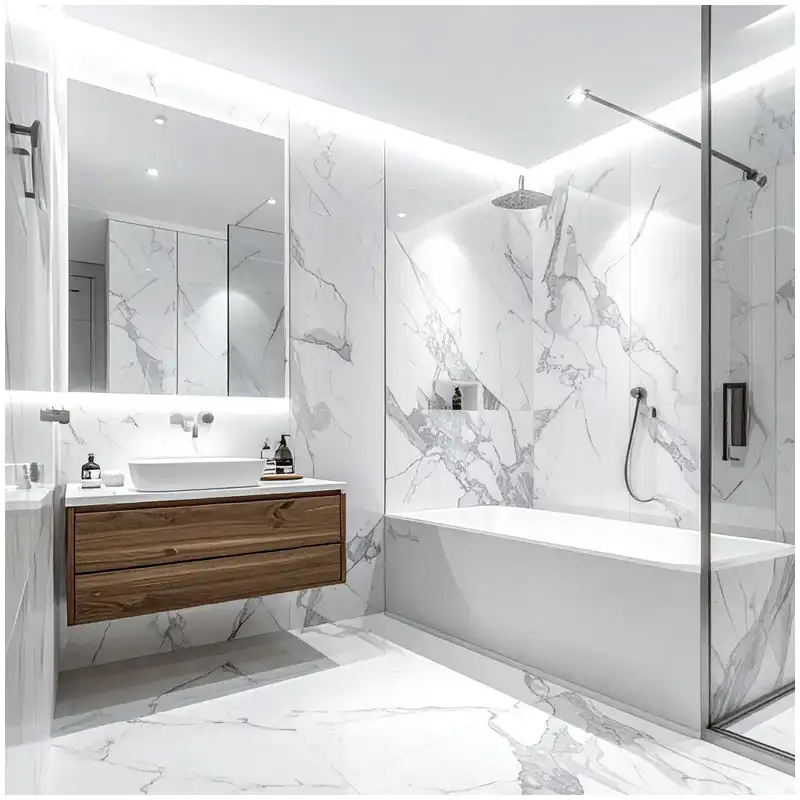
A useful slab set begins with identification. Record supplier reference, block or lot information where available, slab number, dimensions, thickness basis, finish, resin or backing, repaired zones, and high-resolution photographs. Put a readable code beside every slab.
I also ask for a bounded range. Show the cleanest background, warmest background, coolest background, strongest vein, calmest vein, cloudiest zone, most visible repair, and any natural feature likely to repeat. If one condition is unacceptable, say so before allocation.
The live Statuario Marble Slab Approval Photos and Lighting article gives a focused photograph review. This broader page adds application, batch, finish, wet-zone, and replacement decisions to that record.
| Warehouse check | Pass evidence | Hold condition | Bathroom decision |
|---|---|---|---|
| Background tone | Falls within marked cool-to-warm range | Unapproved yellow, blue, or cloudy shift | Allocate by room light and adjacency |
| Vein scale | Direction and density shown full slab | Strong line conflicts with cutout or joint | Map feature and quiet use zones |
| 완료 | Approved sheen and tooling under raking light | Uneven polish, drag, scratches, or local resin shine | Match wall, vanity, and floor requirement |
| Repair and fissure | Mapped and acceptable for planned position | Falls at edge, narrow bridge, hole, or eye-level focal zone | Relocate, redesign, or reject |
| Wet response | Test and maintenance expectations recorded | Darkening or marks outside agreed expectation | Assign use and protection method |
This is a warehouse log, not a beauty contest. A dramatic slab can pass for a feature wall and fail for repeated vanity tops. A quiet slab can work across rooms and feel flat on a lobby statement wall. Position decides.
Test Statuario under 3000K, 4000K, and Raking Light
Warm 3000K lighting can bring cream and beige notes forward. Cooler 4000K light can sharpen grey veins and make the background appear colder. Daylight changes again by orientation and time. The project should not approve one condition and install another without a comparison.
For Statuario marble slabs, photograph the same identified area under controlled warm and cool light. Keep camera position, exposure approach, and a neutral reference as consistent as practical. The purpose is not laboratory color measurement; it is to reveal a disagreement before the stone is cut.
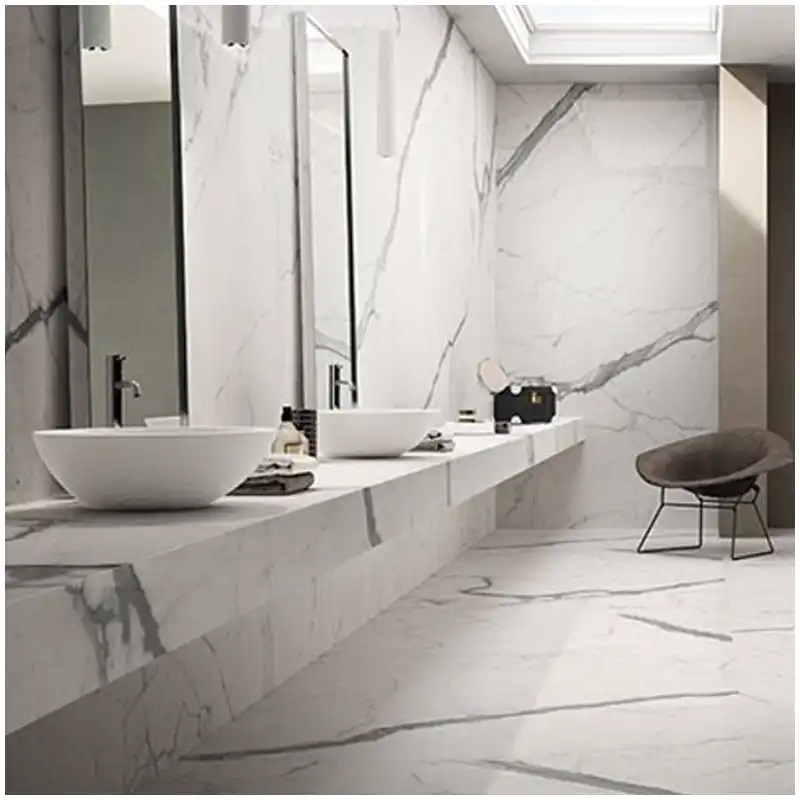
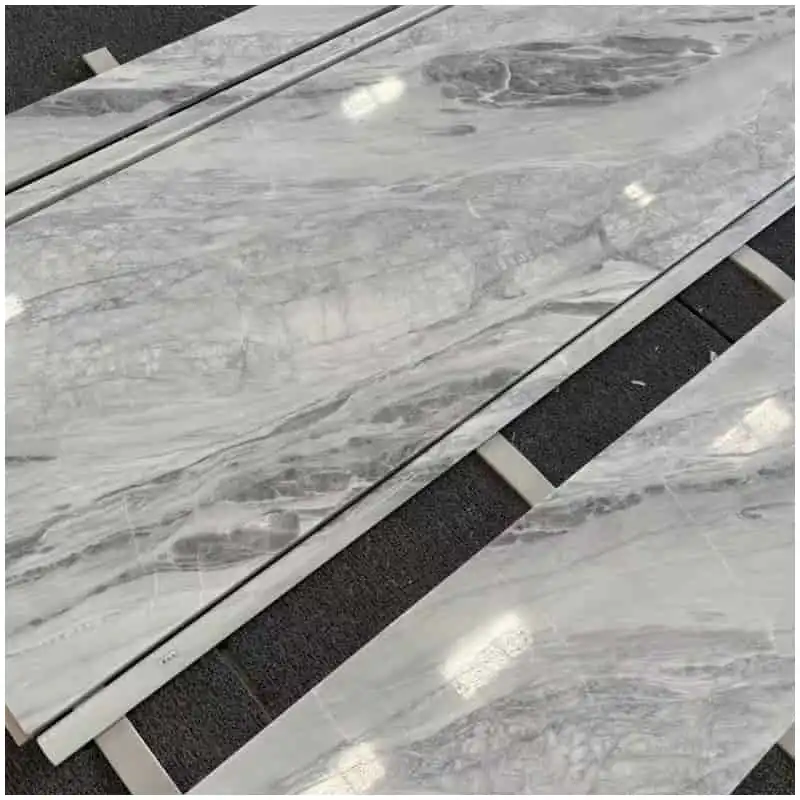
Raking light is less forgiving. It shows waviness, resin shine, polishing differences, scratches, fill, and repaired fissures. Mirror lighting can create a similar effect across vanity backsplashes and walls. Inspect that way if the installed room will.
View the slab from the distance and height of the user. A bathtub wall is judged while entering, standing, and sitting. A vanity splash is seen close under mirror light. A floor is seen as a field and again at the threshold. One warehouse viewing angle is not enough.
Do not correct lighting differences with editing
Automatic phone processing can warm whites, lift shadows, and sharpen veins. Keep original files, avoid beauty filters, and include wider context showing the light source. If color accuracy is commercially sensitive, use professional capture and calibrated review methods agreed by the project.
Don’t just look at samples. Place the approved hand sample against several parts of the full slab under the same light. That simple comparison often reveals whether the sample came from an unusually quiet or unusually white corner.
Map Veins before Sinks, Niches, Corners, and Joints
A vein is not a printed decoration. It may follow mineral-rich seams, healed fractures, and metamorphic structures within the marble. Its visual strength can change through a slab. Cutting interrupts that history, so the layout must decide where the interruption belongs.
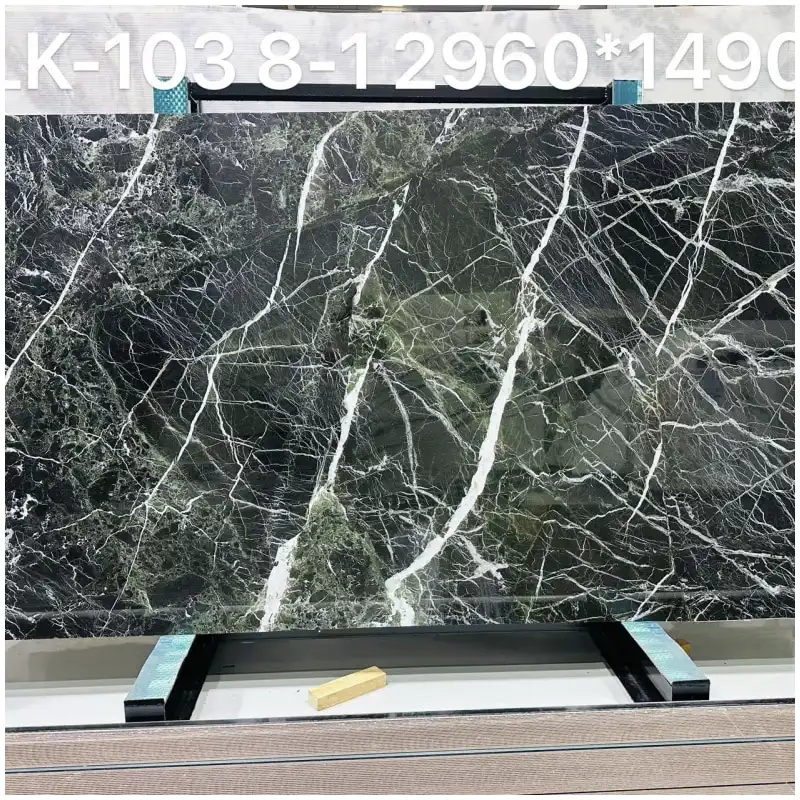
A Statuario marble slabs map should place vanity tops, splashes, wall panels, returns, shower niches, thresholds, and spare pieces over the actual photographs. Mark finished face, top direction, joint, cutout, faucet hole, edge, and any zone that must remain visible.
Keep strong veins away from narrow stone bridges unless the fabricator and responsible designer have assessed the geometry. A line passing through a sink cutout may leave a dramatic fragment at the faucet deck or a visually awkward split at the front rail. See it before the CNC file exists.
The current Calacatta Marble Vanity Top Vein Placement article demonstrates the same cutout discipline on another white marble family. Do not copy its acceptable range; copy the habit of overlaying the actual slab and hardware drawing.
At corners, decide whether the vein turns, stops, mirrors, or changes deliberately. A miter can create continuity, but it uses extra stone, exposes edge risk, and limits later adjustment. A butt return shows thickness and a joint. Neither is automatically correct.
The Hard-Won Lesson: Approve the vein after the cutout is drawn
A full slab can receive enthusiastic approval while its strongest grey vein runs directly through the planned sink opening. After cutting, the basin removes the best part of the movement and leaves two unrelated fragments beside the faucet. The stone did exactly what the slab photograph showed; the approval simply ignored the template.
The Lesson: Overlay every sink, faucet, niche, return, and joint on the actual slab image before approving placement.
Approve Finish, Resin, and Repair in the Intended Position
Polished marble reflects light and often makes the background and veins appear deeper. Honed marble scatters light, softens contrast, and can make the same slab look lighter or more muted. It may also display handling marks differently. Approve the finish on representative actual material.
For Statuario marble slabs, compare factory finish across the whole face and near repaired areas. Local resin can catch mirror or window light. A repair that disappears in diffuse warehouse light may show as a glossy patch beside a bathtub.
Record acceptable pinholes, resin lines, mesh or backing, fissures, edge repairs, and fill tone. Natural features and processing repairs are not all the same. The project needs a visual standard tied to use position, not a sentence saying “natural variation accepted.”
A wet-area surface can etch when exposed to acids and may darken temporarily when water enters pores or joints. Sealer can reduce absorption; it does not make calcite immune to acid. Cleaning guidance should name pH-neutral methods and prohibit unapproved acidic products.
The specific Statuario white marble selection can anchor a slab conversation, while Bianco Statuario white marble provides another available product route. Final acceptance must still use the reserved slabs and finish.
Control Batch Range across Repeated Bathrooms
Hotels and multi-unit residences amplify small color differences. One warm vanity top may look acceptable alone and wrong beside fifty cooler rooms. Group slabs into approved tone and vein ranges before cutting, then allocate those groups by room type, floor, or visible adjacency.
A Statuario marble slabs batch record should show slab codes, range group, intended areas, produced pieces, dry-lay positions, replacements, and spares. If one slab is removed, update the allocation. Do not let a substitute enter because it shares the same commercial name.
Dry-lay walls and floors where piece relationships matter. Mark panel or tile codes, datum, joints, vein direction, room or elevation, and proposed moves. Photograph the final arrangement under controlled light and keep the approved map with packing.
The live Calacatta Marble Floor Tile Dry-Lay article explains doorway and border control. For Statuario, apply the same discipline but set a range appropriate to the actual Statuario lot.
Spare pieces need defined purpose. A random offcut may not replace a matched vanity top or feature panel. Keep room-coded replacements where repetition and long-term maintenance justify them, and document finish and range group.
Assign the Right Slabs to Vanity, Shower, Wall, and Floor Use
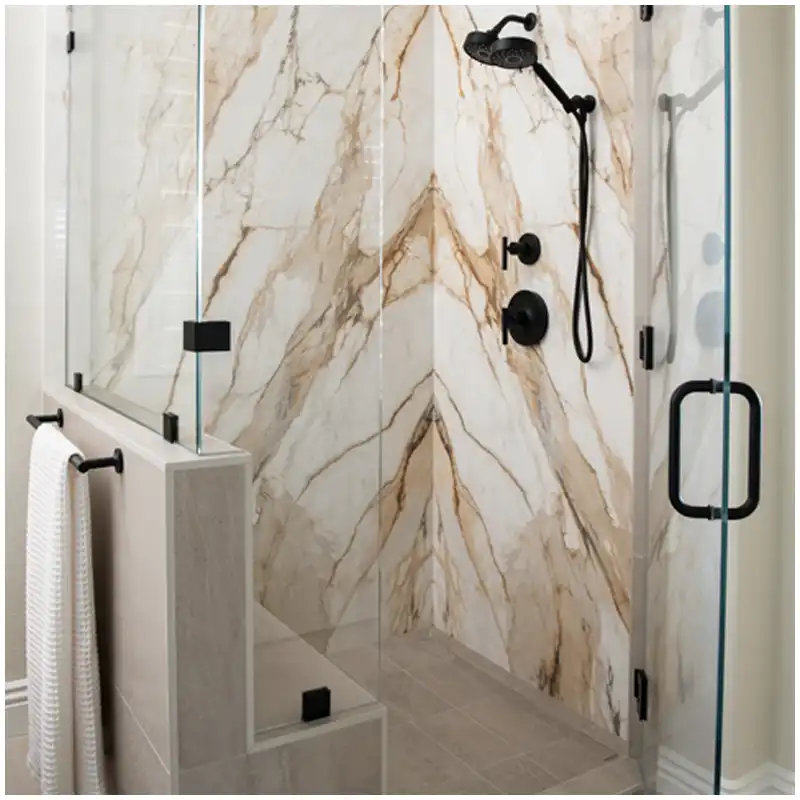
Vanity tops need cutout mapping, edge decisions, faucet clearance, joint protection, support, and cleaning guidance. Shower walls need panel joints, niches, corners, waterproofing interfaces, sealant, slope at shelves, and maintenance. Floors add finish, traction, drainage, lippage, substrate, and movement-joint questions.
For Statuario marble slabs near a bathtub, inspect from the doorway and sitting height. A vein that reads like a crack at eye level may belong on a larger wall. That slab doesn’t belong next to your bathtub if its placement creates a visual problem the team already noticed in the warehouse.
Material suitability depends on the complete assembly and care regime. The responsible designer and installer should define waterproofing, bedding, grout or joint, sealant, movement accommodation, drainage, substrate, finish, and slip-related requirements under applicable standards and site conditions.
Do not approve polished wall material and assume it also suits the floor. Do not approve a dramatic wall slab and assume its quiet remainder will cover repeated tops. Allocate by actual use, then verify quantities and yield.
What the Approval File Must Contain
Control any substitute slab with the same evidence
A substitute is not approved because it carries the same Statuario name. Photograph it under the established lighting, place it inside the accepted background and vein range, map repairs, and show which original piece or area it replaces. Then update allocation, yield, dry-lay, spares, and packing.
If the substitute enters after part of the project has shipped, compare it beside retained references from the installed group. A small difference may become obvious across adjoining panels or repeated vanity tops. Record the decision by room or elevation, not as a general batch approval.
Keep the material reference, reserved slab list, full-slab photographs, range board, 3000K and 4000K comparison, finish sample, repair map, application overlay, dry-lay, piece codes, replacement list, packing map, sealer or care record, and final decisions. Name revisions.
A strict Statuario marble slabs file lets the warehouse, fabricator, designer, installer, and buyer look at the same evidence. It also prevents a cropped message image from becoming a new approval standard halfway through production.
If a mismatch appears, photograph the room or crate code, full piece, close condition, neutral reference, light source, and neighboring stone. Pause cutting or installation. Compare the evidence with the approved range, lighting set, placement map, finish sample, dry-lay, and packing record before deciding on relocation, repair, remake, or acceptance.
Quick-Reference Checklist for Statuario Approval
- Identify and photograph every reserved slab at full scale with readable codes.
- Bound background tone, vein density, clouds, repairs, fissures, and finish.
- Compare the same slab areas under 3000K, 4000K, and raking light.
- Overlay sinks, faucets, niches, corners, joints, and exposed edges before cutting.
- Allocate tone and vein groups by room, elevation, floor, and replacement need.
- Approve finish, wet response, maintenance, and wet-zone assembly expectations.
- Pause disputed work until site evidence is compared with the complete approval file.
Frequently Asked Questions
1. How should Statuario marble slabs be approved for a bathroom?
Approve the actual reserved slabs with full-face and close photographs, bounded background and vein range, warm and cool lighting checks, finish and repair standards, application overlays, dry-lay where needed, piece codes, and wet-area maintenance expectations.
2. Why does Statuario look warmer under bathroom lighting?
Warm lamps can emphasize cream or beige notes in the marble background, while cooler light sharpens grey veins and can make the white appear colder. Compare the same slab area under the planned color temperatures before allocation.
3. Is honed or polished Statuario better for bathrooms?
Choose by application, light, expected wear, cleaning, traction requirements, and desired appearance. Polished faces reflect more and can show etching differently. Honed faces soften contrast and may show handling or darkening differently. Approve actual finish samples.
4. Can one Statuario batch cover vanity tops, walls, and floors?
It may, if quantity, slab geometry, range, finish, yield, and application requirements align. Allocate the most suitable zones deliberately. A dramatic wall area, repeated vanity tops, and floor modules do not necessarily need the same visual character.
5. What should I do if installed Statuario does not match the approved range?
Photograph the full area, close difference, piece or room codes, neighboring stone, neutral reference, and actual lighting. Stop further cutting or installation. Compare the site condition with the approved range, light tests, placement map, finish, dry-lay, and packing records before deciding the next action.
Final Conclusion
Statuario marble slabs deserve strict approval because their value sits in natural scale, not uniformity. Identify the actual lot, define the range, test the light, map every critical cut, allocate by use, inspect finish and repairs, and carry the final arrangement into crates and site records.
I would rather reject one beautiful slab for the wrong bathroom position than defend it under a mirror light after cutting, and that is the standard Esta Stone keeps on the warehouse floor.
References
- Dimension Stone Design Manual, Natural Stone Institute.
- ASTM C503 Standard Specification for Marble Dimension Stone, ASTM International.
- Natural Stone Institute Technical Bulletins on Marble, Natural Stone Institute.
- Natural Stone Flooring and Walling Guidance, Stone Federation Great Britain.
- Kitchen & Bathroom Planning Guidelines, National Kitchen & Bath Association.
- 2026 Bathroom Trends Study, Houzz.
- 마블, Wikipedia, English edition.