White Marble Sealer Test: Color Shift, Cure Time, Grout Contact, and Wet-Zone Approval
White marble can pass slab approval and change again after treatment. One half looks clean and cool; the other turns slightly warmer or shows darker veins under the vanity light. I do not argue with the label on the container. I run a white marble sealer test on the actual batch.
The first answer is an untreated control. Without it, memory replaces comparison. The trial also needs the selected finish, application rate, number of coats, wipe-off method, cure condition, cleaner, grout or adhesive contact where relevant, and the exact light used for approval.
Build the White Marble Sealer Test from the Approved Batch
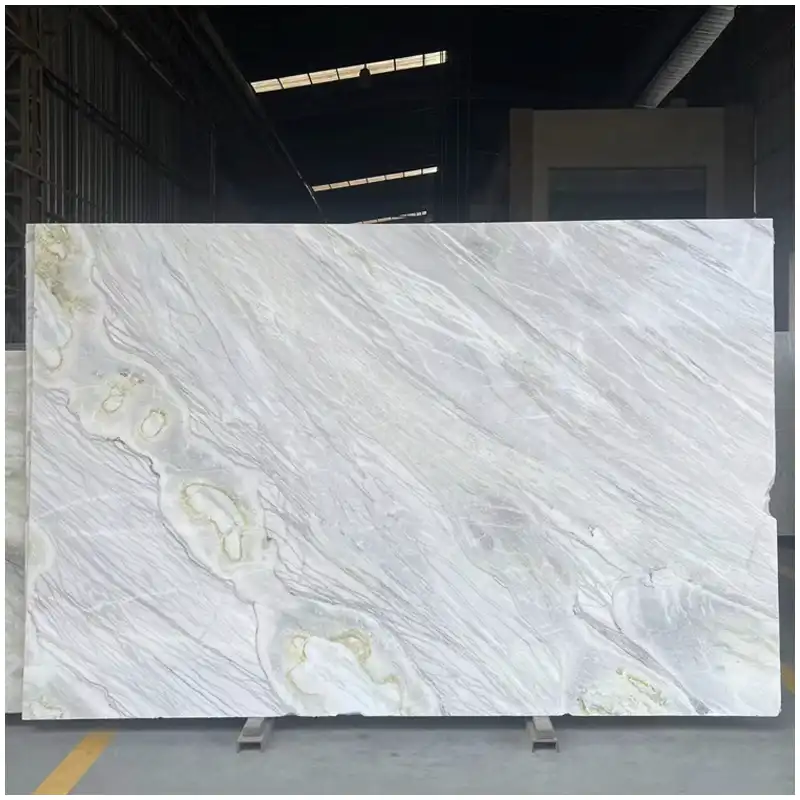
I cut or retain samples from representative visual zones. One calm white corner is not enough if the batch includes stronger veins, porous areas, resin, repairs, or different slab groups. Don’t just look at samples; make sure the samples actually represent the approved faces.

The parent White Marble Slabs: Complete Guide to Types, Selection, Price, Bathrooms, Lighting, and Batch Control establishes the marble range and project lighting. The treatment trial cannot authorize material outside that range.
The general marmur entry describes the stone family, but sealer behavior depends on the selected material, finish, treatment history, product system, application, and conditions. I do not transfer a result from an unrelated white stone.
Split each trial so the control cannot disappear
A bathroom marble treatment sample should show treated and untreated zones on the same representative piece when practical. I mark the division on the reverse and photograph it before application. A separate loose control can be swapped or cleaned differently without anyone noticing.
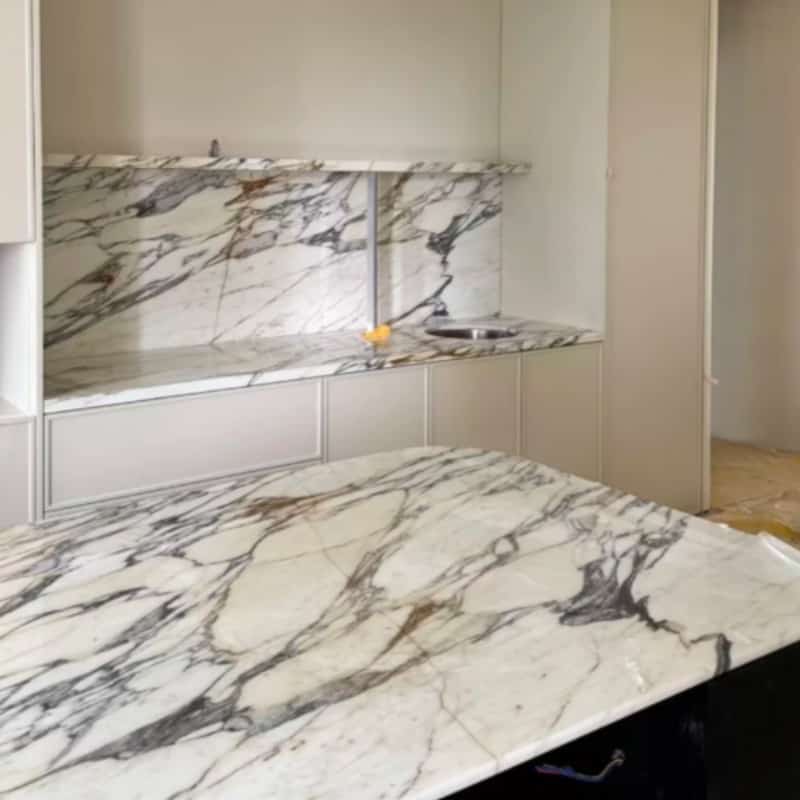
On a Płyta z marmuru Calacatta Gold do łazienki, a treatment may deepen warm mineral passages more than the pale field. That may be acceptable, but it must be seen under the bathroom’s 3000K or 4000K light before broad application.
Record Product, Application, and Cure Conditions
I write the product name, batch where available, surface preparation, sample code, finish, ambient condition, application tool, coverage method, dwell time, wipe-off, coats, start time, and the manufacturer’s stated cure guidance. If the project uses a professional applicator, that party signs the method.
White marble cure time is not the same as surface-dry time. A sample can look ready while treatment remains unsettled. I schedule observations at the intervals relevant to the product guidance and project programme, then keep the final approval time visible.
| Observation point | What I compare | Lighting or exposure | Reason to pause |
|---|---|---|---|
| Before treatment | Tone, veins, finish, repairs, moisture condition | 4000K inspection and project light | Sample already differs from approved batch |
| After wipe-off | Residue, streaks, pooling, edge darkening | Raking light and front light | Surface film or uneven application remains |
| During stated cure | Tone movement and sheen change | Stable temperature and recorded condition | Project is judging a temporary appearance |
| After cure | Treated half against control | 3000K, 4000K, and daylight where relevant | Color or gloss exceeds accepted range |
| Water and cleaning | Darkening, recovery, residue, cloth behavior | Normal room viewing angle | Treatment or cleaner leaves persistent change |
| Grout or joint trial | Edge staining, haze, grout tone, cleanup | Finished joint width and room light | Contact zone looks different from open field |
Never approve treatment while the sample is still telling a temporary story
Keep the treated and untreated halves together through the full observation period stated for the product and project method. Photograph them in the same position, with the same camera exposure, under both inspection and room light. If the treated half is still changing, do not call it accepted because the construction programme wants an answer. A rushed photograph can lock a whole batch into the wrong tone.
Wait for the stated treatment condition, then compare against the untouched control under the real light.
Judge Color, Vein Contrast, and Sheen under Two Light Temperatures
Marble sealer color change can be quiet. The field may shift half a step warmer while grey veins gain contrast. Under cool warehouse lamps it can pass; under warm mirror lighting it can read cream beside an untreated backsplash.
The Statuario Marble Slab Approval: Photos, Lighting, and Bathroom Use shows why full-slab and lighting evidence matter. A sealer trial adds another variable, so I photograph the treated control beside the exact approved material rather than beside a generic white reference.
A Biały marmur Statuario sample can reveal local sheen differences along strong veins or repaired areas. I move the sample under raking light. Lighting lies when it is fixed in one flattering position.
Test Water and Cleaning without Promising Stain-Proof Stone
A treatment can reduce absorption of certain liquids under certain conditions; it does not make marble immune to acids, abrasion, poor drainage, soap film, or unsuitable cleaners. I avoid the words stain-proof and maintenance-free.
The white marble sealer test uses the project’s likely water and cleaning routine. Apply a controlled amount, record the contact time, clean it by the agreed method, and observe darkening and recovery. Do not invent a universal test that conflicts with the product manufacturer or project specification.
On a Blat łazienkowy z marmuru Carrara, fine grey movement may make temporary wet darkening easier to see in some zones than others. I test more than the whitest part.
Edges and cutouts need their own observation
Exposed edges, sink cutouts, drilled holes, and the reverse can absorb differently from a polished face. The project method should state where treatment is applied and where bonding or sealant requires a different preparation.
I ask the adhesive, grout, sealant, stone-treatment, and installation parties to agree on compatibility. That is a system decision, not a warehouse guess.
Include Grout and Joint Contact in the Trial
Sealer, grout, and cleanup can change each other visually. The joint may stain the stone edge, the treatment may alter grout bonding or cleanup, or residue may collect in a honed surface. I build a small representative joint using the specified width and materials.
The Calacatta Marble Batch Matching for Hotel Bathrooms remains relevant because one treatment result does not erase batch variation. I group trials by actual material range and installation zone.
A second bathroom marble treatment sample may be needed when wall panels, vanity tops, and floors use different finishes or application methods. Repeating the product name across those areas does not prove the same visual result.
Release Treatment by Batch, Finish, and Project Area
The approval record identifies product, method, sample code, marble batch, finish, room light, observation times, cleaning trial, grout or sealant contact, accepted appearance, applicator, and area. It also names any excluded zones.
The white marble sealer test should be repeated when the stone range, finish, treatment product, application method, or site condition changes materially. A year-old sample from another project is not evidence for today’s batch.
If the treated stone looks wrong on site, photograph complete pieces and close details under the installed light. Stop further treatment and cleaning on the affected group. Then compare product, application record, cure time, batch codes, control samples, and approval photographs with the supplier and treatment team.
Turn the White Marble Sealer Test into a Site Control
The approved white marble sealer test needs a sample code and location. I keep the untreated control beside it so memory cannot soften a small tone shift.
Before area treatment, the white marble sealer test is repeated on the production finish. A polished offcut cannot approve a honed floor, and a dry wall sample cannot represent a shower detail.
For marble sealer color change, I compare the pair under both the warehouse light and the specified room light. Lighting lies most convincingly when one sample is viewed alone.
The recorded white marble cure time follows the current product instruction and site condition. I do not approve a damp-looking surface simply because the work crew wants the area reopened.
I also place a thin grout or sealant trial against the treated edge. Residue at that contact line can change the verdict even when the center of the marble looks clean.
I photograph the control after full drying, then repeat the view from the normal doorway. A small gloss difference often reads more clearly at room distance than under a close inspection lamp.
Frequently Asked Questions
1. Why can sealer change the color of white marble?
Treatment can interact with pore structure, finish, veins, resin, repairs, moisture, residue, and application differences. The result may deepen tone or alter sheen, so compare a representative treated area with an untreated control.
2. How long should a white marble sealer test cure?
Follow the treatment manufacturer’s current instructions and the approved application method. Record the observation times and do not confuse surface-dry appearance with the stated condition for final evaluation.
3. Should grout be included in a sealer trial?
Include a representative grout or joint trial when the project uses those materials together. Check edge staining, haze, cleanup, joint color, treatment contact, and the finished appearance under the room light.
4. Can a white marble sealer test prove the surface will not stain?
No. It can compare a defined treatment under controlled exposure and cleaning conditions. Marble still needs suitable use, drainage, cleaning, maintenance, and protection from acidic substances and damaging methods.
5. What should happen first if treated marble becomes patchy?
Photograph the complete area and close differences under the installed light, stop further treatment and cleaning, and compare batch codes, product, application, cure, control samples, and approval photographs before attempting correction.
Quick-Reference Sealer Trial Checklist
- Select representative samples from every approved marble range and finish group.
- Keep a marked untreated control beside each treatment trial.
- Record product, application, coverage, dwell, wipe-off, coats, and observation times.
- Inspect tone, veins, sheen, residue, and repairs under 3000K and 4000K light.
- Test controlled water, agreed cleaning, edges, cutouts, grout, and sealant contact.
- Release treatment only for the named batch, finish, method, and project area.
Final Conclusion
A white marble sealer test needs a real control, a representative batch, the specified finish, recorded application, sufficient observation time, room lighting, water, cleaning, and joint contact. Anything less is a product demonstration, not project approval.
Esta Stone keeps the untreated sample beside the treated one because Lighting lies, and memory is even less reliable.
References
- Dimension Stone Design Manual, Natural Stone Institute.
- Natural Stone Institute Technical Bulletins for Marble, Natural Stone Institute.
- ASTM C503 Standard Specification for Marble Dimension Stone, ASTM International.
- ASTM C97 Standard Test Methods for Absorption and Bulk Specific Gravity of Dimension Stone, ASTM International.
- ASTM C880 Standard Test Method for Flexural Strength of Dimension Stone, ASTM International.
- Bathroom Planning Guidelines, National Kitchen and Bath Association.
- Search Essentials: Creating Helpful, Reliable, People-First Content, Google Search Central.