Why White Marble Sealant Joints Turn Dark
A dark line starts at the lower corner of a shower return and climbs beside the sealant. Under warm light it reads almost brown; under cooler inspection light it looks grey-green. The bead is still attached, so someone proposes laying fresh sealant over it. I stop that work. White marble sealant joint staining may sit on the surface, inside the stone edge or behind the joint, and another bead can bury the best evidence.
I inspect the marble, sealant and adjoining finish as one interface. The mark’s width, direction, wet-use response and relationship to the bead matter. Don’t just look at samples. A compatibility test on a clean offcut cannot reproduce a joint contaminated by cleaner, moisture or an unknown primer unless those conditions are included deliberately.
Map White Marble Sealant Joint Staining on Both Sides of the Bead
I draw the complete joint and mark where discoloration begins, ends and changes width. A narrow line that mirrors the sealant edge differs from a broad damp patch rising from the floor. A stain appearing on both sides of a bead differs from one confined to a single stone edge. The map also records corners, changes of plane, drains, niches and plumbing penetrations.

I extend the white marble sealant joint staining map beyond the visible line. Adjacent grout, fittings and wall returns can reveal a moisture path that the dark perimeter alone hides. The room plan records wet-use direction, cleaning spray zones and any recent plumbing or joint repair.
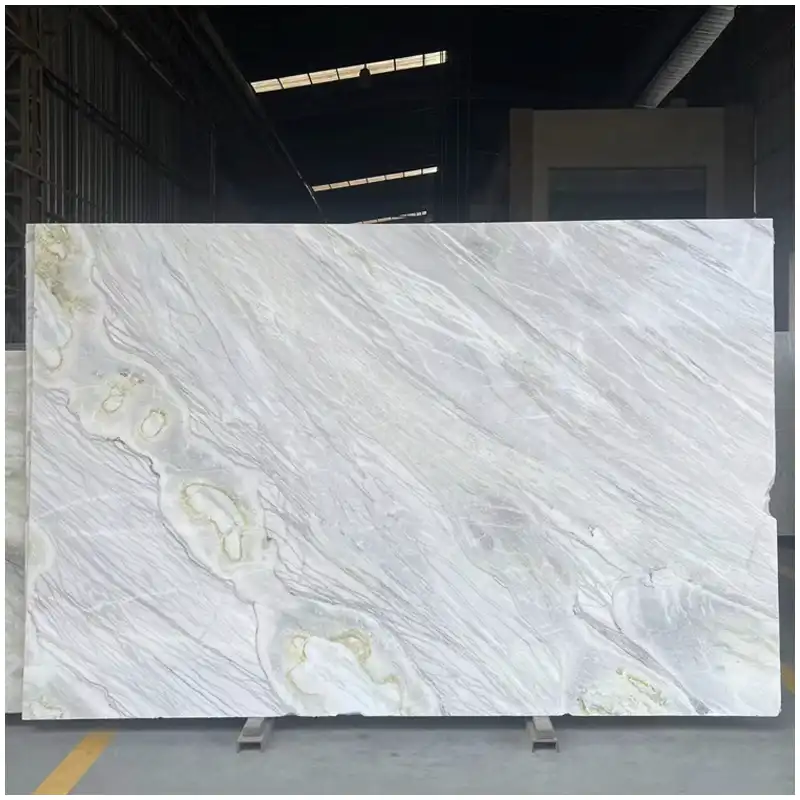
The White Marble Slabs Complete Guide gives me the approved batch and finish. I compare full-slab and dry-lay images with the installed joint. A natural grey vein ending at the perimeter must not be reclassified as sealant contamination because it becomes more visible when wet.
Photograph the joint wet and dry
The bathroom follows a controlled dry period where safe and practical, then the team records normal wet use without adding cleaners. I photograph the same coordinates, camera direction and light. A band that expands while wet and retreats while drying supports moisture involvement. A fixed stain may point toward residue, material migration or a permanent surface change.
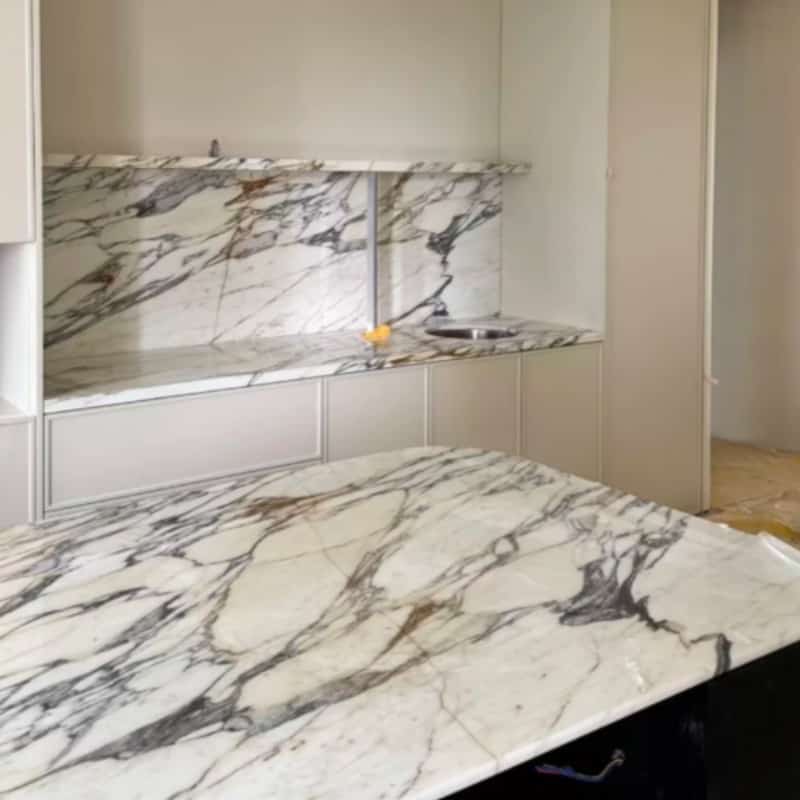
Lighting lies about the stain width when a polished Placă de marmură Calacatta albă reflects the dark bead. I move the light and viewing angle to separate reflection from color inside the stone. A ruler or scale stays in one frame.
Read adhesion without pulling the bead
I inspect visible adhesion, cracks, bubbles, dirt collection and separation at the sealant edges. I do not pull a corner to “see if it is loose” before the test section is approved. That action can tear the bead, admit water and remove the original interface.
Wet zone sealant failure may appear as loss of adhesion or cohesion, but a dark line alone does not prove failure. The joint may remain bonded while adjacent stone darkens from another source. Both conditions must be recorded separately.
Separate Six Sources of Darkening
Sealant is part of a joint system that can include primer, cleaner, masking adhesive, backer rod, bond-breaker, substrate and adjacent finishes. The flexible material known as a sealant must suit the movement, moisture and material exposure. A generic color match is not a compatibility specification.
Surface soil and biological growth
Soap, body oils, dust and cleaning residue can accumulate at a recessed or rough bead. Biological growth may appear where moisture and maintenance conditions support it. I begin with a manufacturer-compatible surface assessment and do not call every dark deposit “mold” from a photograph.
If cleaning changes the bead but not the marble edge, the two conditions separate. If the stone remains dark while drying, moisture or migration still needs review. The treatment record includes product, dilution, dwell time, agitation and final dry condition.
Moisture beside or behind the joint
Bathroom marble joint discoloration can follow water entering through a failed interface, arriving from behind the assembly, or remaining after wet use. The joint may be the visible boundary rather than the source. I inspect plumbing, membrane transitions, slopes and adjoining penetrations with the responsible specialists.
The White Marble Efflorescence path becomes relevant when salts appear near the dark band. Moisture can transport soluble material and leave a pale deposit as the surface dries. Cleaning only the deposit does not close the wet route.
Sealant or accessory migration
Sealant bleeding into marble is a compatibility hypothesis, not a label I apply by sight. Certain components or contaminants may migrate into porous adjacent material under particular conditions. The product manufacturer should assess the exact sealant, primer, substrate, cure and service exposure.
I ask for the product cartridge or batch record, not “clear silicone.” Different formulations can look similar. The compatibility test should include the actual Placă de marmură albă Carrara finish, cut edge, primer and backer material proposed for the joint.
Where white marble sealant joint staining appears only beside one production batch or one cut-edge treatment, I compare retained pieces under the same test assembly. That comparison can expose a preparation difference without claiming that the marble or sealant alone caused the result. Every material in the interface remains visible in the test record.
Primer or cleaning spread
A primer brushed beyond the intended bond line can darken or change the marble edge. Solvent or cleaner used during preparation can also affect the stone or carry contamination. I inspect application photographs, masking width and the stain’s relationship to the bead. A straight repeated band deserves a process review.

That slab doesn’t belong next to your bathtub when the joint installer has no compatibility record and uses the same preparation liquid on glass, metal and stone without distinction. White marble makes careless overspread visible.
Backer material and joint depth
The backer controls sealant depth and shape while preventing unwanted three-sided adhesion where specified. A missing, unsuitable or contaminated material can alter cure and movement behavior. I do not identify hidden backer from the face; the approved joint detail and controlled opening provide evidence.
A joint packed too deeply with unknown filler may retain moisture or contamination beside the stone edge. A shallow smear over grout is not the same assembly as a designed movement joint. The drawing must state what the bead is expected to do.
Adjacent adhesive or substrate effects
A dark perimeter may come from setting material, waterproofing, metal or contamination behind the marble. The sealant line simply makes the boundary visible. I compare uninstalled cuts, adhesive color and the back of any approved test removal before blaming the visible bead.
Use the Joint Diagnosis Table
| Model | Evidence to collect | Possible direction | Do not do first |
|---|---|---|---|
| Dark deposit only on bead face | Cleaning and wet-use history | Surface soil or growth | Cut out a bonded joint immediately |
| Stone darkens after every wet cycle | Wet and dry map, plumbing and membrane check | Active moisture route | Apply more sealer over the band |
| Uniform narrow band beside sealant | Product, primer, masking and compatibility records | Migration or overspread | Name the cause from color alone |
| Local dark corner with failed adhesion | Joint geometry and substrate condition | Movement, contamination or moisture | Apply a cap bead over the failure |
| Crystals beside dark joint | Deposit, moisture and assembly map | Salt transport with moisture | Treat salt and darkening as one chemical stain |
The table sets the first investigation, not the final remedy. White marble perimeter stain can have overlapping causes. I want the sealant manufacturer, installer, waterproofing specialist and stone-care professional to see the same mapped evidence before they recommend incompatible actions.
The Hard-Won Lesson: A Cap Bead Hides Failure without Rebuilding the Joint
Fresh sealant laid over a dark, partly detached bead can make the joint look wider and cleaner for handover photographs. The original contamination, moisture and poor adhesion remain underneath. When movement returns, the cap separates along an even more difficult edge.
The Lesson: Remove and rebuild an approved test section; never bury an unexplained joint.
Open One Controlled Section before Removing the Full Joint
The team selects a representative stained section and, where useful, an unaffected comparison. Before cutting, I photograph the bead, both stone edges, joint width and surrounding finish. Protection prevents the blade or tool from scratching polished marble. Removed material is labeled by exact location.
The opening log for white marble sealant joint staining also records whether the bead failed adhesively at an edge, split within itself, or remained intact during removal. Those observations describe failure mode. They do not by themselves identify contamination, movement or product incompatibility, but they direct the next technical question.
A white marble sealant joint staining opening should reveal bead profile, adhesion faces, backer material, contamination, moisture and the depth of any visible edge discoloration. I photograph each layer before cleaning. The cut piece and residue may need manufacturer or laboratory review.
Do not confuse a wet cut edge with permanent staining
Freshly exposed marble can look darker if moisture or solvent is present. I record the immediate condition and a defined drying sequence. The team compares it with an untreated edge under the same light. Lighting lies most effectively when one sample is wet and the other is dry.
Pentru Sivec white marble tiles, a tight pale background makes small edge changes easy to notice. That sensitivity demands better controls, not a faster blame decision.
Run compatibility work with the actual materials
The test assembly uses the approved stone finish and cut edge, substrate, primer, backer, sealant and cleaning method. It follows manufacturer requirements and allows the specified cure and observation period. A test with a random white tile cannot clear a product for the actual marble batch.
White marble sealant joint staining may not appear immediately. The responsible specifier determines the test duration and exposure conditions. I record observations rather than promise that a short bench test predicts years of wet-zone use.
Rebuild the Joint and Monitor the Stone Edge
The repair detail states joint dimensions, substrate preparation, primer, backer, sealant, tooling, protection, cure and water-exposure restrictions. It also addresses the moisture source where present. Replacing sealant over an unresolved leak is not repair.
I keep a retained compatibility panel and record product batch information. The new bead is photographed at installation, after cure and after an agreed wet-use interval. A closeout inspection checks adhesion, surface cleanliness, color and the marble edge under the same labeled lights used for the original map.
Repair acceptance for white marble sealant joint staining includes a scheduled follow-up after normal cleaning and wet use resume. The inspector compares the original boundary with the repaired section and untouched control. A neat first-day photograph is not enough when the earlier darkening developed gradually.
The follow-up date and responsible reviewer remain in the closeout file.
Escalate if the dark band continues to grow
First, photograph and measure the current boundary without adding cleaner or sealant. Second, stop wet use and further joint work until the mechanism is reviewed. Third, send the original map, product records, opening photographs and wet-zone details to the supplier and responsible installation, sealant and waterproofing specialists.
Dacă white marble sealant joint staining continues beyond the repaired test, the project must revisit the source rather than widen the treatment area automatically. I will not let a neat bead become an excuse to ignore water behind it.
Întrebări frecvente
1. What causes white marble sealant joint staining?
Possible causes include surface soil, biological growth, active moisture, incompatible sealant components, primer or cleaner overspread, contaminated backer material, poor joint geometry and adjacent installation materials. The pattern and records must distinguish them.
2. Can I apply new sealant over a dark existing bead?
Do not cap an unexplained or poorly bonded joint. The new material may not adhere, and it can hide moisture or contamination. Approve a controlled removal and rebuild method first.
3. Does a dark marble edge prove sealant migration?
No. Moisture, primer, cleaner, adhesive, substrate and natural veining can also darken the visual edge. Product identification, wet-and-dry mapping and a controlled opening are needed.
4. How should sealant be compatibility-tested with white marble?
Use the actual marble batch and finish with the proposed cut edge, primer, backer, sealant and cleaning process. Follow manufacturer and project requirements for cure, exposure and observation.
5. What should happen first if the dark line grows after repair?
Document the new boundary under the same light, stop wet use and additional treatment, and send the repair materials, opening evidence and moisture records to the responsible specialists for source review.
Quick-Reference Sealant Joint Checklist
- Map stain width and direction on both sides of the bead.
- Record wet and dry appearance under labeled lighting.
- Identify sealant, primer, cleaner, backer and substrate materials.
- Inspect adhesion without pulling the original joint apart.
- Approve one protected opening before full removal.
- Rebuild the joint to a written geometry and cure detail.
- Monitor the stone edge after normal wet use resumes.
Final Conclusion
White marble sealant joint staining needs a mapped wet-and-dry pattern, exact product record, joint detail and controlled opening before removal spreads across the room. I want the cause addressed, the bead rebuilt to a written detail and the stone edge monitored under the same light. Esta Stone would rather expose one honest joint section than hide an active wet-zone problem behind a wider line of sealant.
References
- Dimension Stone Design Manual, Natural Stone Institute.
- Natural Stone Care and Maintenance Guidance, Natural Stone Institute.
- ASTM C920 Standard Specification for Elastomeric Joint Sealants, ASTM International.
- ASTM C1193 Standard Guide for Use of Joint Sealants, ASTM International.
- TCNA Handbook for Ceramic, Glass, and Stone Tile Installation, Tile Council of North America.
- Applicable Sealant, Primer and Backer Material Technical Data, Product Manufacturers.
- Approved Joint Detail, Waterproofing and Installation Records, Applicable Project File.