What a White Marble Hollow Sound Means before You Remove the Tile
A polished bathroom floor can look flat and quiet until a tapping tool reaches one corner and the note changes. The room immediately fills with opinions: no adhesive, loose tile, broken membrane, full replacement. I write down none of those as facts. A white marble hollow sound tells me where the response differs. It does not tell me what sits under the stone.
I mark the location, tool, tapping force, tile size, joint position and room condition. Then I listen to surrounding units with the same method. Don’t just look at samples, and do not listen to one isolated tap. The pattern matters more than the drama of one sharp note.
Map the White Marble Hollow Sound with One Repeatable Method
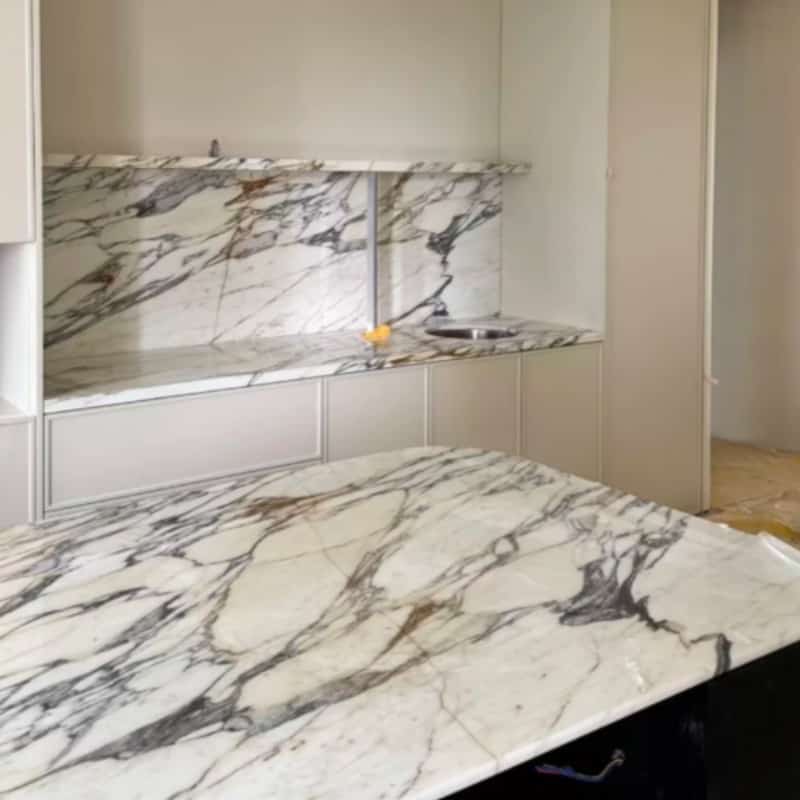
I start with a room plan and tile grid. Each unit receives a number. The inspector uses the same tapping tool, contact point and light force, working in a consistent pattern near the center and selected edges. The purpose is comparison, not impact. A hard metal strike can chip polished Calacatta white marble tiles and create a new defect while testing for an old one.
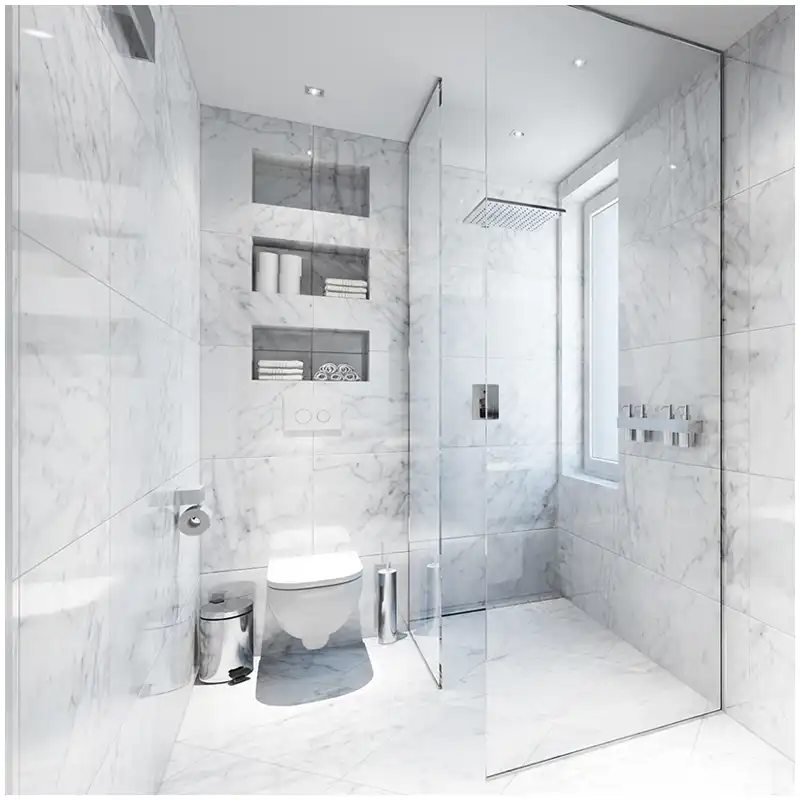
Stránka White Marble Slabs Complete Guide gives the material baseline, but an acoustic survey belongs to the installed assembly. I record tile thickness, finish, dimensions, vein direction and any resin or mesh treatment shown in the project data. Those details can influence sound transmission and removal behavior.
Use zones, not emotional labels
My plan uses observed categories such as consistent, different, sharply different and untested. I avoid “failed” on the first pass. The legend includes inspector, date and room condition. If another person repeats the survey, the team can compare maps instead of arguing about adjectives.
A marble tile hollow sound near every perimeter may relate to edge conditions, movement accommodation or installation geometry. A scattered pattern through the field raises different questions. A single changed corner beside a crack deserves more attention than an isolated sound with no movement, fracture or moisture evidence.
I repeat a white marble hollow sound survey only after recording conditions that may affect comparison: wet or dry room, floor temperature, recent use and the same tapping tool. A new inspector receives the first legend but records an independent map. Agreement between two controlled surveys carries more weight than a louder second opinion delivered without a method.
Keep lighting in the inspection record
Lighting lies about surface plane. Grazing 4000K inspection light can reveal small lippage, cracks and reflection breaks that disappear under diffuse 3000K bathroom light. I use the stronger view for inspection and the installed view for appearance, labeling both. The acoustic result itself does not change with lamp color, but the visible evidence around it can.
A white mark beside a different-sounding area might be grout residue, an open fissure, impact abrasion or reflected light. Photograph it with a scale and oblique light before cleaning. Otherwise the team may connect two unrelated observations simply because they occupy the same tile.
Understand What the Sound Can and Cannot Prove
A stone tile, setting bed, membrane and substrate form a layered system. Sound can vary with material density, tile dimensions, contact distribution, cavities, substrate transitions and nearby joints. The acoustics of a tap provide a screening signal. They do not directly measure bond strength.
The phrase stone tile bond inspection should therefore cover more than tapping. I look for vertical movement under an appropriate test, cracked or debonded grout, changes over time, edge lifting, moisture pattern and substrate movement. Project requirements and qualified professionals determine whether further testing is needed.
A void is not automatically a loose tile
Incomplete contact can create an acoustic difference, but its location, extent and application matter. A floor in a wet area, a wall panel, a vanity splash and a large-format tile do not carry identical risk. I do not turn a sound map into a universal acceptance percentage. The project specification, installation standard and responsible consultant set the criteria.
Likewise, a tile may sound relatively solid and still have another problem. Surface staining, warping, lippage, membrane failure or a crack can require investigation even without a sharp acoustic change. One test cannot certify the whole bathroom.
Change over time raises the priority
I compare the first survey with a dated follow-up when conditions permit. An unchanged isolated area behaves differently from a zone that expands after wet use or thermal cycling. If new cracks, grout separation or movement appear, the investigation escalates. The important fact is the change, not the loudness alone.
A white marble hollow sound that follows a plumbing leak also needs moisture assessment. The sound does not prove the leak caused loss of bond, but the timing and path justify a coordinated review of the stone, adhesive, membrane and substrate.
Read the Installation Record before Ordering Removal
I ask for substrate acceptance, membrane, adhesive, mixing, open time, coverage checks, back-buttering method, tile condition, environmental notes, joint layout and cure time before use. If these records do not exist, say so. A missing record increases uncertainty; it does not prove defective work.
Stránka White Marble Adhesive Selection article explains why compatibility, color, moisture sensitivity and application matter. For translucent or light material, the setting bed can affect appearance as well as support. That slab doesn’t belong next to your bathtub when the entire wet-zone system has never been specified as a system.
Check joints before blaming the center
Movement accommodation, perimeter gaps and changes of plane are part of the review. Hard grout bridging a required movement location can transfer stress. A sealant joint that has detached may admit water or signal movement. I photograph joint width, cracking and continuity around the acoustic zone.
Stránka White Marble Tile Lippage record is also relevant when a raised edge changes both tapping response and traffic risk. Plane, sound and joint condition belong on the same map, but each retains its own measured field.
Review original tile geometry
White marble can vary by mineral structure and fabrication history. I compare installed pieces with unused retained units on a flat reference where appropriate. A warped tile can create localized contact patterns even when the installer followed an otherwise consistent method.
Stránka White Marble Tile Warping inspection route explains how to document geometry without confusing reflection with measurement. Full-slab beauty does not cancel installation physics. Don’t just look at samples. Check the actual format that will be bonded.
Use an Evidence Matrix before Escalating
| Finding | Supporting check | Risk signal | Next controlled action |
|---|---|---|---|
| Isolated different note | Repeatable map, no movement or crack | Low evidence by itself | Record and monitor under defined conditions |
| Expanding acoustic zone | Dated comparison map | Condition may be changing | Pause adjacent work and involve consultant |
| Sound plus grout cracking | Movement and joint survey | Possible assembly movement | Review substrate and movement provision |
| Sound beside active moisture | Moisture source and drying record | Wet assembly requires review | Stop wet use and coordinate specialists |
| Wall tile with visible movement | Safe access and restraint assessment | Falling-object concern | Restrict area and obtain immediate professional direction |
The matrix makes the escalation proportional to evidence. A white marble hollow sound with visible wall movement is not managed like one unchanged floor corner. Safety takes priority. The qualified designer, installer, engineer or testing professional chooses the examination method for the assembly.
Wall and floor locations also change the consequence. A floor unit may present traffic, moisture or progressive bond concerns. A large wall unit can introduce a falling-object risk. I never let an identical white marble hollow sound label hide those different exposures. The report states orientation, height, piece dimensions and occupied area below the stone.
The Hard-Won Lesson: Removing the First Tile Can Remove the Best Evidence
A crew hears a different note, breaks out the center of the tile and cleans the substrate before anyone records adhesive transfer, ridges, membrane, cracks or moisture. The opening proves that a tile was removed. It no longer shows why the assembly sounded different.
The Lesson: Write the removal and evidence plan before the first tool touches the stone.
Choose Further Testing without Turning the Bathroom into a Test Site
Nondestructive tools may help a qualified specialist compare areas, but instrument limits and interpretation matter. Acoustic impact methods, infrared observations, moisture tools and movement checks do not all answer the same question. I ask what property the test measures, what baseline it uses and how the result changes the decision.

Where acceptance requires bond evidence, the project professional may specify testing under an applicable method. Sampling location, preparation and repair plan need agreement first. Destructive testing can damage membranes and finishes, so it cannot be ordered casually from a photograph.
Select a representative opening
If tile removal is approved, I choose the location with the consultant: affected zone, comparison zone or boundary. The tile number, orientation and vein direction are recorded. Protection covers adjacent polished faces. The team plans how to preserve the removed stone, adhesive fragments and substrate condition.
White marble tile removal should answer a defined question. Was transfer incomplete? Did a crack reflect through? Is moisture present? Did a membrane separate? If nobody states the question, the opening may generate photographs without a conclusion.
Photograph every layer before cleaning
I photograph the stone face, edges and back; adhesive coverage and ridge direction; membrane or substrate; joint interfaces; and any fracture surface. A scale and tile number stay in frame. Material is bagged and labeled when testing or later review may be required.
For light Sivec white marble tiles, adhesive color and moisture can be visually important. Lighting lies again: a wet back can look darker before it dries. Record the time after removal instead of comparing an immediately opened wet layer with a dry warehouse sample.
Decide between Monitoring, Repair and Replacement
A stable acoustic difference with no movement, crack, moisture or specification breach may lead to documented monitoring. A localized confirmed defect may support targeted repair. Widespread changing evidence can require broader design and installation review. I do not let the most expensive option become the default merely because it sounds decisive.
After a repair, the white marble hollow sound map is not simply erased. The closeout identifies the removed tile, exposed condition, repair materials, curing limits, replacement-piece batch and final inspection. A follow-up date is assigned where monitoring remains appropriate. That record prevents the repaired area from becoming an unexplained blank on the original survey.
Bathroom marble debonding requires a remedy that addresses the mechanism, not just the visible unit. Replacing one tile over an unresolved moving substrate or wet assembly repeats the risk. The repair specification should cover removal limits, substrate preparation, membrane restoration, matching material, adhesive, joints, curing and acceptance.
Escalate visible movement immediately
First, document the tile and surrounding area without applying further impact. Second, restrict use and stop removal or installation until the safety risk is assessed. Third, send the sound map, movement evidence, installation records and original approval file to the responsible designer, installer, supplier and specialist for direction.
A white marble hollow sound belongs in the final record even when the decision is to monitor. The map, rationale, review date and acceptance authority stay together. Silence is not acceptance, and a colored mark on a plan without a legend is not a record.
Frequently Asked Questions
1. Does a white marble hollow sound mean the tile is loose?
No. It means the acoustic response differs from the comparison area. Evaluate the pattern with movement, cracks, joints, moisture, installation records and any project-specific acceptance requirements before reaching a bond conclusion.
2. Can I test polished marble with a metal hammer?
Do not use an impact method that may chip or bruise the finish. A qualified inspector should choose a suitable tool and repeatable light technique. Protect the surface and record the method.
3. When should a wall tile area be closed?
If visible movement, cracking or another condition suggests a falling-object risk, restrict access and obtain immediate professional assessment. Safety decisions should not wait for a complete cosmetic investigation.
4. Is tapping enough to accept a marble installation?
No. Tapping is one screening observation. Acceptance can also involve material approval, geometry, joints, surface condition, installation records, coverage checks and specified tests under the project requirements.
5. What should happen first if the sound map grows?
Repeat the map with the same method, photograph related cracks or joint changes, stop work that could hide the condition, and send both dated surveys with installation records to the responsible project professionals.
Quick-Reference Acoustic Inspection Checklist
- Number every tile on a room plan before tapping begins.
- Use one suitable tool and a consistent light method.
- Record cracks, movement, joints, moisture and lippage separately.
- Compare the map with adhesive, membrane and substrate records.
- Restrict access when wall movement creates a safety concern.
- Approve the evidence plan before destructive testing or removal.
- Preserve every exposed layer before cleaning the opening.
Final Conclusion
A white marble hollow sound is useful because it tells the team where to look, not because it supplies the verdict. I want a repeatable map, related movement and moisture evidence, installation records and a written purpose before any tile is removed. Esta Stone would rather preserve one honest acoustic difference than turn an uncertain bathroom floor into an unnecessary demolition job.
References
- Dimension Stone Design Manual, Natural Stone Institute.
- Natural Stone Installation Guidance, Natural Stone Institute.
- ASTM C482 Standard Test Method for Bond Strength of Ceramic Tile to Portland Cement Paste, ASTM International.
- ASTM C1583 Standard Test Method for Tensile Strength of Concrete Surfaces, ASTM International.
- TCNA Handbook for Ceramic, Glass, and Stone Tile Installation, Tile Council of North America.
- Natural Stone Flooring Technical Guidance, Stone Federation Great Britain.
- Approved Material, Adhesive, Membrane and Installation Records, Applicable Project File.