


Volakas Marble Skirting: Vein Direction, Wall Transitions, and Shadow Gaps
I have rejected a skirting run because the floor looked cool grey under warehouse light and the wall pieces turned creamy under the project’s warm bathroom lighting. The strip between them was supposed to make the room feel finished. Instead, it made the colour disagreement easier to see. The problem was not the skirting height. The problem was that nobody had put all three surfaces together before cutting.
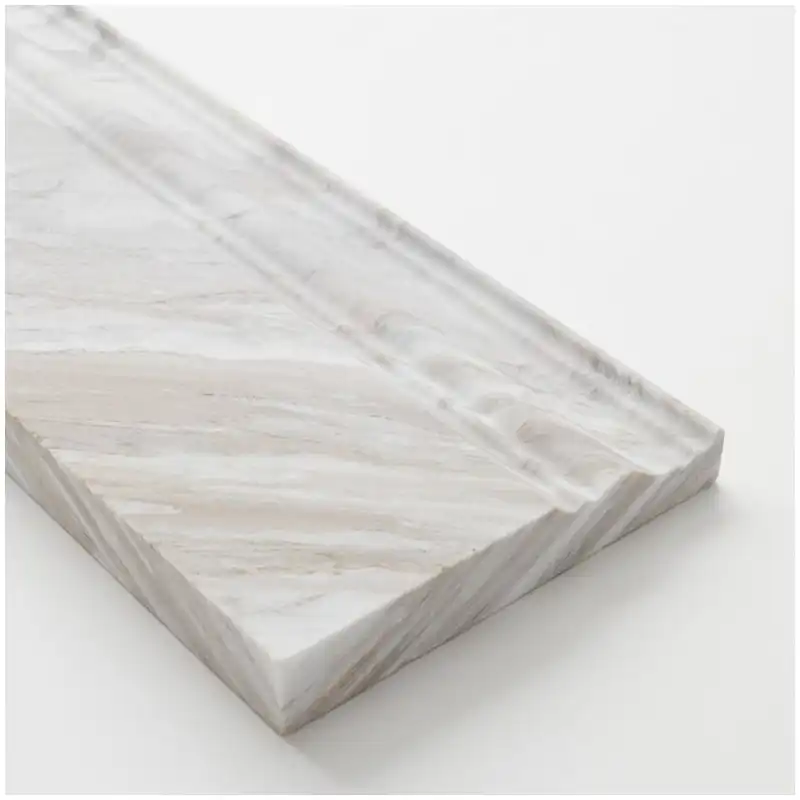
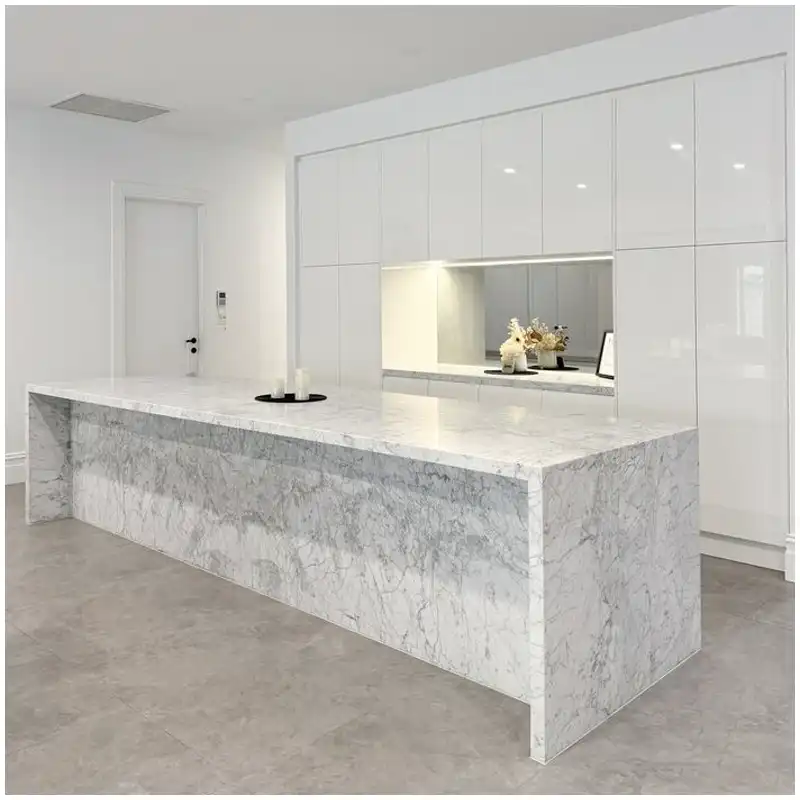
Volakas marble skirting is not filler between a floor and a wall. It is the line your eye follows around the room. It catches side light. It collects the shadow below a vanity. It often meets door trims, shower glass, thresholds, and changes in tile direction. Don’t just look at samples. A small piece of white marble can look innocent beside a full slab and become very loud once it runs around four walls.
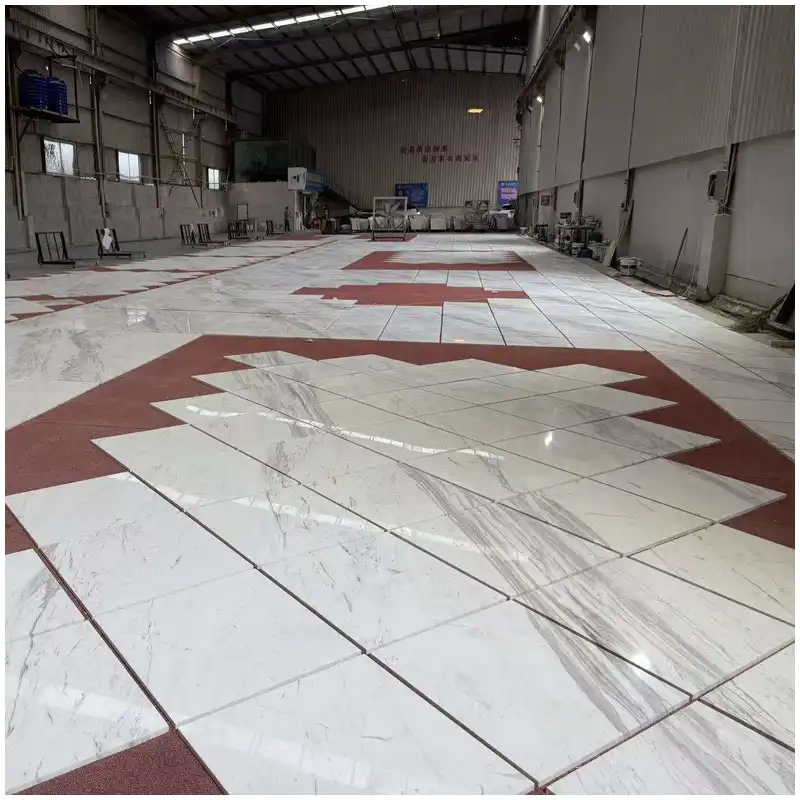
Lighting lies. Every time. A grey vein that looks crisp at 4000K can soften or turn warmer at 3000K. That is why I want the intended floor, wall, skirting, grout, and sealant joint in the same review. A close-up sample cannot answer how the room will read at the floor-to-wall transition.
Start with the transition, not the strip
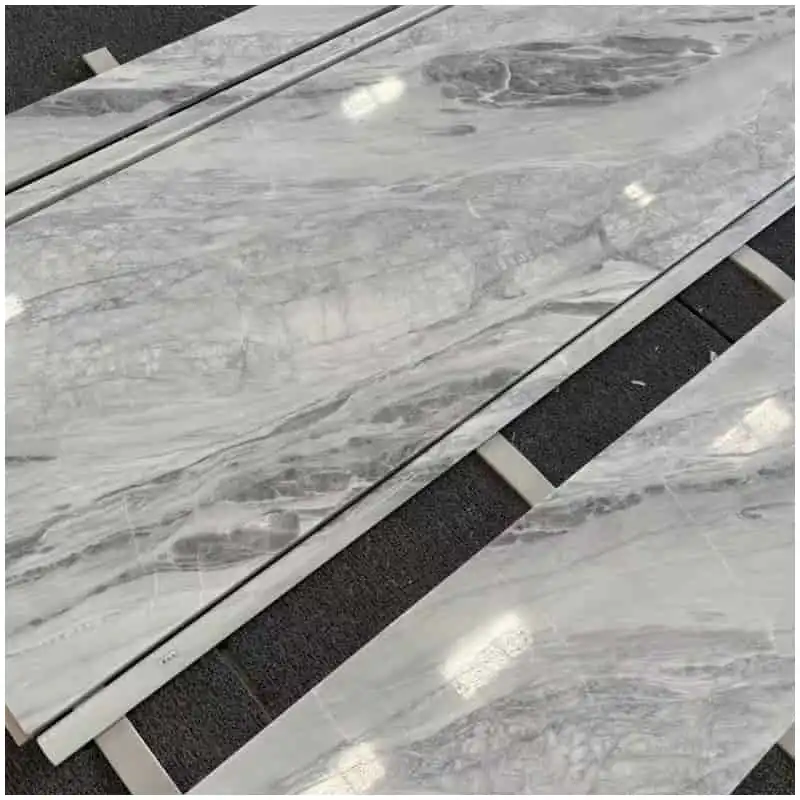
Put the floor piece, the wall piece, and the proposed skirting together before you approve any narrow cut. A skirting piece may come from the same bundle yet still carry a different undertone, vein density, or finish response. The transition needs to look intentional from standing height and from the low angle where side light traces the wall.
In a bathroom, the line can change character from one side of the room to another. Beside a shower glass panel, it may be sharply lit. Under a floating vanity, it may sit in shadow. Near a door, the skirting may meet a threshold or architrave. I do not expect one narrow piece to solve every visual problem, but I do expect the dry-lay to identify where a change in allocation or joint is needed.
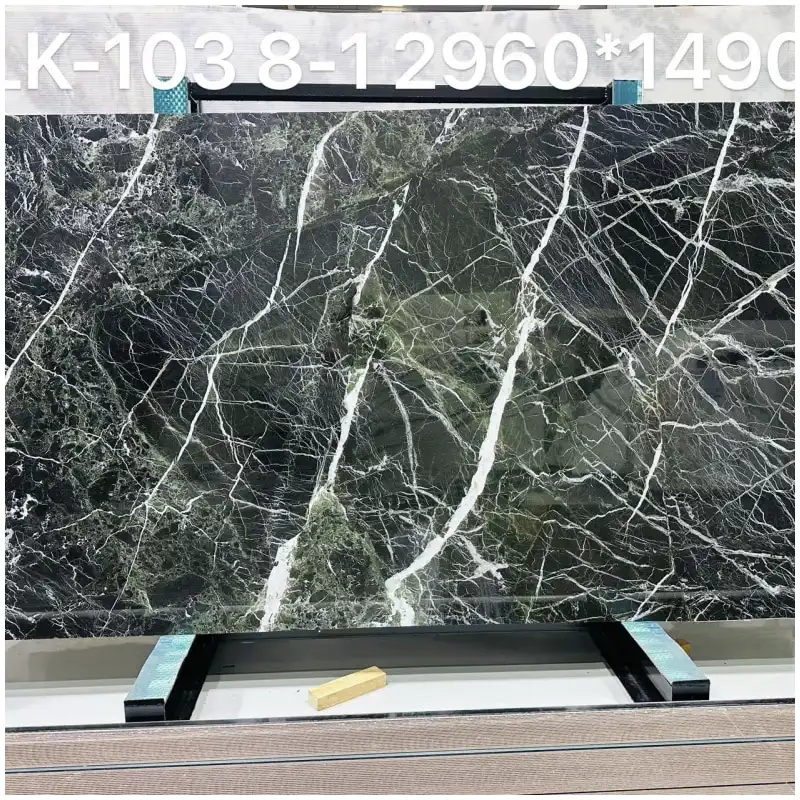
That slab does not belong next to your bathtub if its strong diagonal vein creates a hard stop precisely where the wall and floor should feel quiet. I would rather use a calmer piece there and reserve the dramatic panel for an elevation where it has room to breathe. White marble needs editing. It does not need every available vein shown at once.
Volakas marble skirting needs a chosen vein direction
There is no universal rule that a skirting vein must run horizontally or vertically. The right direction depends on what the floor and wall already say. A long horizontal grey line can extend the floor’s movement around the room. A more vertical cut may support a wall panel where the vein rises. The mistake is letting the cut direction happen by offcut availability alone.
Look at the corners. A line that feels calm on one wall can collide with an adjacent return. If the material has a pronounced grey branch, decide whether it turns the corner, stops at a joint, or is deliberately broken. Do not let a narrow return piece invent that answer while the main wall is already packed.
Volakas marble skirting also needs a clear face direction on the cutting list. Mark the installed orientation in the dry-lay photos. A strip can be rotated easily during packing or installation because it is small and similar to its neighbour. One accidental rotation can make a controlled run look like a patchwork border.
When Volakas marble skirting has an approved direction, put that direction beside the panel code rather than trusting a loose pencil mark. Small pieces are the first ones crews rotate when they are trying to solve a corner quickly.
Use offcuts carefully
Offcuts are useful. They are not automatically suitable. A piece that saves material may have a dense cluster of grey, a warmer background, or a filled edge that becomes obvious at floor level. I inspect the narrow cuts as honestly as the large slabs. The fact that a strip is small does not make it invisible.
Set the return condition before fabrication
Door jambs, shower returns, niches, and vanity ends create short pieces that often decide whether the skirting looks deliberate. Build those conditions in dry-lay. If the return requires a new allocation, make it before the main run is cut. A narrow emergency piece is where a good white-marble floor usually loses discipline.
Do not hide the joint decision
The joint between floor and skirting can be tight, visible, filled, or designed as a shadow line, depending on the project detail. The important part is that the chosen treatment appears in the drawing, the mock-up, and the installation instruction. A thin dark line may look sharp in one bathroom and become a permanent dirt trap in another. A light grout may calm a transition but can also change the apparent undertone of the marble.
For a bathroom shadow gap, check the actual light angle. A gap that reads elegant under a controlled display light can look like a black crack in a small bathroom with strong downlights. Do not approve it from a rendering. Put the piece against the wall under the planned light, then decide whether the shadow is helping the room or cutting it apart.
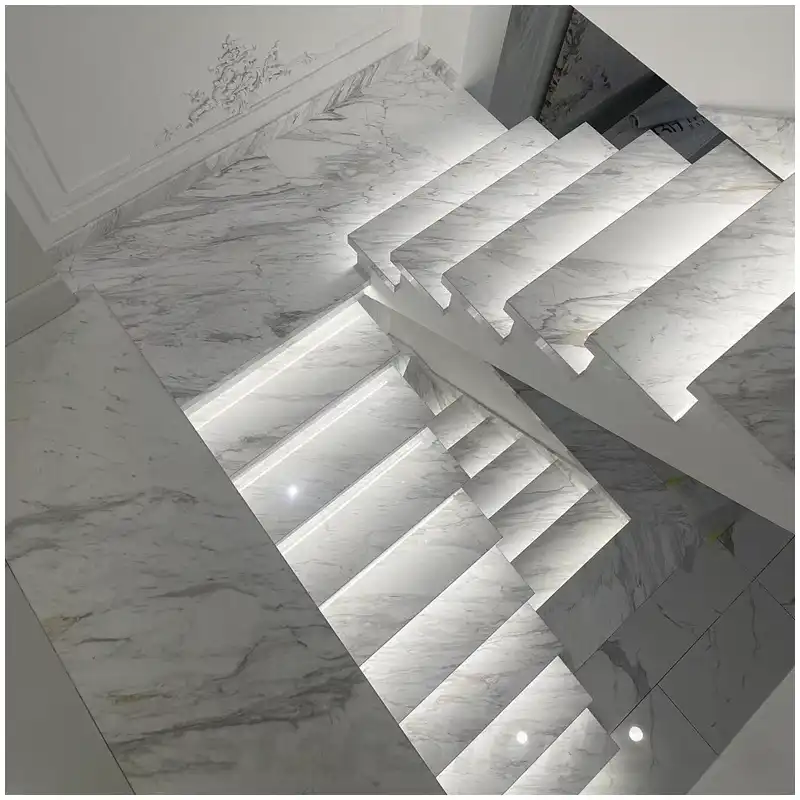
Grout is not a neutral background. It can make the field read cooler, warmer, cleaner, or more fragmented. I keep a small grout and sealant board with the actual Volakas pieces during approval. Lighting lies, and a pale joint can look very different when it sits beside a polished white stone under warm lamps.
Read floor finish and wall finish together
A honed floor and a polished wall may be the right combination, but the skirting then sits between two different reflectance levels. It can look darker simply because it carries a polished face beside a honed floor, or it can disappear if the selected finish absorbs the light. The project should state whether the skirting follows the floor finish, the wall finish, or has its own reasoned treatment.
Do not just look at samples. Bring a full Volakas Marble Slab into the decision before allocating all the narrow pieces. The strongest veins may belong on a wall panel, while the floor-to-wall edge needs continuity and quieter tone. A narrow strip should support the room’s larger composition, not compete with it.
In wet areas, the finish also needs to respond to cleaning and sealant. A polished piece can make soap residue easier to see. A honed piece can hold a different visual depth when wet. This is not a reason to avoid either finish. It is a reason to test the exact assembly and write the maintenance expectation into the handover record.
Keep the transition clean through installation
Skirting is often installed after the floor is in place and after several other trades have already passed through the room. Protect the exposed floor edge, keep adhesive off the visible face, and control the joint while it can still be cleaned. A dirty edge or careless grout smear can turn a sound material allocation into a permanent visual defect.
Check the wall plane before the pieces arrive. A very narrow strip will reveal a wavy wall or an uneven floor line faster than a large wall tile does. If the substrate does not support the agreed reveal or joint width, stop and document it. Forcing the skirting against an uneven condition can create a series of visibly changing joints around the room.
Volakas marble skirting should be checked during the first completed bathroom, not at the end of a large run. Stand back under the installed lighting, inspect the line beside the vanity and shower, and look along the joint from the doorway. That first room gives the team a chance to change allocation, joint treatment, or cleaning method before the pattern is repeated.
For Volakas marble skirting, the first bathroom is the final slab review. If the line looks warmer, darker, or more fragmented than the dry-lay, stop and find the reason before the next rooms repeat it.
That review needs the bathroom door closed, the planned lights on, and the vanity or shower casting its normal shadow. A warehouse answer is useful, but the installed room gives the final answer.
What the approval table needs to settle
| Transition condition | What to review | What can go wrong |
|---|---|---|
| Floor to skirting | Undertone, finish, and joint under installed light | A dirty or visibly changing line around the room |
| Skirting to wall | Vein direction and wall-panel relationship | A narrow strip that interrupts the larger composition |
| Corner return | How the grey movement stops, turns, or breaks | A rotated offcut at a highly visible corner |
| Vanity shadow | Joint and reveal under low-angle light | A black-looking gap that reads as an installation defect |
| Wet-zone edge | Finish, sealant, and cleaning response | Soap film or staining that makes the line look dirty |
The Hard-Won Lesson: A narrow strip can expose a whole-batch mismatch
A typical failure starts with floor, wall, and skirting selected from separate photographs. Each choice looks acceptable alone. Once the room is assembled under warm light, the skirting reads warmer than the floor and cooler than the wall, so it becomes a border around the disagreement. The pieces did not fail a size check. The approval failed to compare the full transition.
The Lesson: Approve floor, wall, skirting, joint, and light together before cutting the narrow pieces.
Reading Volakas marble skirting as a whole-room control
Batch matching reaches the smallest pieces
A narrow transition can make a batch difference more obvious, not less. Keep the skirting allocation with Volakas Marble Batch Matching: Sorting Grey Veins Across Hotel Bathroom Runs so the pieces selected for the floor and wall do not lose their relationship at the final edge.
Volakas marble skirting needs that same batch discipline because it frames the bottom of every wall. A close but wrong strip can make a good floor and wall look unrelated.
Grout changes the line more than most teams expect
Before an installation team chooses a convenient joint colour, compare the condition with Volakas Marble Grout Color: How Joint Tone Changes Grey Veins in a Bathroom. The same grey vein can look harder or softer depending on the line beside it, especially under 3000K bathroom lighting.
When the installed transition looks wrong
Photograph the floor, skirting, and wall under the installed lighting. Stop repeated installation in the affected room type, compare the pieces with the dry-lay and sample record, and contact the supplier with the original inspection evidence. Do not try to hide a colour or joint problem with sealer or a darker grout.
Questions project teams ask before release
1. Should Volakas marble skirting match the floor or wall?
It should support the composition of both. In some rooms the best choice continues the floor’s horizontal movement; in others it supports the wall-panel direction. Review the actual pieces together under intended lighting before selecting the cut direction.
2. Can skirting be cut from offcuts?
Yes, when the offcut carries a compatible undertone, vein direction, finish, and edge condition. Do not use an offcut merely because its size is convenient. A narrow strip still sits in a continuous, highly visible line around the room.
3. Why does the skirting look darker than the floor?
Finish, light angle, joint colour, and the particular stone allocation can all change the apparent value. Compare full pieces under the installed light. A small sample often hides the contrast created when floor, wall, and skirting meet.
4. Should a bathroom use a shadow gap above marble skirting?
Only after the actual gap is reviewed under the planned lighting and against the wall plane. In some rooms it creates a clean separation. In others it reads as a dark crack or reveals uneven substrate conditions.
5. What should happen if the installed skirting does not match the approved transition?
Photograph the condition, do not continue the same installation detail, and compare the affected pieces with the dry-lay, batch record, and lighting approval. Send those records to the supplier before approving a replacement, reallocation, or joint change.
Quick-Reference Checklist for Volakas marble skirting
- Dry-lay floor, skirting, wall, and critical returns together.
- Review the full transition under both warehouse and installed lighting.
- Mark the selected vein direction and corner-return sequence.
- Approve grout, sealant, and shadow-gap treatment with the real marble.
- Check the wall plane before narrow skirting pieces are installed.
- Inspect the first completed bathroom before repeating the detail.
Final Conclusion
Volakas marble skirting is only a narrow strip, but it can reveal every careless decision made above and below it. I would rather stand in front of the full dry-lay and reject one awkward return than watch a white-marble bathroom fracture at its floor line. Esta Stone is where I keep that kind of inspection honest.
References
- Marble, Wikipedia.
- Natural Stone Institute Dimension Stone Design Manual, Natural Stone Institute.
- ASTM C503 Standard Specification for Marble Dimension Stone, ASTM International.
- Stone Flooring and Walling Technical Guidance, Stone Federation Great Britain.
- Tile Installation Standards, Tile Council of North America.
- Search Essentials, Google Search Central.