White Marble Bathroom Problems: Diagnose the Cause before Treatment
A pale brown mark appears beside a shower drain. Under 3000K light it looks warm and deep; under 4000K inspection light its edge looks sharper and slightly grey. One person calls it rust. Another calls it dirt. A third reaches for an acidic cleaner. I stop the discussion there. White marble bathroom problems cannot be diagnosed by color name alone, and the wrong first treatment may erase the evidence or etch the surface.
I begin with five questions: where is the mark, when did it appear, does it change as the area dries, what sits behind the stone, and what did the approved material look like before installation? Don’t just look at samples. A small piece cannot show the relationship between a vein, an iron-bearing inclusion, an adhesive bed and a recurring water path.
Map White Marble Bathroom Problems before Naming Them
I draw the affected area on a room elevation or floor plan. A mark at every outside tile edge suggests a different mechanism from one isolated orange point inside a vein. Repetition around drains or wet joints matters. So does a stain that follows a wall base, threshold, pipe penetration or shower niche. Location is evidence.

I give every group of white marble bathroom problems a dated boundary line on the drawing. A second survey can then show growth, drying or stability without relying on memory.
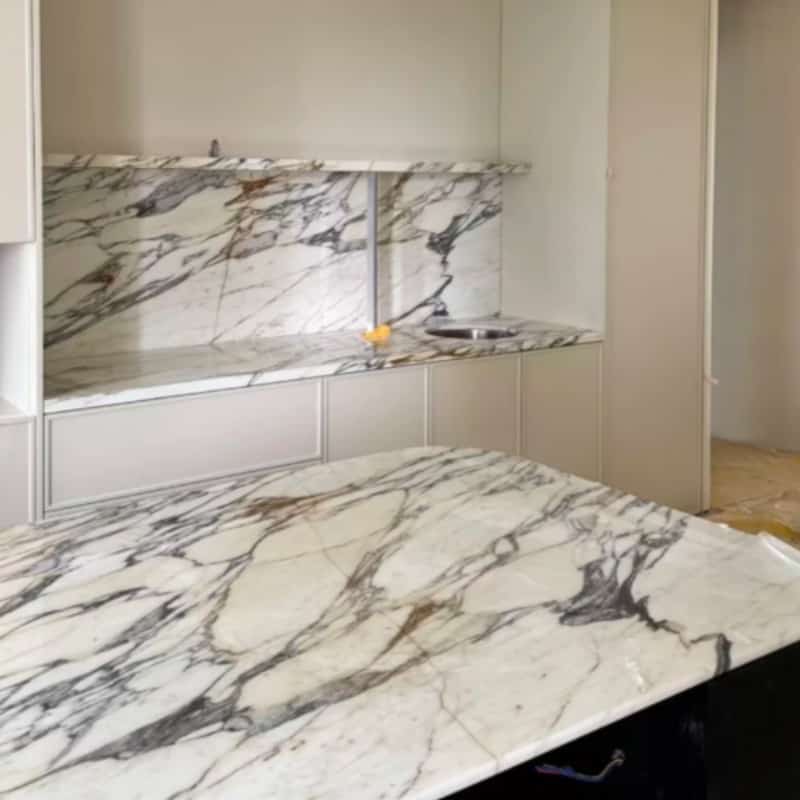
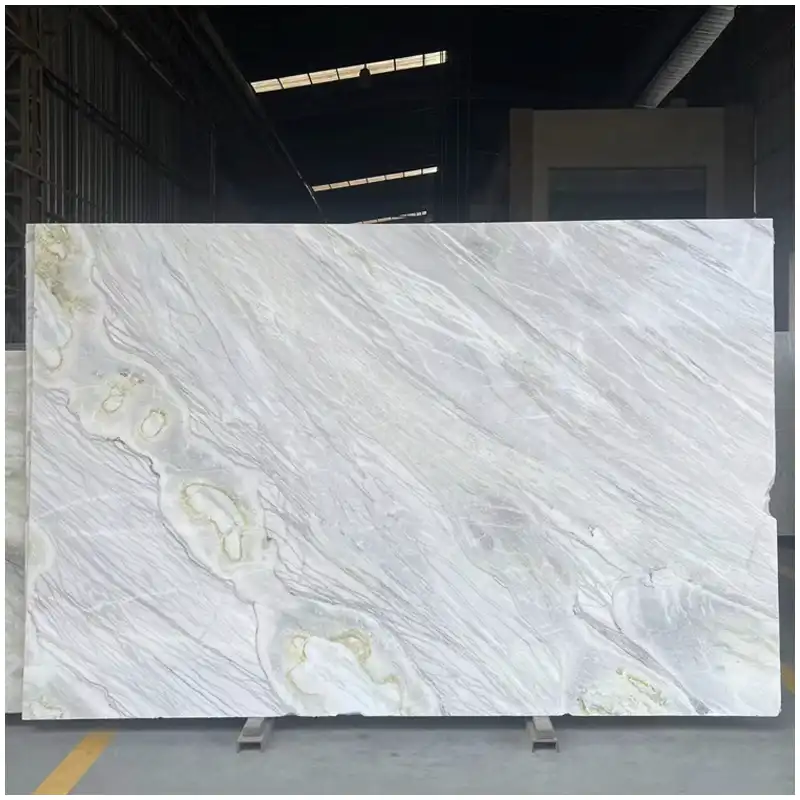
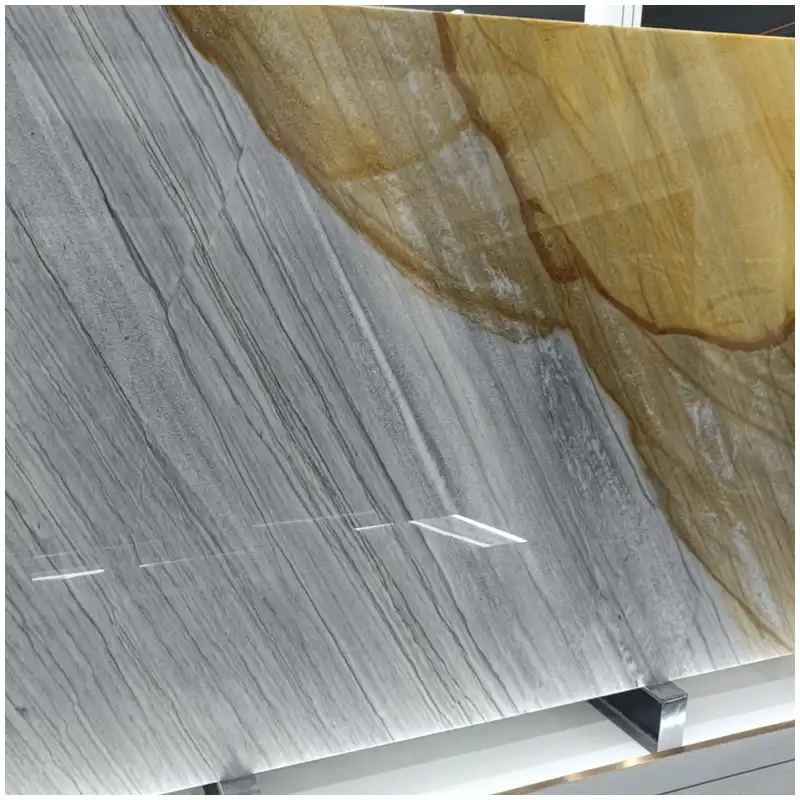
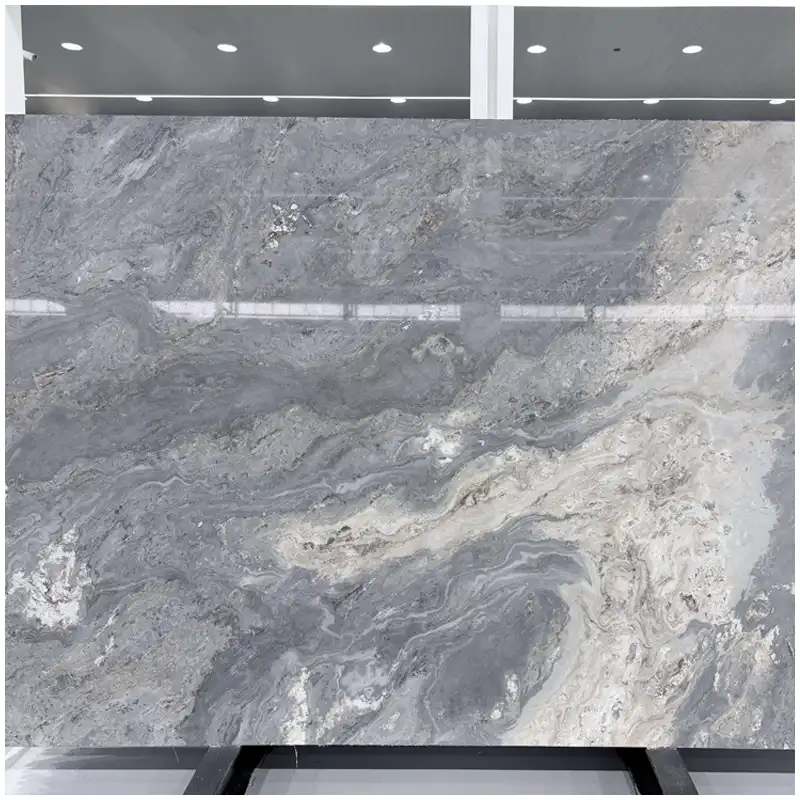
Това White Marble Slabs Complete Guide sets the material and approval baseline. I compare the installed field with full-slab photographs, batch range, finish sample, dry-lay images and room lighting. If the original slab already carried a warm mineral trace, a later photograph should not be used to claim that the entire color formed after installation.
Record the room in two kinds of light
Lighting lies when the team lets one photograph speak for the room. Warm lamps can amplify cream and yellow undertones. Cooler inspection light can make the same stone appear greyer and can sharpen surface residue. I photograph the area with the installed light, then with a neutral portable source, while keeping camera position and exposure as consistent as practical.
That comparison does not diagnose chemistry. It prevents a visual shift from being mistaken for a new stain. A polished Бяла мраморна плоча Карара also reflects fixtures and wall color more strongly than a honed surface. Reflected timber, brass or paint can create a warm cast that disappears when the viewing angle changes.
Build a time record
I ask for installation date, first wet use, cleaning products, sealing work, heating start-up, ventilation status and the first dated image of the symptom. A mark that appeared before use belongs to a different investigation from one that grows after every shower. “Recently” is not a date. Keep the original image file where possible.
When white marble bathroom problems cross from the shower into a nominally dry zone, I check continuous bedding, membranes, joints and plumbing routes rather than treating the room names as moisture barriers.
White marble moisture damage can darken stone temporarily, carry dissolved material, affect the installation bed or reveal an existing inclusion. Moisture presence does not prove a single cause. I want the source, path and drying behavior before I accept any treatment proposal.
Separate the Five Common Mechanisms
The surface of мрамор is calcium-carbonate based and can react with acids. Behind that visible face sit adhesives, membranes, grout, sealant, substrates and sometimes metal components. The same bathroom can therefore show a chemical surface change, moisture movement and installation-related discoloration at the same time.
Efflorescence and salt deposits
White or pale crystalline material at joints and edges may be associated with soluble salts transported by moisture. I first determine whether the deposit sits on the surface or whether the stone itself has changed. Brushing loose residue for a sample is different from flooding the area with cleaner. The moisture source still needs attention.
Това White Marble Efflorescence record shows how to map deposits, joints and wet paths before cleaning. If salts return after surface removal, the project has not solved the transport mechanism. That slab doesn’t belong next to your bathtub if the entire wet-zone assembly cannot manage water properly.
Iron-related discoloration
Marble rust staining often appears orange, yellow or brown, but color alone proves nothing. I inspect whether the mark follows a mineral point in the stone, a cut edge, a fixing, contaminated water or a metal source. I also compare the same inclusion in unused stock or approval images where available.
Това Iron Inclusions in White Marble review belongs before a treatment decision. It explains why a full slab may reveal small mineral features that a carefully selected sample hides. Don’t just look at samples. The question is not whether white marble contains any visual variation; it is whether the selected range and application were controlled honestly.
Picture framing at edges
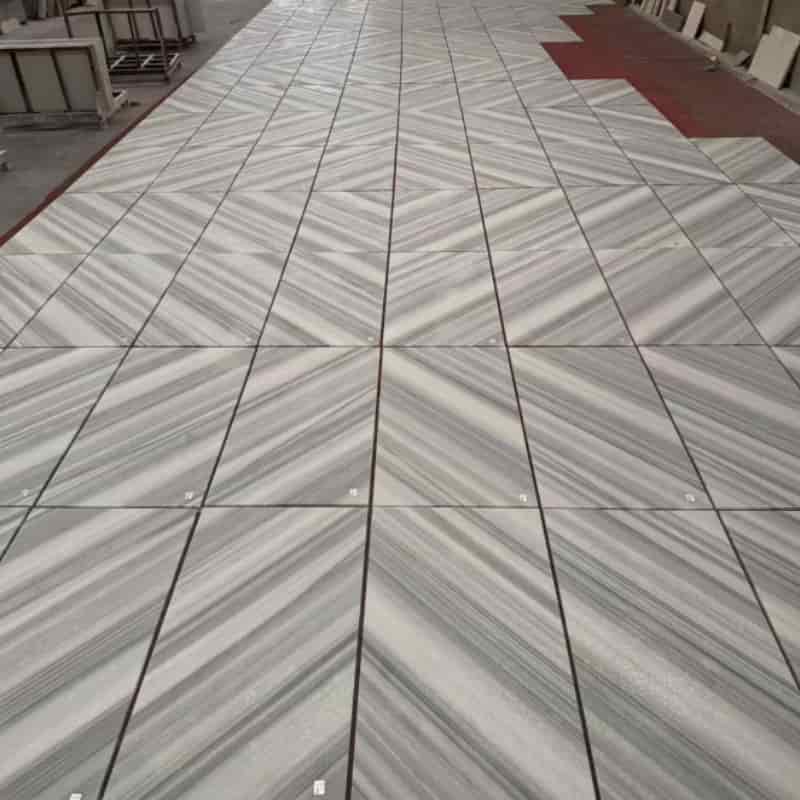
A darker or lighter border around a tile can relate to moisture, setting material, sealer distribution or edge behavior. I compare all four sides, neighboring joints and the back of an uninstalled piece when possible. A uniform frame around repeated units tells a different story from one random stained edge.
Това White Marble Picture Framing article narrows that investigation. It does not promise one universal cure. White marble picture framing must be linked to the installation assembly, curing record and wet-use timeline before treatment.
Warping and loss of plane
A bowed tile is a geometry problem before it is a cleaning problem. I use a straightedge and documented measurement method, then compare direction, tile size, thickness and installation sequence. Light grazing across a wall can exaggerate small plane changes, so the physical measurement matters more than one dramatic photograph.
Това White Marble Tile Warping review separates original piece geometry from movement associated with handling or installation. Once the adhesive has cured, pulling one tile without understanding the system can damage adjacent material and waterproofing.
Etching, residue and cleaning films
An etched polished surface scatters light and can look like a pale stain. Grout haze or cleaner residue sits on the face and may change with wiping or angle. A dark moisture patch behaves differently again. I use a small inconspicuous test directed by the stone-care professional, not a full-floor experiment.
A highly polished Calacatta white marble slab makes local gloss loss easier to see under mirror lighting. That visibility is not proof of deep damage. It tells the team to measure gloss or inspect reflection before applying a chemical product.
Use the Evidence Table before Choosing a Treatment
| Observed pattern | First evidence to collect | Possible mechanism | Do not do first |
|---|---|---|---|
| Orange point inside one vein | Full-slab image, close view, wet-use timeline | Mineral or external metal source | Apply acid or bleach across the slab |
| White crystals at joints | Deposit sample, moisture map, joint location | Salt transport with moisture | Seal over an active wet path |
| Dark border around repeated tiles | Installation record, drying sequence, edge map | Picture framing or moisture distribution | Assume permanent staining immediately |
| Cloudy patch in reflected light | Raking light, gloss comparison, cleaner history | Etching, residue or surface abrasion | Use stronger cleaner without a test |
| Raised corner or bowed tile | Straightedge, dimensions, installation sequence | Original or installation-related warping | Grind the face to hide geometry |
I treat the table as a triage tool, not a laboratory conclusion. The same visual symptom can have more than one contributor. The responsible stone-care specialist, installer, membrane provider, adhesive manufacturer or testing professional may need to inspect the assembly. I give them organized evidence rather than a preferred answer.
Photographs of white marble bathroom problems include a scale, room reference, light condition and camera direction. Without those labels, a close view cannot be placed back into the wall or floor pattern.
The Hard-Won Lesson: Cleaning Can Destroy the Diagnosis
A cloudy patch beside a vanity may be photographed under warm light, scrubbed with an acidic bathroom product and photographed again under a cooler lamp. The second image now records etching, changed residue and changed light, not the original condition. Three variables moved at once.
The Lesson: Freeze the evidence and test one controlled variable at a time.
Decide Who Must Inspect before Work Continues
Marble installation diagnosis is rarely owned by one party. The stone supplier can compare approved material and batch records. The installer can provide substrate, adhesive, coverage and cure information. The waterproofing specialist addresses wet-zone assembly. A stone conservator or care professional evaluates treatment. Testing may be needed when the cause remains disputed.

Stop work when the symptom is still changing
If a patch grows, new tiles move, salts return or moisture remains active, continuing installation can hide the pattern. I mark the affected and unaffected boundaries, preserve unused matching pieces and keep lot identifiers. Removing a tile should follow an agreed inspection plan because the back, adhesive bed and substrate may contain the best evidence.
That slab doesn’t belong next to your bathtub is sometimes a material verdict, but often the real failure sits in the assembly or maintenance plan. I do not blame the quarry for a leaking pipe. I also do not blame the installer for a pre-existing inclusion shown in the approval record. The evidence decides where the investigation goes.
Use retained material intelligently
A retained tile or offcut can support finish, color and treatment testing. It must be identified by batch and protected from site contamination. Comparing a dry warehouse sample with a wet installed floor without controlling light and surface condition gives a false sense of certainty.
Това Sivec white marble tiles selected for a project may show a tight white field, yet installation conditions still affect the final reading. I compare retained and installed pieces under matched light before deciding whether the difference belongs to the stone, finish or environment.
Turn the Diagnosis into a Controlled Decision
For each symptom, I write one working hypothesis, the evidence supporting it, the evidence contradicting it and the next safe test. That format prevents a meeting from turning five guesses into a unanimous but unsupported conclusion. It also shows why a treatment was selected.
No treatment for white marble bathroom problems starts until the responsible party records the product, dilution, dwell time, tools, test boundary and acceptance method. “Try a little” is not an instruction.
White marble bathroom problems should close with one of four decisions: monitor under defined conditions, perform a small controlled treatment, open the assembly for inspection, or replace affected material after the cause is addressed. “Clean again” is not a plan when nobody recorded the first product, dilution, dwell time or result.
Escalate a failed treatment without hiding it
First, photograph the treated and untreated boundaries in consistent light. Second, stop further treatment and installation until the change is assessed. Third, send the original approval records, moisture map, product data, test method and result to the supplier and responsible specialists. Include the failed test; do not edit it out of the history.
Lighting lies, but a controlled lighting record tells the truth about visual change. I use fixed locations and labeled color temperature for follow-up photographs. The goal is not a prettier image. It is a comparison that another professional can understand.
I close white marble bathroom problems only after the room is observed under normal use and agreed lighting. The file retains before, test and final conditions instead of keeping only the best-looking image.
Frequently Asked Questions
1. What causes white marble bathroom problems?
Possible causes include acid etching, cleaner residue, active moisture, soluble salts, iron-bearing inclusions, metal contamination, adhesive or sealer interaction, picture framing, warping and poor wet-zone detailing. The visible color alone cannot distinguish them.
2. Why does the mark look different under 3000K and 4000K light?
Different light sources change the visual balance of warm and cool tones, while polished stone reflects surrounding finishes. Use both installed and controlled inspection light with consistent camera position before judging whether the material itself changed.
3. Can sealer stop an existing moisture stain?
Do not apply sealer as a guess. The moisture source, assembly and product compatibility need assessment first. Trapping an unresolved wet condition or covering active deposits can complicate drying and diagnosis.
4. Should a stained tile be removed immediately?
Not always. First map the condition and agree on an inspection plan. If removal is necessary, preserve the tile, back, adhesive and substrate evidence so the team can examine the full assembly.
5. What should I do first if a marble treatment makes the mark worse?
Document the change under consistent light, stop additional treatment, and send the original condition, product data, method and result to the stone supplier and responsible care or installation specialists. Do not blend the area before review.
Quick-Reference Bathroom Diagnosis Checklist
- Map every affected location on the room plan or elevation.
- Photograph the condition under installed and controlled inspection light.
- Record wet use, cleaners, sealer and first appearance dates.
- Compare full-slab, batch, dry-lay and retained-piece records.
- Test one small area with one controlled method.
- Stop work when the symptom grows or the cause remains uncertain.
- Preserve removed material and installation layers for inspection.
Final Conclusion
White marble bathroom problems become manageable when the team stops naming them from color and starts recording location, timing, light, moisture, installation layers and the approved stone baseline. I want one controlled test, one preserved history and the right specialist before a strong treatment touches the room. That is how Esta Stone keeps a difficult mark from becoming a larger, self-inflicted problem.
References
- Dimension Stone Design Manual, Natural Stone Institute.
- Natural Stone Care and Maintenance Guidance, Natural Stone Institute.
- ASTM C503 Standard Specification for Marble Dimension Stone, ASTM International.
- Natural Stone Flooring Installation Guidance, Stone Federation Great Britain.
- TCNA Handbook for Ceramic, Glass, and Stone Tile Installation, Tile Council of North America.
- Bathroom Planning Guidelines, National Kitchen and Bath Association.
- Approved Slab, Dry-Lay, Installation and Maintenance Records, Applicable Project File.