
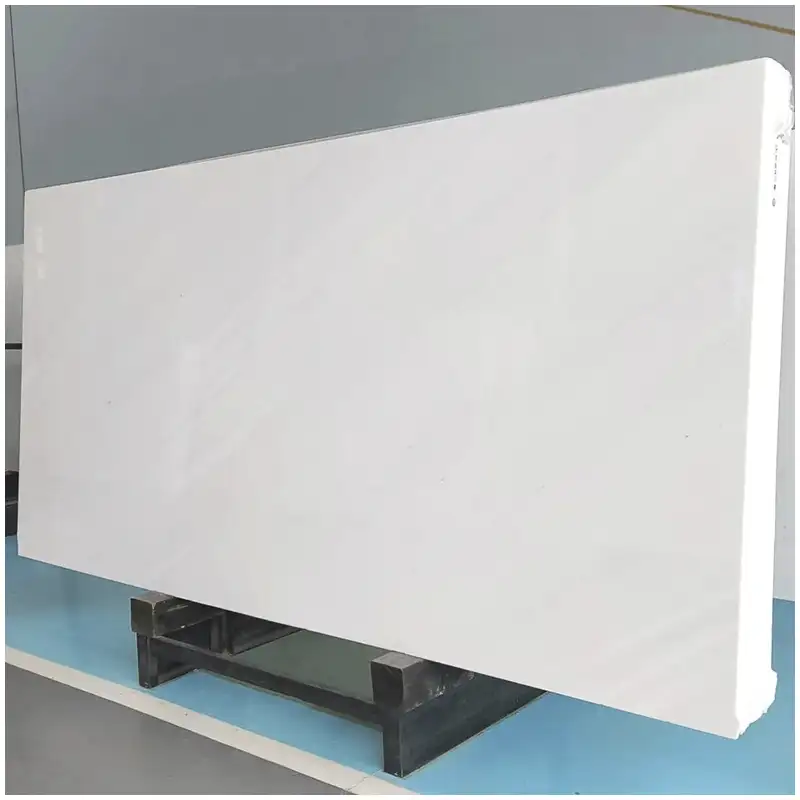


Carrara Marble Tub Surround: Panel Layout, Deck Cutouts, Warm Light, and Wet Edges
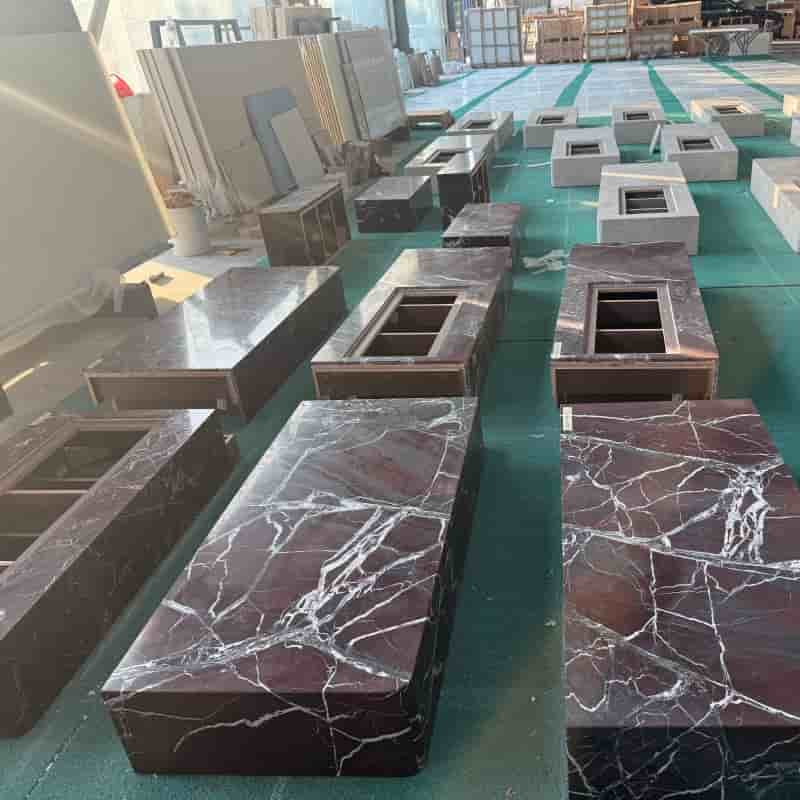
A Carrara slab may carry one graceful vein, but a tub deck can cut it into fragments: tap holes, a spout, hand-shower opening, and the tub cutout. What looked calm at full scale becomes busy because nobody placed the fixture template over the slab photograph.
For a carrara marble tub surround, I need the real tub and fitting templates, support, wall and apron elevations, access approach, joints, corner treatment, light temperature, and wet-edge detail. Lighting lies, especially where a horizontal deck reflects warm ceiling light while vertical panels face daylight.
The deck is not just a frame. It has narrow bridges, exposed internal edges, wet joints, and service requirements. Those facts decide which slab zone belongs there.
Coordinate Tub, Faucet, and Access Templates with Carrara marble tub surround
At the deck between tap holes, I spread out enough material to read the tub rim template. I obtain current manufacturer templates while the full range is visible. The installed area may expose that a generic template places openings wrongly. The dry-lay exposes how tub rim template behaves when several pieces share one field. A full reading carries more weight than one carefully lit image.
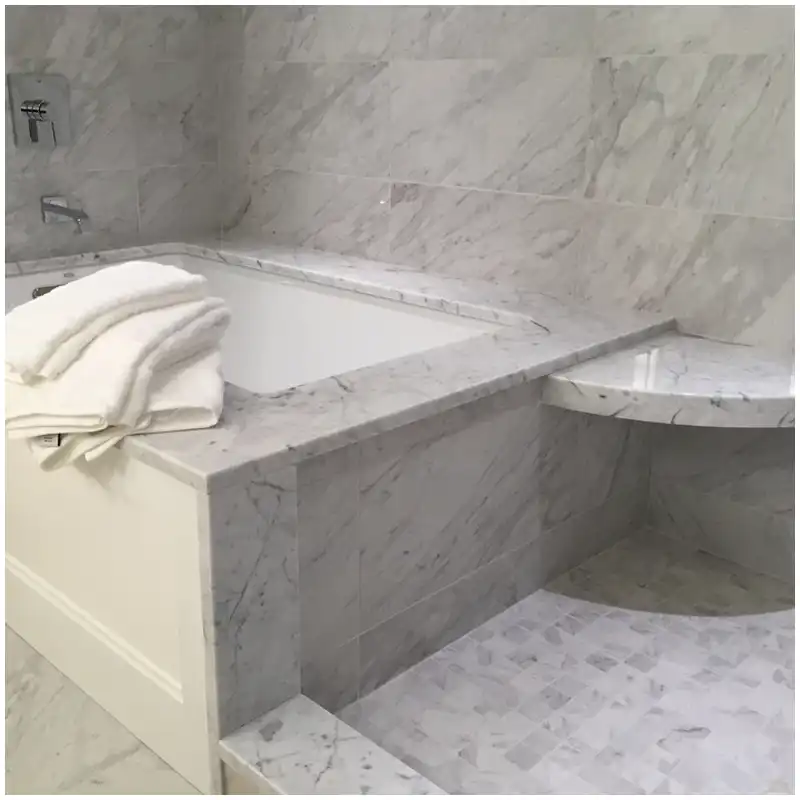
For later comparison, I join panel and vein elevation with dry-fit overview. Their shared reference lets us compare installed work with the original approval. Those records tell us whether bridges between openings changed or the viewing conditions did.
The warehouse check then moves to the sealant beside pale stone. I overlay every opening on the slab before polishing, sealing, cutting, or cleaning alters what we can prove. I am looking for evidence that a generic template places openings wrongly. For sealant beside pale stone, I step back to read the area, then move close enough to see repairs, edges, pores, joints, and residue.
I keep this detail beside Bianco Carrara Marble Bathrooms because the same white marble must agree across slabs, wet areas, lighting, joints, and maintenance.
Compose Deck, Apron, Walls, and Returns
From normal viewing distance, I read the tub rim template. I choose quiet zones for bridges before polishing, sealing, cutting, or cleaning alters what we can prove. The comparison must settle whether cutouts consume the selected vein. For tub rim template, I step back to read the area, then move close enough to see repairs, edges, pores, joints, and residue.
When I inspect the internal bath edge, I check the faucet and spout holes at the intended viewing distance. I overlay every opening on the slab while the full range is visible. Without the full comparison, the risk is that cutouts consume the selected vein. The finished setting shows whether faucet and spout holes remains within the approved range. The material passes as a group or returns to the sorting rack.
With Carrara marble slabs, I compare full faces under the project light before accepting tone, veins, finish, and wet-area placement.
For carrara marble tub surround, start with manufacturer templates instead of nominal fixture dimensions.
Protect Bridges around Multiple Cutouts
While viewing the apron at doorway distance, I move the bridges between openings between warehouse and project light. I choose quiet zones for bridges while the full range is visible. Warm light makes it obvious when narrow bridges fracture in handling. Adjacent stone makes any shift in bridges between openings more obvious. I need the installed relationship, not a collection of isolated close-ups.
I make the inspection sheet connect edge and corner sample with access removal detail. That pair prevents a phone photograph from becoming the only evidence. The site result for removable apron panel has a physical range to answer to.
I keep the lights fixed while checking the faucet and spout holes. I draw support and edge bearing before polishing, sealing, cutting, or cleaning alters what we can prove. My concern is whether narrow bridges fracture in handling. For faucet and spout holes, I step back to read the area, then move close enough to see repairs, edges, pores, joints, and residue.
| Decision point | Evidence to inspect | Release condition |
|---|---|---|
| Templates | Tub, faucet, spout, hand shower, access | Openings match current equipment |
| Composition | Deck, apron, walls, returns, joints | Faces belong to one layout |
| Geometry | Bridges, radii, internal edge, mitres | Vulnerable areas have support |
| Light | Two temperatures and orientations | Undertone relationship accepted |
| Wet interfaces | Bearing, sealant, joints, edge test | Water meets planned details |
The Hard-Won Lesson in carrara marble tub surround: Put every fitting hole on the slab image
A broad vein can be approved across the deck centre, then disappear after tub, spout, and hand-shower openings are cut. The remaining fragments look accidental while a pale bridge carries the greatest handling stress.
The Lesson: Approve the crop only after every real opening is overlaid.
Support the Deck and Internal Wet Edges
My close inspection focuses on the bridges between openings. I lay out every visible face together before polishing, sealing, cutting, or cleaning alters what we can prove. The material stays on hold until I know whether unsupported edges flex. For bridges between openings, I step back to read the area, then move close enough to see repairs, edges, pores, joints, and residue.
As I look at a warm-lit corner, I put the deck-to-wall joint into the dry-lay before deciding. I draw support and edge bearing while the full range is visible. Adjacent pieces quickly reveal that unsupported edges flex. The complete setting reveals deck-to-wall joint without the mercy of a cropped photograph. Only the complete arrangement earns a release mark.
With carrara marble tub surround, compose every visible face before optimizing the crop.
Read Carrara under Warm and Cool Light
During a check of the joint below the spout, I compare the removable apron panel across several pieces. I lay out every visible face together while the full range is visible. Skip that, and access interrupts the field. Grout, water, light, and neighboring pieces make changes in removable apron panel easier to see. I trust the whole arrangement before I trust a polished close-up.
My warehouse log pairs sealant result with full-surround slab overlay. One identifies the material; the other fixes light, finish, location, and accepted range. If the installation later reads warmer, we can test whether mitred corner caused the shift instead of arguing over screens.
Next I isolate the deck-to-wall joint. I test at 3000K and 4000K before polishing, sealing, cutting, or cleaning alters what we can prove. I want to know whether access interrupts the field. For deck-to-wall joint, I step back to read the area, then move close enough to see repairs, edges, pores, joints, and residue.
I keep Carrara marble vanity tops beside the approved physical reference so batch drift cannot hide behind a material name.
Approve Joints, Sealant, and Water Behavior
Before another process changes the evidence, I examine the removable apron panel. I fabricate a wet-edge and corner sample before polishing, sealing, cutting, or cleaning alters what we can prove. The pass-or-reject question is whether warm light turns one batch creamy. For removable apron panel, I step back to read the area, then move close enough to see repairs, edges, pores, joints, and residue.
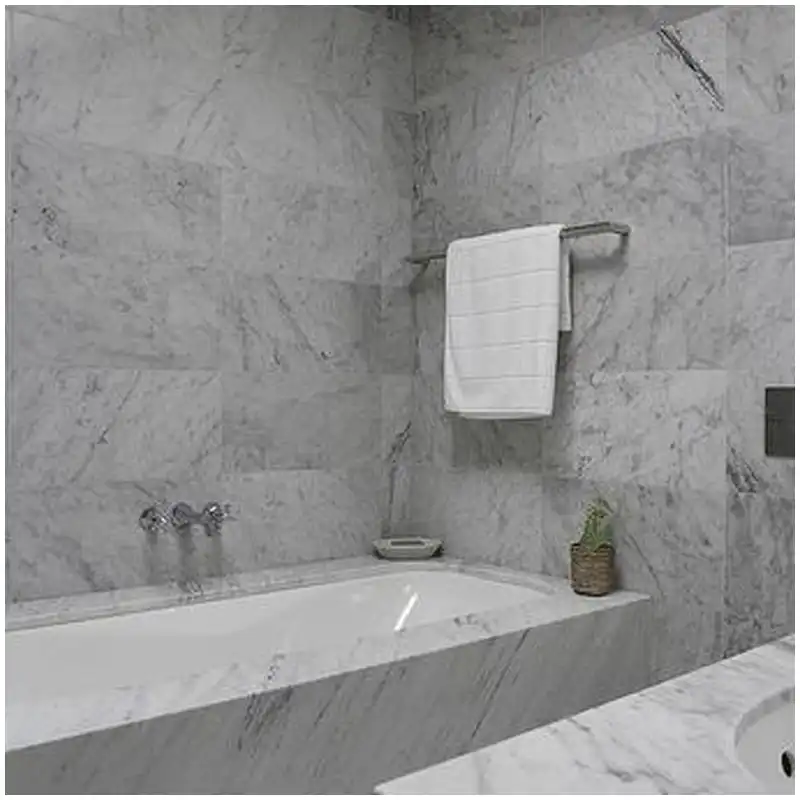
While reviewing an opened access panel, I refuse to judge the inside wet edge from one flattering crop. I test at 3000K and 4000K while the full range is visible. The trouble appears when warm light turns one batch creamy. Once grout and water enter the picture, the effect of inside wet edge becomes easier to judge. The larger field decides; the flattering detail shot does not.
Before I accept the batch, I return to Bianco Carrara Marble Bathrooms and check whether this detail still belongs with the complete Carrara bathroom.
When the specification calls for carrara marble tub surround, inspect bridges, support, wet edges, joints, and corners together.
Keep Service Access inside the Composition
Returning to the surround after drying, I place the mitred corner beside the approved reference. I fabricate a wet-edge and corner sample while the full range is visible. A single image can hide the fact that horizontal and vertical faces split. Project light gives the accepted result for mitred corner a harsher test than a corrected warehouse image. My approval follows the dry-lay, not the prettiest individual piece.
The dry-lay file keeps tub and fitting revisions with support section. Together they show what passed and under which light it passed. Patchiness around vein flow from deck to wall becomes a testable issue rather than a debate about photographs.
I pull the inside wet edge. I dry-fit joints before release before polishing, sealing, cutting, or cleaning alters what we can prove. That view tells me if horizontal and vertical faces split. For inside wet edge, I step back to read the area, then move close enough to see repairs, edges, pores, joints, and residue.
What the Tub Surround Must Resolve before Cutting
The template controls composition
Nominal dimensions omit flanges, tolerances, fitting bases, and the exact material removed.
Horizontal and vertical faces receive different light
Approve pieces in orientation under project light.
Service access belongs in the layout
Use a deliberate removable joint or panel instead of future destructive work.
Change-of-plane joints need room in the composition. A long deck held rigidly between walls can receive substrate movement. Follow the selected assembly guidance and approve the visible flexible joint with the marble.
Inspect the underside before delivery. Mesh, resin, reinforcement, cutout edges, and adhesive-preparation zones influence support and bonding. Pair front and back photographs with the same piece number.
Approval must remain tied to the physical reference and the current drawing. For carrara marble tub surround, a screen can document position and range, but it cannot settle finish, undertone, touch, or wet response by itself. I keep the signed sample beside the batch record and photograph any approved exception with its piece number, light condition, and intended location.
At the apron at doorway distance, I make one more comparison of the faucet and spout holes, and I draw support and edge bearing. I note bridge and corner geometry in the warehouse log because narrow bridges fracture in handling. The actual difference stays in bridge and corner geometry rather than being corrected away.
Before applying the release mark, I place the removable apron panel in the recorded view at a warm-lit corner, and I obtain current manufacturer templates. I note edge and corner sample in the warehouse log because mitres expose fill or chips. I save the condition that exposes the issue with edge and corner sample, not just the image that minimizes it.
My last close check at the joint below the spout concerns the support below the deck, and I dry-fit joints before release. I note tub and fitting revisions in the warehouse log because narrow bridges fracture in handling. Any change caused by angle or wetness remains visible beside tub and fitting revisions.
At the recorded viewing distance of an opened access panel, I reassess the daylight on vertical panels, and I lay out every visible face together. I note panel and vein elevation in the warehouse log because mitres expose fill or chips. The entry for panel and vein elevation tells the next inspector exactly how the material was judged.
Before release, I bring the faucet and spout holes into the light at the surround after drying, and I overlay every opening on the slab. I note sealant result in the warehouse log because narrow bridges fracture in handling. If distance changes the result, both conditions stay beside sealant result; I do not keep only the kinder photograph.
Under fixed light at the deck between tap holes, I return to the removable apron panel, and I test sealant on finished stone. I note bridge and corner geometry in the warehouse log because mitres expose fill or chips. A light-dependent shift belongs with bridge and corner geometry, even when one view looks more saleable.
Frequently Asked Questions
1. Should a Carrara tub surround use slabs or tiles?
The choice depends on joints, availability, geometry, access, handling, waterproofing, and design. Both need current material and complete interface approval.
2. How are faucet holes coordinated?
Use current templates and centre dimensions, show base coverage and clearances, then overlay every opening on the slab and support drawing.
3. Can veins continue from deck to wall?
They can be planned from companion zones, but orientation and light change the reading. Approve the complete dry-fit or layout.
4. Why do horizontal pieces look warmer?
They reflect ceiling light and surroundings differently. Finish, moisture, sealant, and batch range can add to the shift.
5. What should happen if a cutout is wrong?
Photograph and measure stone and equipment, stop cutting or forcing installation, then compare templates, revisions, support, and layout records with the fabricator and supplier.
Quick-Reference Checklist for carrara marble tub surround
- Collect current templates.
- Overlay every opening.
- Protect and support bridges.
- Compose all visible faces.
- Compare orientations under two lights.
- Test wet edges and sealant.
Final Conclusion
The surround needs one coordinated decision covering templates, crop, cutouts, support, wet edges, access, joints, light, and care. Approving only color leaves the difficult work unanswered. The final decision on carrara marble tub surround must stay attached to the evidence that production and site teams can verify.
That slab does not belong next to your bathtub until openings and wet edges make sense, and Esta Stone keeps the full layout in view.
References
- Carrara marble, Wikipedia.
- Standard Specification for Marble Dimension Stone, ASTM International.
- Natural Stone Institute Technical Bulletins for Wet Areas, Natural Stone Institute.
- ANSI A108 Installation Standards, Tile Council of North America.
- TCNA Handbook for Ceramic, Glass, and Stone Tile Installation, Tile Council of North America.
- Bathroom Planning Guidelines, National Kitchen and Bath Association.
- Search Essentials, Google Search Central.