

Carrara Marble Threshold: Slope, Waterproofing, Edge Finish, and Joint Placement
A narrow white saddle can arrive at the correct length and still be wrong because the drawing never said which side was high. Turn it around and water runs toward the doorway. Keep it as intended and a polished edge may still clash with the adjoining floor build-up. The missing answer is in the section.
For a carrara marble threshold, I need both finished levels, slope, door clearance, waterproofing return, support, joints, exposed edges, finish, and actual opening tolerance. A plan rectangle does not tell the factory enough.
Wet white marble often darkens first at unsupported edges or poorly drained joints. That slab does not belong next to your bathtub if the assembly traps water and the only response is more sealer.
Draw the Complete Threshold Section with Carrara marble threshold
At a shower entrance under glass, I place the outside finished level beside the approved reference. I draw a scaled section while the full range is visible. A single image can hide the fact that a reversed piece drains toward the room. Project light gives the accepted result for outside finished level a harsher test than a corrected warehouse image. My approval follows the dry-lay, not the prettiest individual piece.
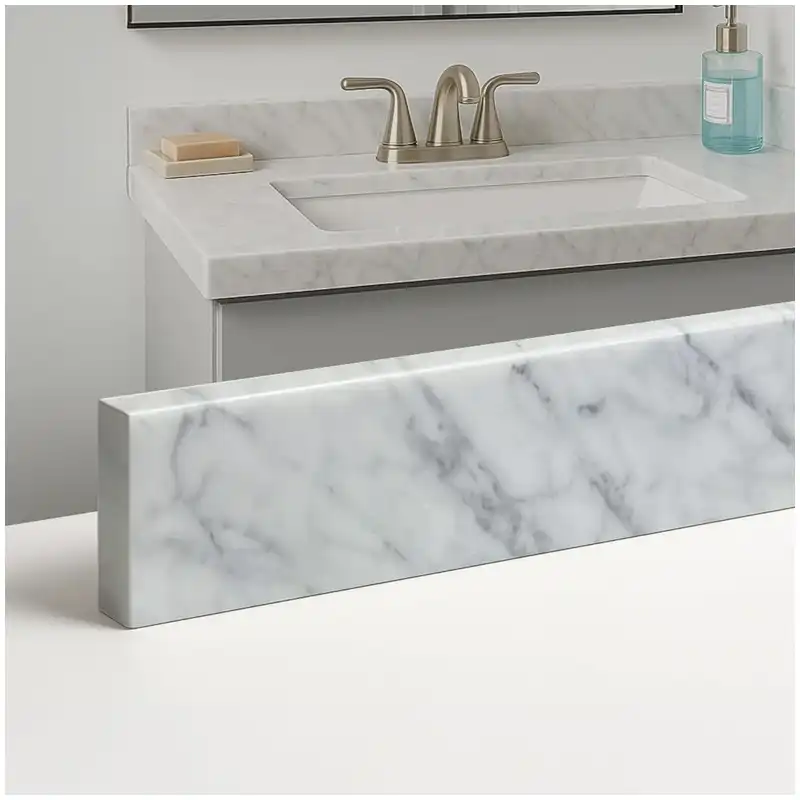
The dry-lay file keeps edge sample with coverage evidence. Together they show what passed and under which light it passed. Patchiness around slope direction becomes a testable issue rather than a debate about photographs.
I pull the sealant color. I mark wet side and slope arrow before polishing, sealing, cutting, or cleaning alters what we can prove. That view tells me if a reversed piece drains toward the room. For sealant color, I step back to read the area, then move close enough to see repairs, edges, pores, joints, and residue.
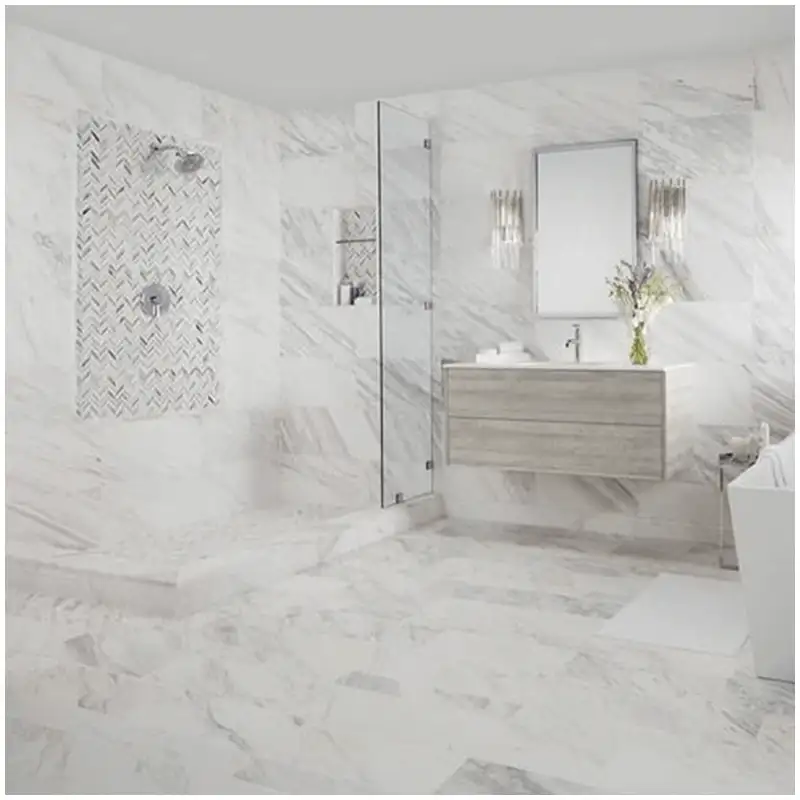
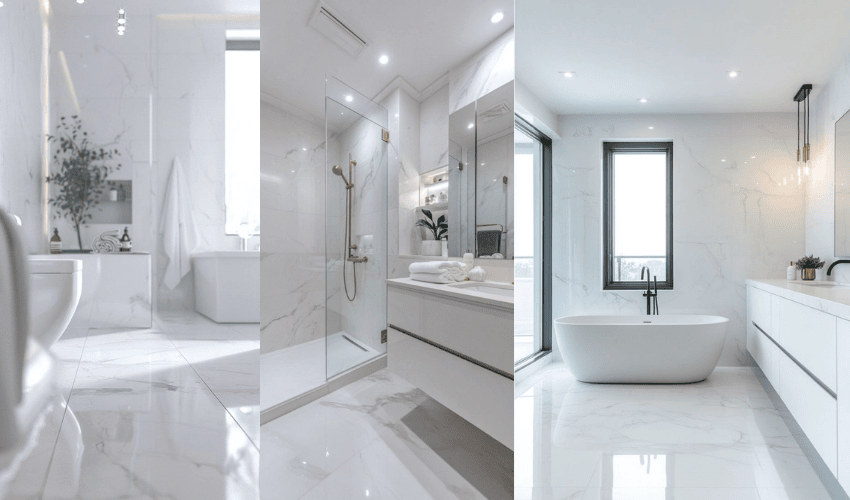
I keep this detail beside Bianco Carrara Marble Bathrooms because the same white marble must agree across slabs, wet areas, lighting, joints, and maintenance.
Set Levels and Drainage Direction
The warehouse check then moves to the outside finished level. I coordinate the membrane detail before polishing, sealing, cutting, or cleaning alters what we can prove. I am looking for evidence that door hardware strikes a raised edge. For outside finished level, I step back to read the area, then move close enough to see repairs, edges, pores, joints, and residue.
When I inspect a doorway meeting timber, I spread out enough material to read the inside finished level. I mark wet side and slope arrow while the full range is visible. The installed area may expose that door hardware strikes a raised edge. The dry-lay exposes how inside finished level behaves when several pieces share one field. A full reading carries more weight than one carefully lit image.
With Carrara marble slabs, I compare full faces under the project light before accepting tone, veins, finish, and wet-area placement.
For carrara marble threshold, start with the section because plan dimensions hide water and level relationships.
Continue Waterproofing through the Transition
While viewing an end beside tile, I check the slope direction at the intended viewing distance. I coordinate the membrane detail while the full range is visible. Without the full comparison, the risk is that waterproofing ends beneath a joint. The finished setting shows whether slope direction remains within the approved range. The material passes as a group or returns to the sorting rack.
The accepted range sits beside joint detail with dry-back inspection. One carries identity and the other carries the conditions of judgment. Later complaints about waterproofing return can be checked against the original light and finish.
From normal viewing distance, I read the inside finished level. I approve the exposed edge full size before polishing, sealing, cutting, or cleaning alters what we can prove. The comparison must settle whether waterproofing ends beneath a joint. For inside finished level, I step back to read the area, then move close enough to see repairs, edges, pores, joints, and residue.
| Decision point | Evidence to inspect | Release condition |
|---|---|---|
| Section | Levels, thickness, slope, door clearance | Geometry and orientation are clear |
| Waterproofing | Continuity, upturns, joints | No vulnerable break |
| Bords | Exposed sides, easing, finish | Safe touch and chip resistance |
| Soutien | Compatible adhesive and coverage | No voids beneath the load path |
| Water test | Drainage, standing water, wet/dry color | Assembly drains and returns to range |
The Hard-Won Lesson in carrara marble threshold: A correct rectangle can face the wrong way
Without a slope arrow and wet-side mark, a threshold can be installed in reverse while every plan dimension remains correct. The error appears only under water, and the door-side joint becomes the collection point.
The Lesson: Put orientation, levels, and slope on the fabrication drawing.
Choose Edges for Feet and Doors
I keep the lights fixed while checking the slope direction. I place joints before fixing length before polishing, sealing, cutting, or cleaning alters what we can prove. My concern is whether a sharp arris chips or feels unsafe. For slope direction, I step back to read the area, then move close enough to see repairs, edges, pores, joints, and residue.
As I look at an edge touched by bare feet, I move the door-seal clearance between warehouse and project light. I approve the exposed edge full size while the full range is visible. Warm light makes it obvious when a sharp arris chips or feels unsafe. Adjacent stone makes any shift in door-seal clearance more obvious. I need the installed relationship, not a collection of isolated close-ups.
With carrara marble threshold, mark slope and wet-side orientation on drawing and stone.
Place Joints away from Fragile Corners
During a check of a wet outside joint, I put the waterproofing return into the dry-lay before deciding. I place joints before fixing length while the full range is visible. Adjacent pieces quickly reveal that a joint weakens a thin end. The complete setting reveals waterproofing return without the mercy of a cropped photograph. Only the complete arrangement earns a release mark.
Before release, I place water-test photographs with piece orientation mark. Both records stay tied to the dry-lay position and finish standard. Any apparent shift in joint beside the jamb returns to evidence from the accepted layout.
My close inspection focuses on the door-seal clearance. I measure the actual jamb before polishing, sealing, cutting, or cleaning alters what we can prove. The material stays on hold until I know whether a joint weakens a thin end. For door-seal clearance, I step back to read the area, then move close enough to see repairs, edges, pores, joints, and residue.
I keep Carreaux de marbre de Carrare beside the approved physical reference so batch drift cannot hide behind a material name.
Check Support and Adhesive Coverage
Next I isolate the waterproofing return. I use compatible light adhesive before polishing, sealing, cutting, or cleaning alters what we can prove. I want to know whether voids leave the piece unsupported. For waterproofing return, I step back to read the area, then move close enough to see repairs, edges, pores, joints, and residue.
While reviewing the underside during setting, I compare the exposed eased edge across several pieces. I measure the actual jamb while the full range is visible. Skip that, and voids leave the piece unsupported. Grout, water, light, and neighboring pieces make changes in exposed eased edge easier to see. I trust the whole arrangement before I trust a polished close-up.
Before I accept the batch, I return to Bianco Carrara Marble Bathrooms and check whether this detail still belongs with the complete Carrara bathroom.
When the specification calls for carrara marble threshold, inspect support, joints, membrane, edges, and darkening together.
Inspect Wet and Dry before Handover
Returning to the piece after drying, I refuse to judge the joint beside the jamb from one flattering crop. I use compatible light adhesive while the full range is visible. The trouble appears when dark adhesive affects pale stone. Once grout and water enter the picture, the effect of joint beside the jamb becomes easier to judge. The larger field decides; the flattering detail shot does not.
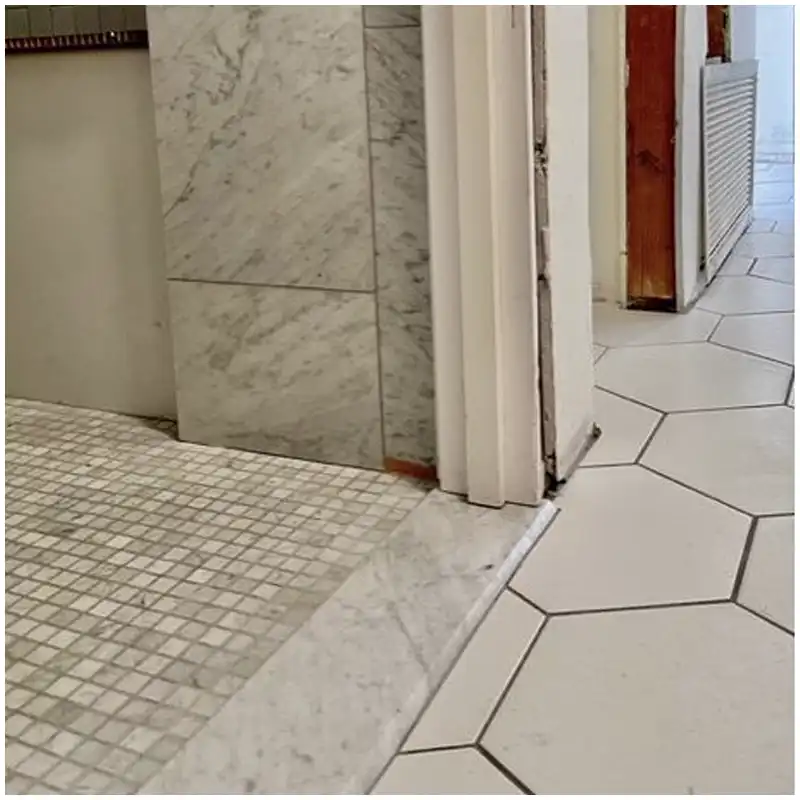
I record section with levels and slope with door clearance. The first locates the slab or piece, while the second preserves the viewing conditions. A darker site result can be compared directly with the recorded condition for white adhesive coverage.
Before another process changes the evidence, I examine the exposed eased edge. I check full support before polishing, sealing, cutting, or cleaning alters what we can prove. The pass-or-reject question is whether dark adhesive affects pale stone. For exposed eased edge, I step back to read the area, then move close enough to see repairs, edges, pores, joints, and residue.
Why Threshold Failures Begin in the Section
Plan dimensions hide vertical relationships
Length and width do not show levels, door clearance, slope, or membrane continuity.
The stone belongs to a wet assembly
Darkening, support, and drainage depend on materials beneath and beside the marble.
Site openings are rarely perfect rectangles
Measure jamb width, finish, and floor build-up before fabrication.
Accessibility requirements may change the geometry. A raised saddle, steep bevel, or abrupt lip can conflict with the intended route. Confirm the applicable project requirement before cutting because drainage cannot be solved by adding height later.
Long narrow pieces need continuous lifting support. End notches for jambs can leave weak corners, especially where a natural vein crosses the cut. Use suitable radii and carry the full length until it is bedded.
Approval must remain tied to the physical reference and the current drawing. For carrara marble threshold, a screen can document position and range, but it cannot settle finish, undertone, touch, or wet response by itself. I keep the signed sample beside the batch record and photograph any approved exception with its piece number, light condition, and intended location.
The final warehouse pass puts the inside finished level back beside the reference at an end beside tile, and I approve the exposed edge full size. I note waterproofing transition in the warehouse log because waterproofing ends beneath a joint. Both the favorable and unforgiving views remain attached to waterproofing transition.
At an edge touched by bare feet, I make one more comparison of the waterproofing return, and I draw a scaled section. I note joint detail in the warehouse log because site jambs differ from nominal width. The actual difference stays in joint detail rather than being corrected away.
Before applying the release mark, I place the stone thickness and support in the recorded view at a wet outside joint, and I check full support. I note section with levels and slope in the warehouse log because waterproofing ends beneath a joint. I save the condition that exposes the issue with section with levels and slope, not just the image that minimizes it.
My last close check at the underside during setting concerns the wet-edge darkening, and I place joints before fixing length. I note edge sample in the warehouse log because site jambs differ from nominal width. Any change caused by angle or wetness remains visible beside edge sample.
At the recorded viewing distance of the piece after drying, I reassess the inside finished level, and I mark wet side and slope arrow. I note water-test photographs in the warehouse log because waterproofing ends beneath a joint. The entry for water-test photographs tells the next inspector exactly how the material was judged.
Before release, I bring the waterproofing return into the light at a shower entrance under glass, and I water-test drainage direction. I note waterproofing transition in the warehouse log because site jambs differ from nominal width. If distance changes the result, both conditions stay beside waterproofing transition; I do not keep only the kinder photograph.
Under fixed light at a doorway meeting timber, I return to the stone thickness and support, and I measure the actual jamb. I note joint detail in the warehouse log because waterproofing ends beneath a joint. A light-dependent shift belongs with joint detail, even when one view looks more saleable.
Frequently Asked Questions
1. Should a Carrara marble threshold slope?
At a wet transition it often needs a deliberate fall toward drainage. The exact requirement comes from the assembly design and applicable local rules.
2. Can the walking face be polished?
Select and test a finish for actual wet use and the project traction requirement. A full-scale sample is more useful than a finish name.
3. How thick should the threshold be?
Thickness depends on span, support, edge, adjoining build-ups, door clearance, and fabrication. Draw the section first.
4. Why does a threshold edge stay dark?
Possible causes include standing water, joint or bed moisture, poor drainage, absorption, voids, or incompatible materials. Diagnose the pattern.
5. What should happen if water crosses the threshold?
Photograph the path and levels, stop finish alterations, then check slope, joints, drainage, door detail, and waterproofing records with the installer and supplier.
Quick-Reference Checklist for carrara marble threshold
- Draw both finished levels.
- Mark slope and wet-side orientation.
- Coordinate waterproofing.
- Approve exposed edges.
- Measure the real jamb.
- Run a water test and inspect after drying.
Final Conclusion
A threshold needs a complete section, full support, continuous waterproofing, safe edges, deliberate joints, and a documented water test. Its small area does not reduce its responsibility. The final decision on carrara marble threshold must stay attached to the evidence that production and site teams can verify.
That slab does not belong next to your bathtub until water runs the right way, and Esta Stone keeps the section beside the pale stone.
Références
- Marbre de Carrare, Wikipedia.
- Standard Specification for Marble Dimension Stone, ASTM International.
- Natural Stone Institute Technical Bulletins for Wet Areas, Natural Stone Institute.
- ANSI A108 Installation Standards, Tile Council of North America.
- TCNA Handbook for Ceramic, Glass, and Stone Tile Installation, Tile Council of North America.
- Bathroom Planning Guidelines, National Kitchen and Bath Association.
- Search Essentials, Google Search Central.