

Volakas Marble Batch Matching Across Hotel Bathrooms
Three panels can look perfectly polite on separate racks and completely wrong when they sit side by side. One may carry a cool blue-grey line, the next a warmer smoke-grey movement, and the third almost blank under 4000K warehouse light, while all three share the same material name. The room does not care about the name.

Volakas marble batch matching starts with full slabs, not cropped photographs. The stone can carry soft grey veining, cloudier fields, sharper diagonal breaks, and different background undertones. One attractive slab is not enough. A repeated bathroom project needs the selected panels to belong together within each room, along each elevation, and across the agreed room types.
Color temperature shifts alter perceived tone. A slab appearing neutral under 4000K lighting can read warmer under 3000K fixtures; the apparent cast depends on each lamp’s spectrum, so judge tone under the specified fixture, not under the warehouse lamp. Record the specific Kelvin rating and CRI of the test environment alongside the visual assessment.
Start Volakas marble batch matching with the full slab range
Lay out the available slabs and look at them from a practical distance. Do not chase an imaginary identical white, because natural marble does not work that way. Identify the range the project can accept: ground tone, vein strength, movement direction, filled features if present, and the contrast between neighboring pieces.
The batch decision here is the tone span between bundles rather than the beauty of one slab. A Volakas block is sawn into bundles, and bundles from one block usually sit closer in ground tone than bundles pulled from different blocks. When an order needs more material than one block supplies, that span is measured across every block in the run, written into the lot record, and compared against a reference sample kept aside. Cross-reference the wet-zone board release criteria with the assembly protocol defined in the project specification.
Sort before you cut
I divide slabs by what the room will reveal. Group the background tone first, then the movement: quiet field, gentle diagonal, stronger grey branch, or more active crossing. Then lay the likely cut positions over the slab, because a strong branch can turn messy once it is split around a shower niche or a basin opening.
Volakas marble vein direction is not an abstract design preference. It tells the cutter where a panel can sit. A vein running upward can carry a tall wall; the same slab may be poor for a horizontal vanity face if the cut breaks the line at the basin. Put the room dimensions over the slab image before calling a piece good.
Keep room types separate at first
A standard room, an accessible room, a suite, and a connecting room rarely share panel proportions or opening positions. Do not fold their pieces into one dry-lay because the total square metres happen to match. Build each room type first, then compare the transitions between room types where guests see them in the same corridor.
Move that slab away from the bathtub when its strongest grey break would be cut through a narrow return beside a quiet wall tile. Move it to a feature wall or a larger panel set instead.
| Warehouse check | What Susan records | Why it changes the room | Pass or hold action |
|---|---|---|---|
| Ground tone beside a reference slab | Cool, neutral, or warmer white under stated light | Adjacent bathroom walls can read patchy even when each panel looks white alone | Separate the group or seek project approval |
| Vein direction across a full slab | Top arrow, main movement, and planned cuts | A rotated piece can break a wall or vanity sequence | Reallocate before cutting |
| Bundle continuity across the order | Block ID, bundle IDs, and the accepted tone span | Bundles from different blocks can drift apart in ground tone | Hold the bundle and compare with the reserved sample |
Volakas marble batch matching is not improved by pretending every difference is a defect. Assign the variation deliberately instead: stronger pieces where the design has room for movement, quieter pieces where the field needs to stay calm, and the assignment written down before the saw starts.
Dry-lay the bathroom, not a pile of loose panels
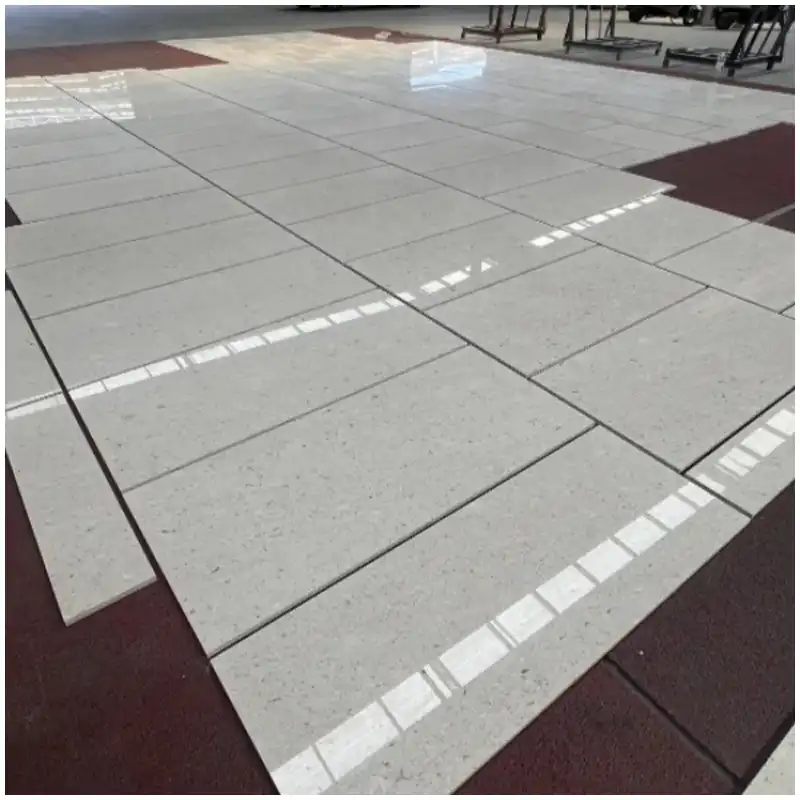
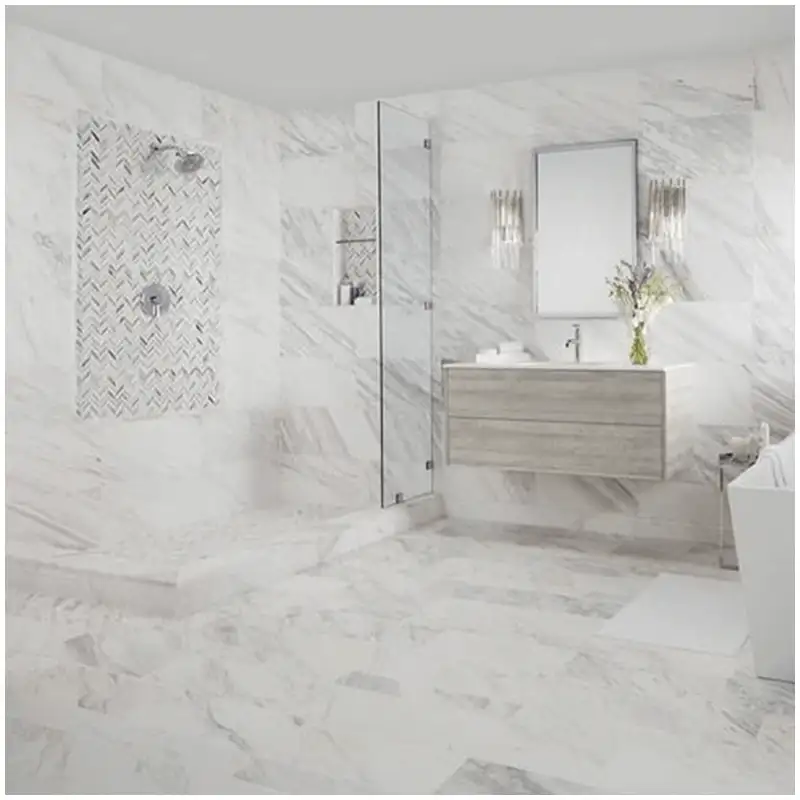
A proper white marble dry lay follows the room sequence. Put the shower wall together with the niche return if they share one view, and vanity splash pieces beside the counter sample if the vein may continue or stop there. Include thresholds and door jamb pieces when their tone changes the floor field. A loose row of tiles does not show the room.
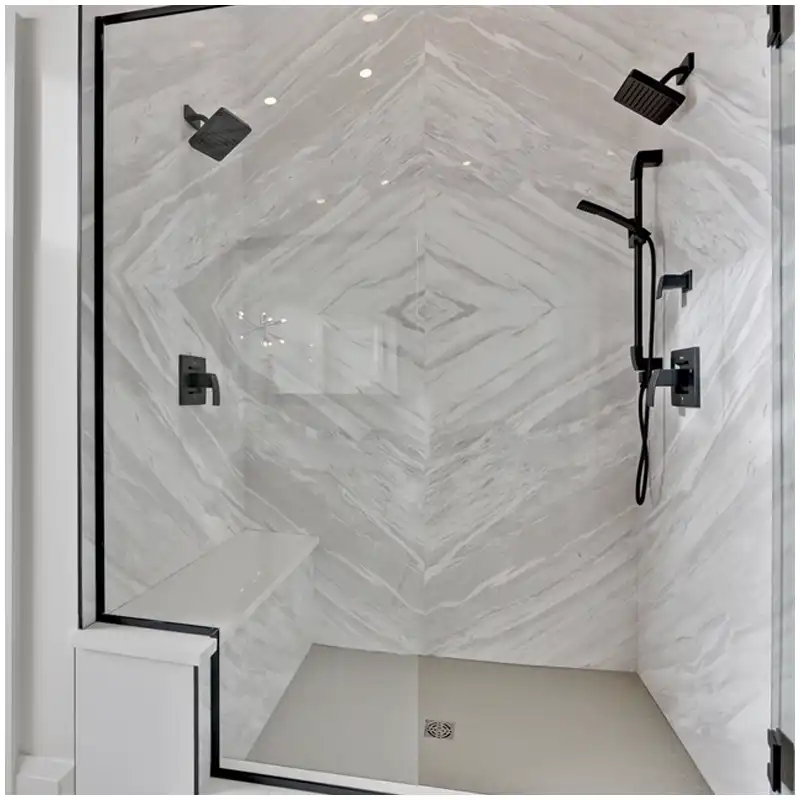
Stand back, then get close. From several metres away, ask whether the main movement holds a rhythm. From close range, inspect joints, edge alignment, filled features, and the small pieces around cutouts. A wall can look orderly from across the room and still carry a wild fragment at a shower shelf.
Use the intended light, then a second light
At 3000K, many white marbles appear warmer. At 4000K, the same surface can appear cooler and can make grey veins look more pronounced. These observations depend on lamp spectrum, surrounding reflectance, surface finish (polished vs honed), and inherent mineral variance. Treat them as controlled variables for documentation rather than absolute standards.
Photograph the dry-lay under the proposed room condition where possible, then under a second controlled condition, and put the light source and color temperature in the file. A later reviewer should not have to guess why a slab that read acceptable in one image looks different once installed.
Do not cut the strong slab into scraps
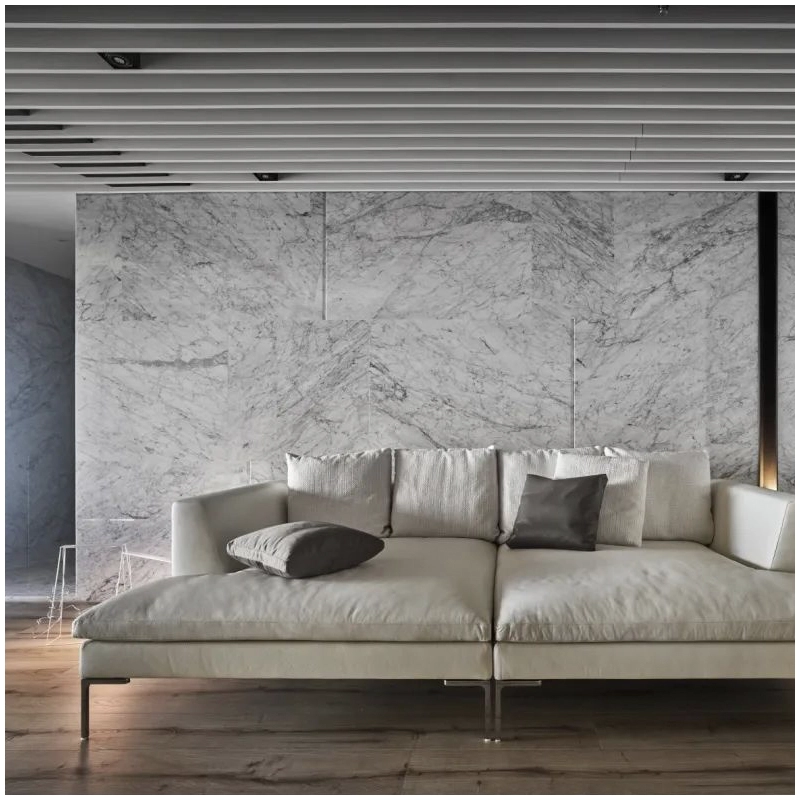
One strongly veined Volakas slab can carry a long feature wall. Cut into small return pieces, it can leave several unrelated grey marks. I reserve strong movement for a panel size that can show it, and let a quiet field carry the niche returns, side walls, and threshold pieces.
The Hard-Won Lesson: A passed slab group can fail at the bathroom door
A group of pale Volakas slabs may pass isolated inspection but fail in sequence if the panel adjacent to a doorway shows a visibly larger tone difference than the corridor threshold. This discrepancy becomes visible only when installed under consistent warm-spectrum lighting. The threshold pieces are reassigned before cutting rather than installing a repeated line of warm-cool jumps along a corridor.
The Lesson: Check the transitions people see in sequence, including the panels that look good on a warehouse rack.
Give every batch decision a visible record
Marble batch variation is why Volakas marble batch matching needs a record the factory and the site can both follow. I keep the block ID, bundle IDs, slab IDs, panel IDs, top arrows, the agreed tone span, the room type, dry-lay photographs, and the stated lighting beside every pass, reallocation, or hold decision. If a slab changes later, the new material is reviewed against the same reference sample. The name Volakas is not a batch-control system.
Use the dry-lay photo as a map, not an advertisement. Panel IDs should be readable, the image needs enough distance to show how the pieces relate, and the close-ups need to show the junctions that matter. Link it to the current drawing revision, because a beautiful photograph with no traceable panel identity will not help during installation.
Hold a bundle that falls outside the agreed span
Where the project has formally defined the color tolerance (the metric, instrument, geometry, illuminant and acceptance limit written into the specification), treat any bundle exceeding that agreed tolerance as a non-conformance requiring quarantine and written disposition. Where no measured tolerance was agreed, fall back to the approved physical sample and the slab photographs under the project lighting. Keep it on a separate rack, photographed against the reserved reference sample under the stated light, and leave it out of the room allocation until the project has written a decision. Pushing one warm bundle into a run to protect a delivery date is what turns a matched floor into a patchwork no replacement can repair.
What the record must carry for a later repair
The record has to let a later repair choose a piece without re-approving the whole order: the block and bundle the installed panels came from, the reference sample, the tone span, the finish, and the room each panel was assigned to. The white marble replacement stock procedure governs storage coding and release protocols for reserved lots. The reserve is then selected from the remaining pieces that fall inside the recorded tone span.
What to do when the site sees a mismatch
Have the panel group photographed in place, with a wide room view and close-up joint views, before anything in the batch record is revisited. Record the room type, panel IDs, the bundle information if it is still available, and the lighting condition. Stop installation of the affected run until it can be compared with the approved dry-lay, the slab record, and the current drawing.
Volakas marble batch matching does not mean forcing every natural difference out of the project. It means having enough evidence to decide whether the installed condition falls inside the agreed range. If it does not, hold the next pieces before the mismatch repeats on another floor.
Transitions and breaks that decide the room
Fabrication does not change the batch, but it divides a continuous face into discrete units, so tone breaks that read as one passage on the slab can become edge-to-edge contrasts once installed. A quiet field can become three different characters once a door jamb, a niche, and a vanity interrupt it. Put those breaks on the layout before slabs are assigned.
Separate the pieces by what the room lets the eye see. A floor under a bath can accept a stronger range than a main vanity wall, and a return behind a door can take a more active offcut.
The floor-to-wall transition gets its own photograph in the Volakas marble batch matching review. Vein continuity often breaks at internal corners due to directional mismatch. Dry-laying panels in their final vertical and horizontal orientations reveals these discontinuities before installation.
Last checks before release
For this program we released the first completed room type under control: the floor, the vanity and the threshold were compared in their installed directions against the dry-lay photograph before the remaining rooms were signed off. A run that looked balanced on a rack can shift once the door lines and the mirror light divide the view.
Attach the approved allocation chart to the remaining inventory to ensure subsequent selections follow the established tone span criteria. In multi-unit projects, the first completed suite serves as the physical benchmark for subsequent approvals. Document the benchmark suite under specified lighting conditions and circulate the photographic evidence prior to releasing subsequent batches.
When a Volakas bundle falls outside the agreed span
A Volakas marble batch matching decision holds only while every bundle in the run sits inside the agreed tone span.
- Document the affected bundle against the reserved reference sample under the stated project lighting, with the bundle and slab IDs visible in every photograph.
- Isolate the bundle on a separate rack and remove it from the room allocation so it cannot be pulled into a repeat room by mistake.
- Escalate to the project for a written hold, replacement, or a narrower use, and release the bundle only once that decision is recorded.
Frequently Asked Questions
1. What is Volakas marble batch matching?
It is the controlled sorting and allocation of Volakas slabs and cut pieces by ground tone, vein direction, movement strength, block and bundle origin, room type, and dry-lay relationship before production and installation.
2. Why do Volakas marble slabs look different under hotel lighting?
Light color, angle, surrounding finishes, surface finish, and the marble’s natural undertones all affect the appearance. Review the selected range under stated lighting conditions and keep that evidence with the approval record.
3. Should all Volakas slabs have the same grey vein pattern?
No. Natural variation is expected. The project should define an acceptable tone span and place stronger or quieter pieces deliberately so each room and each visible transition reads coherently.
4. How does a dry-lay help with batch matching?
Dry-lay shows the panel sequence, joints, vein continuity, changes around cutouts, and transitions between areas before cutting or installation makes reassignment more difficult.
5. What should happen first if a batch mismatch is found on site?
Photograph the installed run with panel IDs, room information, and the stated lighting. Stop work on the affected sequence, then compare it with the approved slab, dry-lay, and drawing records before changing or replacing pieces.
Quick-Reference Checklist for Volakas Marble Batch Matching
- Sort full slabs by ground tone and vein strength before planning cuts.
- Mark visible faces and top directions on every allocated panel.
- Dry-lay each room type with its actual returns, niches, and transitions.
- Review the assembled run under the stated project lighting and a second controlled light.
- Record slab IDs, panel IDs, photographs, and allocation decisions.
- Hold any bundle that reads outside the agreed span before it repeats into the next room.
Final Conclusion
Batch matching is accepted only when the reserved reference sample, the room-by-room dry-lay record, and the installed lighting review all fall inside the agreed tone span.
Visual assessments must occur under representative site lighting. Full dry-lay inspections provide more reliable data than isolated sample photography.
References
- 마블, Wikipedia.
- Dimension Stone Design Manual, Natural Stone Institute.
- ASTM C503 Standard Specification for Marble Dimension Stone, ASTM International.
- ASTM C97 Test Methods for Absorption and Bulk Specific Gravity of Dimension Stone, ASTM International.
- Natural Stone Care and Maintenance, Natural Stone Institute.
- Architectural Stone Guidance, Stone Federation Great Britain.