

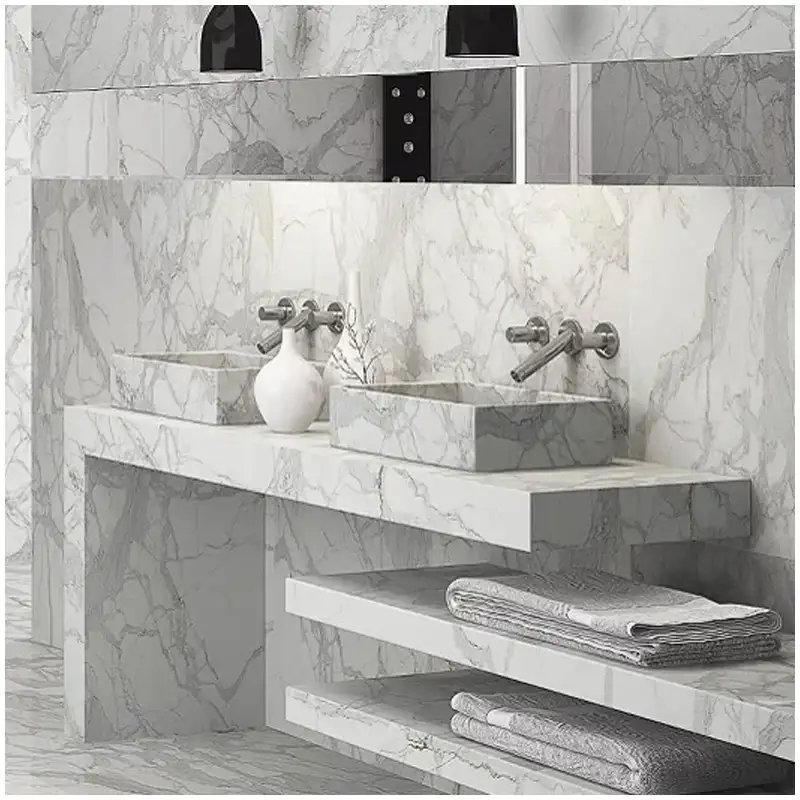
Calacatta Marble Corner Matching Where Two Beautiful Panels Can Still Disagree
Two panels sit side by side on the warehouse floor and the movement looks calm. Stand one panel upright as a return and the agreement disappears. The strong vein now ends at eye level, the second face begins with a yellow cloud, and side light turns the miter darker than either broad surface. I stop the layout there.
I handle Calacatta marble corner matching as a three-dimensional decision. The front wall, return wall, viewing direction, joint construction, exposed edge, finish, and lighting must be judged together. A flat photograph can support the review, but it cannot finish it. Lighting lies.
Start Calacatta Marble Corner Matching with a Visual Decision
Not every corner needs an uninterrupted vein. Sometimes a major branch should turn the corner and continue. Sometimes the main wall should finish cleanly while the return becomes quieter. Sometimes the corner itself acts as a deliberate break. The project team should choose that intention before the factory chases a match that the slab cannot provide.
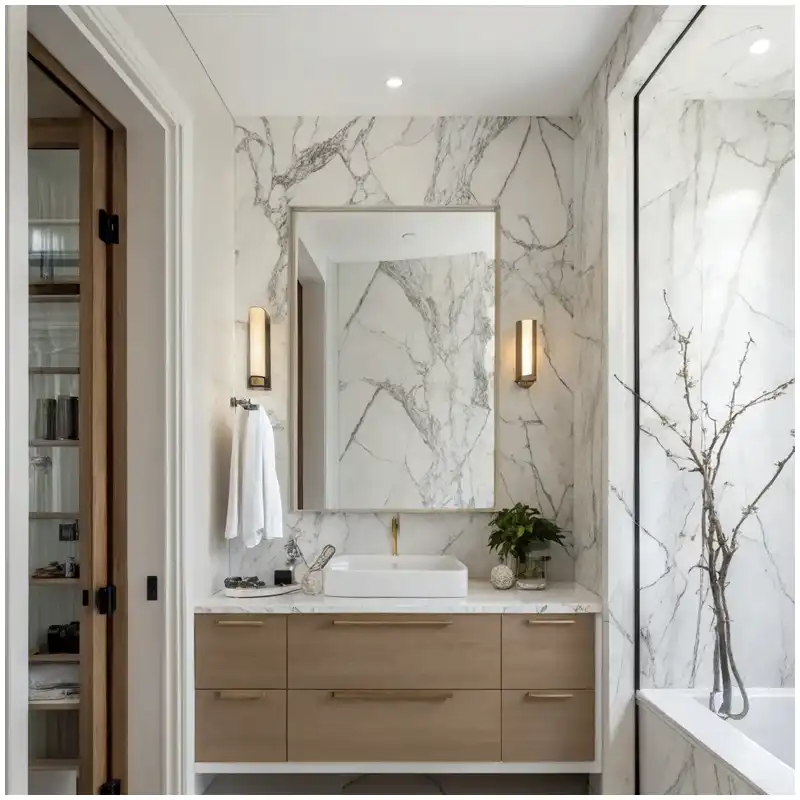
I begin with the normal viewing path. A shower corner seen through glass behaves differently from a lobby return approached from one side. A vanity backsplash corner may sit close to the eye. A tall feature wall may be read from across the room. The most important view controls which movement deserves continuity.
The material family changes the answer. Calacatta Statuario marble may carry crisp grey lines across a clearer field, so a broken transition can look abrupt. A warmer, more clouded face may tolerate a quieter turn. I still judge the actual slabs, not a name.
Voor Calacatta marble corner matching, scale matters. A vein that looks bold on a small screen can become a narrow accent on a tall wall. Conversely, one colored branch can dominate a short return. The dry-lay image needs a scale and the final elevation dimensions so the reviewer sees the real proportion.
| Corner decision | What the slab map must show | Warehouse proof | Common rejection reason |
|---|---|---|---|
| Continuous movement | Source areas, trim loss, turn direction and finished seam | Two faces assembled at the intended angle | The vein shifts after the miter allowance is removed |
| Controlled break | Main-wall ending and quiet return range | Front and return viewed from room entrance | The return starts with an unrelated dark patch |
| Exposed edge | Edge profile, thickness, backing and visible mineral change | Finished edge sample from representative stone | Edge color or resin differs from the face |
| Mitered corner | Cut line, build, seam, support and handling method | Full-size corner sample where risk warrants | A narrow tip chips or the seam reads too dark |
| Wet-area return | Slope, joints, penetrations and adjacent assembly | Corner under project light with joint sample | Water or sealant emphasizes the transition |
That table does not replace fabricator or installer judgment. Thickness, stone soundness, repairs, backing, panel size, support, substrate, fixing method, handling route, and applicable project requirements affect the construction. My acceptance record makes the visual standard clear while the responsible teams define the safe assembly.
Fix the Miter, Butt Joint, or Return before the Cut Map
A corner cannot be mapped accurately while its construction remains undecided. A miter removes material along both edges and changes where the face appears to meet. A butt joint leaves one edge or face dominant. A separate trim creates an intentional boundary. Each option changes yield and the visible transition.
With Calacatta marble corner matching, I ask for a section showing the finished corner, substrate or support interface, joint, edge treatment, and exposed thickness. A notation that says “miter” is not enough when the seam position, build-up, reinforcement, and finished arris remain unclear.
Miter tips need careful handling and installation. The responsible fabricator decides how to cut, reinforce, transport, and assemble the actual pieces. I check whether the selected face contains a repair or strong mineral change at the edge. A beautiful full face can produce a poor miter if the corner crosses the wrong zone.
Butt joints need equal honesty. One panel may cover the edge of another, so the visible widths differ. The preferred viewing direction often decides which face continues. I show that overlap on the elevation rather than allowing the installer to choose after unpacking.
De Calacatta Macchia Vecchia marble can carry layered warm movement that changes rapidly near an edge. That character may look expressive on a broad face and crowded on a narrow return. The corner sample needs material from the intended visual range.
Map Both Faces after Trim Loss, Openings, and Edge Work
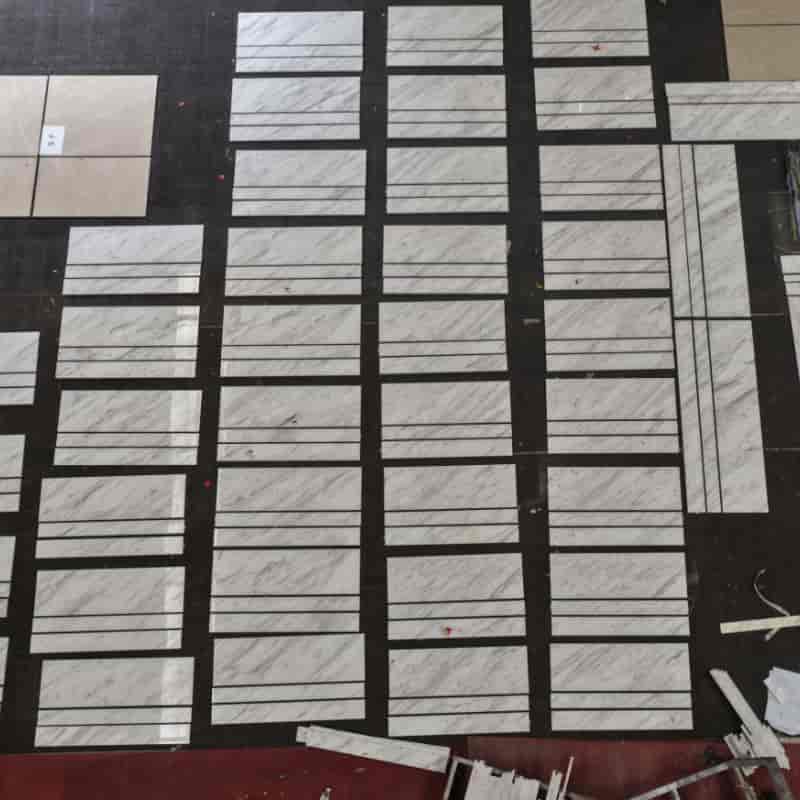
I overlay finished panel outlines on the full-slab images and include the material lost to saw cuts, edge preparation, miters, and final sizing. The vein relationship should be judged after those losses. Matching two raw rectangles at their untrimmed edges gives false confidence.
Voor Calacatta marble corner matching, every panel receives a source slab, piece ID, orientation arrow, finished dimensions, edge code, room location, and viewing face. The corner pair also receives a relationship note. That note might say continuous movement, quiet return, deliberate break, or approved contrast.
Openings can alter the pair. A niche, valve, switch, shelf, or vanity cutout may remove the part that visually connects the faces. I judge the corner after every opening is subtracted. That slab doesn’t belong next to your bathtub if the only reason it matches disappears into a cutout.
Reserve pieces should be mapped at the same time. A future replacement may need only one side of the corner, but an unrelated spare can make the repair more visible than the damage. I prefer a clearly identified reserve from the same range, with orientation and intended location recorded.
Calacatta Statuario vs Calacatta Gold under Real Bathroom Light helps decide whether a cooler crisp field or warmer gold movement belongs in the room. Corner planning begins after that choice and protects the selected character around the turn.
The Hard-Won Lesson: Trim Loss Can Remove the Match
Two slab images can be aligned at their raw edges until a gold branch appears to turn perfectly. Fabrication then removes the miter allowance, squares the pieces, and eases the finished arris. The branch no longer meets; one half sits above the other, and the seam becomes the most noticeable line on the wall.
The Lesson: Approve the corner from finished cut lines, never from untrimmed slab edges.
Dry-Lay the Corner in Three Dimensions and under Two Light Conditions
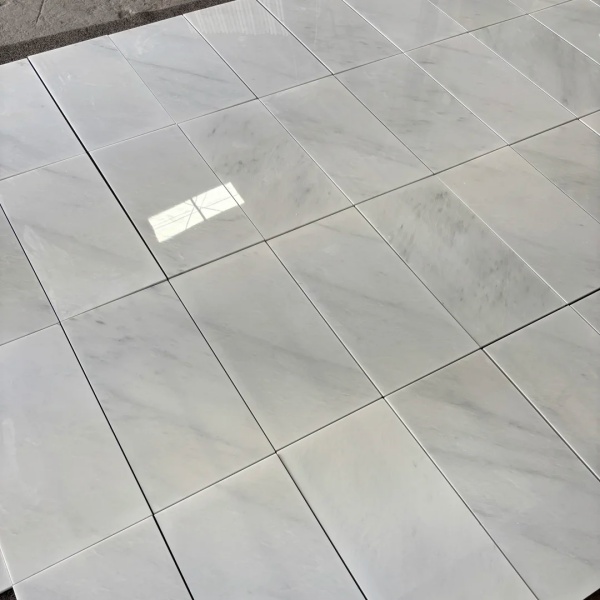
A flat dry-lay remains useful for checking sequence and overall range. It is not enough for the final corner. I want the pair raised or supported at the intended angle where practical. The reviewer should see the transition from the primary room approach and from close range.
I inspect Calacatta marble corner matching under a neutral working light and a light that approximates the installed bathroom or interior. A 3000K source can strengthen warm mineral areas. A 4000K source can make grey structure more obvious. Beam angle and side light may reveal edge resin, surface variation, or a dark seam.
Finish changes across the corner must be recorded. Two polished panels can reflect different parts of the room and appear unlike even when their stone range matches. Honed faces may show a local gloss difference at the miter after hand finishing. I inspect face and edge together.
The word bookmatching describes mirrored adjacent surfaces, but a corner does not automatically behave like a flat bookmatch. The angle, trim loss, edge construction, and viewing direction change the relationship. I use the term only when the actual opening and cut sequence support it.
Photographs include a straight overall view, the corner from the room approach, close views of the seam and edge, piece IDs, a scale, finish reference, and light notes. I reject beauty shots that hide the return behind perspective distortion.
The acceptance sheet for Calacatta marble corner matching should include a simple annotated corner sketch beside those photographs. I mark the main viewing face, return direction, top and bottom, seam location, edge code, and any approved visual break. That sketch survives resizing better than a long email and gives the installer one quick way to check orientation before lifting the panel.
I also photograph the backs where labels, reinforcement, or backing affect identification. A front face can be rotated accidentally when movement is clouded or nearly symmetrical. Back labels should remain readable without damaging the stone and should correspond exactly with the elevation, crate map, and packing list.
Carry the Approved Corner through Packing and Installation
The corner pair should remain identifiable after the dry-lay is dismantled. I repeat the piece IDs on the packing list, crate map, labels, and installation elevation. Direction arrows must refer to the installed view, not an unexplained factory orientation.

Voor Calacatta marble corner matching, protective packing cannot press directly on a fragile miter tip or finished exposed edge. The supplier and packer select supports and separators appropriate for the piece geometry and transport route. The visual pair should also be packed and documented so site teams can find it in sequence.
Installation begins by verifying the substrate, corner geometry, levels, panel IDs, and drawing revision. If the actual wall angle or build-up differs, the installer should not trim the feature edge casually. A site cut can remove the approved vein relationship and finish quality.
The parent Calacatta Marble Slabs: Complete Guide to Full-Slab Approval, Vein Layout, Batch Matching, and Project Selection controls the wider range. The corner record sits beneath it and tells the installer exactly how two selected faces meet.
After installation, I compare the corner under final light with the approval images. Natural stone will not become a printed pattern, but piece identity, orientation, finish, and intended relationship should agree. Any variation outside the approved range needs documentation before further panels hide the cause.
Decide Whether to Continue, Pause, or Break the Vein
Continue only when the finished cuts support it
A continuous turn works when the full faces, cut lines, edge construction, and wall proportions align. Do not force a connection by rotating a panel into an unnatural orientation or sacrificing the better broad face.
Pause the movement with a calm return
A quiet related piece can let the main wall remain dominant. The return still needs compatible undertone, finish, and scale. Quiet does not mean a random offcut with no relationship to the approved range.
Use an architectural break when continuity is unrealistic
A deliberate trim, reveal, or plane change can separate two faces honestly. The responsible designer defines that detail. It is better than promising invisible continuity that the available slabs and corner construction cannot achieve.
Stop when the site condition changes the approved geometry
If the corner does not match on site, first photograph both full faces, the piece IDs, seam, edge, and actual wall angle. Second, stop trimming or installing related pieces until the sequence is reviewed. Third, send the supplier the approved cut map, dry-lay photographs, packing record, and current site measurements for comparison.
Frequently Asked Questions
1. What does Calacatta marble corner matching require?
It requires a chosen visual intention, confirmed corner construction, full-slab mapping with finished cut lines, edge and finish approval, piece IDs, a three-dimensional dry-lay where practical, project-light review, packing traceability, and installation against the same revision.
2. Must a marble vein continue around every corner?
No. A controlled stop, quiet return, or deliberate architectural break may suit the room better. Continuity should be used when the actual slabs and finished cuts support it, not imposed as a rule on every natural face.
3. Is a mitered marble corner always less visible?
No. A well-made miter can create a solid appearance, but seam color, trim loss, edge resin, chipping, finish, light, and installation can make it conspicuous. Approve a representative construction and inspect the actual pair.
4. Can corner pieces be approved from photographs?
Photographs support traceability and remote review, but they should include straight full-face views, finished cut lines, piece IDs, scale, edge details, assembled angle where practical, and lighting notes. Cropped or perspective-heavy images cannot prove the complete relationship.
5. What should happen if the installed corner differs from the dry-lay?
Document the complete condition and piece IDs before altering it. Stop related work while the drawing revision, slab map, packing sequence, and site geometry are compared. The cause may be wrong orientation, swapped pieces, site trimming, wall variation, lighting, or an approval-record mismatch.
Quick-Reference Checklist for Corner Approval
- State whether the corner continues, pauses, or deliberately breaks the movement.
- Fix the miter, butt joint, trim, or return detail before mapping slabs.
- Draw finished cut lines and account for trim and edge loss.
- Assign source slab, piece ID, orientation, edge, room, and viewing face.
- Assemble the pair at the intended angle where practical.
- Inspect the transition under neutral and project-related light.
- Repeat the approved IDs on packing and installation records.
Final Conclusion
Calacatta marble corner bijpassend is not solved by placing two attractive rectangles beside each other. Decide what the corner should do, fix its construction, map finished cut lines on identifiable slabs, assemble the pair at the real angle, inspect it under relevant light, and preserve the IDs through packing. My release standard is direct: when the return changes the story, we review the corner again before Esta Stone lets either panel enter a crate.
References
- Dimension Stone Design Manual, Natural Stone Institute.
- Natural Stone Institute Stone Care Guide, Natural Stone Institute.
- ASTM C503 Standard Specification for Marble Dimension Stone, ASTM International.
- Natural Stone Tile Selection and Installation Guide, Stone Federation Great Britain.
- TCNA Handbook for Ceramic, Glass, and Stone Tile Installation, Tile Council of North America.
- ANSI A108/A118/A136.1 Installation Standards, Tile Council of North America.
- Natural Stone Slab Handling and Fabrication Safety Guidance, Natural Stone Institute.