How to Clean White Marble Bathrooms without Causing Etching or Haze
I rejected a bathroom-cleaning trial because the “clean” half looked whiter and duller than the untouched half. The crew liked the brighter color. I did not. Under a low 4000K lamp, the treated strip scattered light while the original polish reflected a clear line. The product had attacked the calcite surface. The dirt was gone, but so was part of the finish.
That is why bathroom care begins with a diagnosis, not confidence. A cloudy mark may be soap residue, hard-water deposit, grout haze or etching. A dark area may be wet stone, absorbed oil or a joint problem. Yellowing may come from metal, trapped moisture, adhesive, wax or another source. One cleaner cannot solve all of those conditions.
When a team asks how to clean white marble bathroom surfaces, I give them a boundary: remove routine soil with the least aggressive suitable method, then stop when the mark changes texture, persists after drying or returns from below. More chemistry is not more control.
Identify the White Marble before Cleaning
Start with the approved material and finish schedule. Is the surface polished, honed or textured? Is it a vanity top, wall panel, shower shelf or floor? Does it contain factory resin, local repair, mesh backing near an exposed edge or an applied treatment? Those facts affect what can be tested and where water can travel.

Do not rely on the label “white stone.” Engineered products, ceramic tile and marble do not share one care method. White marble is largely calcite and reacts with acids. A cleaner that works on another bathroom surface can leave a dull patch on marble within the same room.
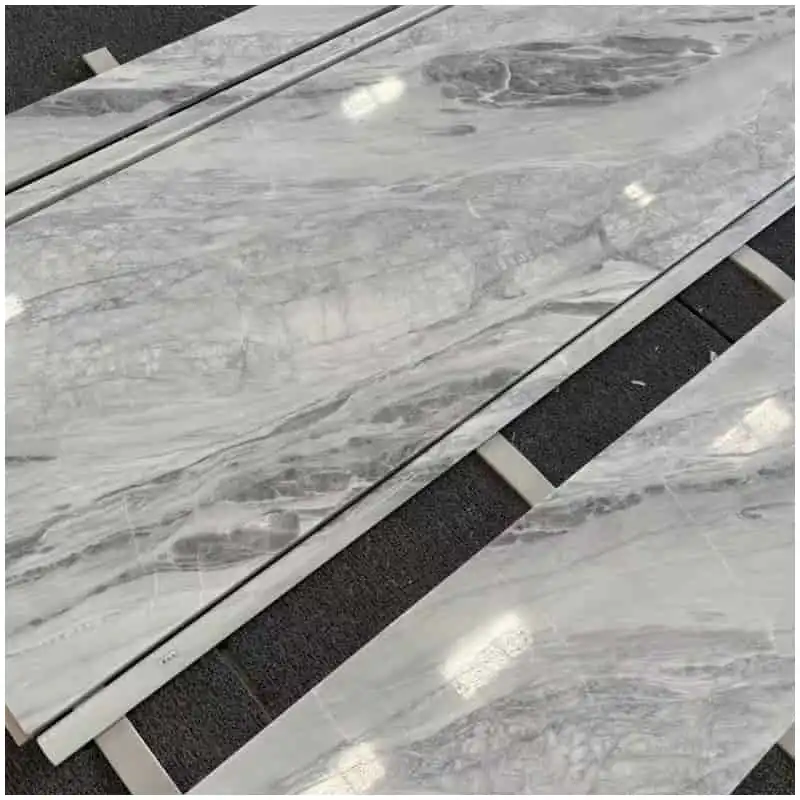
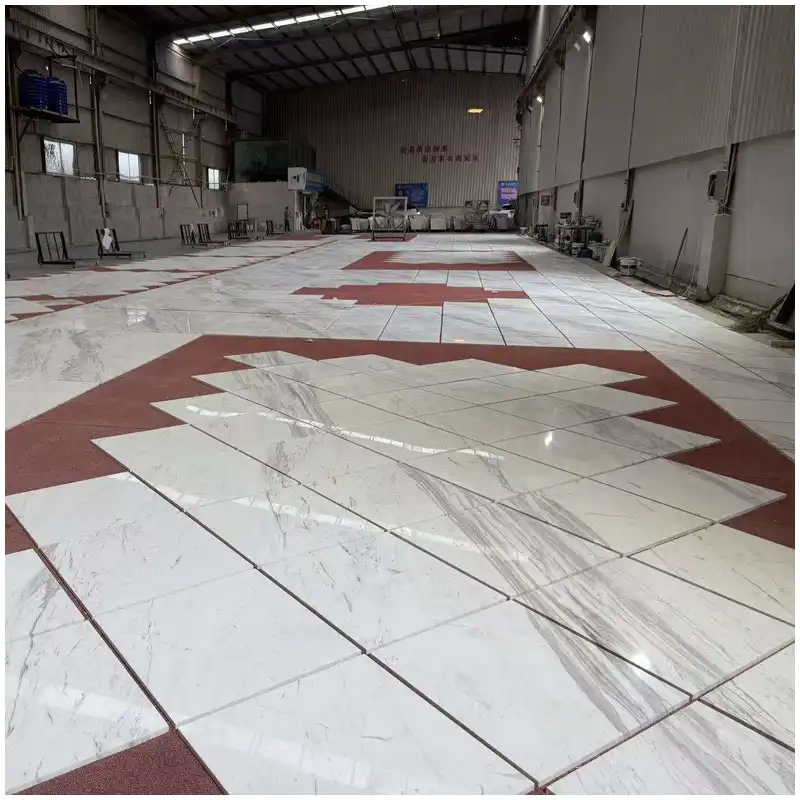
Para Sivec white marble, a broad pale field makes residue and uneven sheen easy to see. Stronger veining in another variety may distract the eye, but the chemical sensitivity remains. Material identity comes before appearance.
Don’t just look at samples. The same cleaner can appear acceptable on a small offcut while leaving lap marks across a long vanity or repeated hotel floor. Test on the actual finish and judge at installation scale.
How to Clean White Marble Bathroom Surfaces Every Day
A practical how to clean white marble bathroom routine removes loose grit first. Grit turns a soft cloth or mop into an abrasive. Use clean, non-scratching tools reserved for the marble area. Vacuum equipment and brushes must not have metal edges that can touch the stone.
Use a suitable cleaner according to current manufacturer and stone-care guidance. Measure dilution. More concentrate can leave residue or increase chemical exposure. Apply only as much liquid as the surface and joints can safely handle, then remove the soil and rinse when the instructions require it.
White marble bathroom cleaning also needs clean water management. Replace dirty solution before it redeposits grey soil into quiet white fields or grout lines. Separate floor equipment from vanity and wall tools. A mop used near metal thresholds can carry particles into another area.
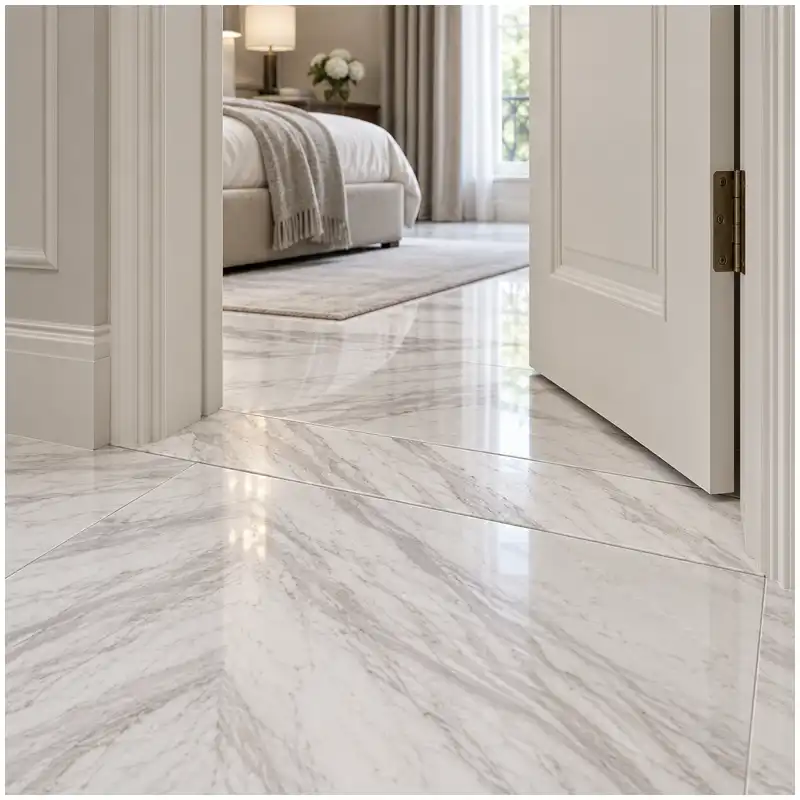
Dry the surface and inspect it after the temporary moisture darkening has cleared. A wet vanity may look evenly rich while a dried residue film appears patchy. Lighting lies, especially when a mirror fixture shines directly across polished stone.
Set frequencies by exposure, not habit
A hotel vanity used every day needs a different routine from a decorative wall. Floors near showers collect grit, body products and standing water. Shower shelves hold bottles that trap moisture beneath their bases. Define frequency by use, then adjust from inspection records.
A marble maintenance schedule should name the task, approved product, dilution, tool, water limit, drying step, inspector and escalation trigger. It should not say only “clean as required.” That phrase gives every shift a different standard.
How to Clean White Marble Bathroom Joints without Flooding Them
Water is not harmless simply because marble can be rinsed. Excess water can enter failed sealant joints, open grout, sink cutouts, unsealed edges or substrate defects. The resulting darkening may stay long after the face is dry.
Around a vanity basin, keep cloths from pushing dirty water beneath the rim or into faucet penetrations. Clean the joint, not through the joint. If sealant has separated, photograph it and schedule repair instead of flushing cleaner into the gap.
En White Marble Sealant Joint Staining record helps when discoloration follows the perimeter. Cleaner may soften surface soil, but it cannot correct incompatible sealant, migrating plasticizer, trapped moisture or contaminated backing material.
Shower niches deserve similar care. Water can remain beneath bottles or at the rear of a shelf. Remove items, clean with controlled moisture and dry the complete surface. Check slope and joint condition if water repeatedly pools.
Test a Marble Safe Cleaner before Broad Use
Any how to clean white marble bathroom product trial starts beyond the phrase “stone safe” on a label. Read the current technical and safety instructions. Confirm intended stone, dilution, contact time, rinsing, ventilation, personal protection, prohibited combinations and storage.
Choose a small, representative test area. Record the stone, finish, product, batch, dilution, tool, dwell, rinse, drying time and light. Compare the treated area with an untreated control after both are dry. Check color, sheen, texture and residue.
A marble safe cleaner should do its assigned cleaning job without creating an unacceptable change under project conditions. That does not mean it can treat every mark. Approval for daily soil does not authorize concentrated use on a stain.
Never mix products unless the manufacturers explicitly provide a safe procedure. Mixing can create dangerous reactions or leave difficult residues. Also keep acidic toilet, glass or scale cleaners from overspray onto nearby marble.
Know When a Mark Is Not Routine Soil
A reliable how to clean white marble bathroom decision includes a dry inspection. Does the color remain different without a texture change? Does the surface feel rough or reflect light differently? Does the mark grow after water use? Does it follow a metal fitting, joint, grout line, adhesive bed or repaired area?
Bathroom marble stains need source classification before treatment. Organic discoloration, oil, metal, dye and moisture do not share one remedy. The White Marble Poultice Testing before Full Stain Treatment procedure begins with a test patch and complete drying rather than treating the whole bathroom.
Etching changes texture. A pale splash from an acidic product may not respond to more cleaning because the residue has already gone. The White Marble Refinishing: When Cleaning Is No Longer the Answer decision process separates finish correction from stain removal.
Grout haze sits on or near the surface after installation. The wrong remover can damage marble. The White Marble Grout Haze inspection route identifies residue and protects the finish before broad cleaning.
Use a Cleaning and Escalation Table
| Condition after drying | What to verify | Controlled next step | Stop trigger |
|---|---|---|---|
| Loose dust or ordinary soil | Tool cleanliness and approved dilution | Routine clean, rinse if required, dry | Sheen or texture changes |
| Cloudy surface film | Cleaner, grout or sealer residue | Small compatibility test | Film spreads or marble dulls |
| Dull splash with rough feel | Etching under raking light | Restoration assessment | Do not increase cleaner strength |
| Persistent color, stable texture | Stain source and depth | Specialist stain test | Source remains active |
| Darkness returns after shower use | Joint, slope and moisture path | Stop source and monitor drying | Do not seal over wet stone |
| Yellow or brown mark by metal | Metal source and water route | Document and obtain treatment advice | Avoid blind bleach or acid use |
The Hard-Won Lesson: A Brighter Patch Can Be Damaged Marble
A sample panel was cleaned with an unapproved bathroom product and returned with a bright white rectangle. Under diffuse light, the rectangle looked cleaner. Under raking light, its polish had disappeared and its boundary matched the cloth strokes. The team had removed both residue and part of the finish. The panel became a cleaner test reference, not an approved cleaning result.
The Lesson: Approve cleaning by dry color, sheen and texture together; brightness alone proves nothing.
How to Clean White Marble Bathroom Floors, Vanities, and Walls
Floors receive grit and standing water. Remove loose particles before wet cleaning, use suitable tools and keep dirty solution moving away from the clean area. Check that the method does not leave a slippery film. Cleaning cannot repair lippage, hollow areas, movement joints or failed slope.
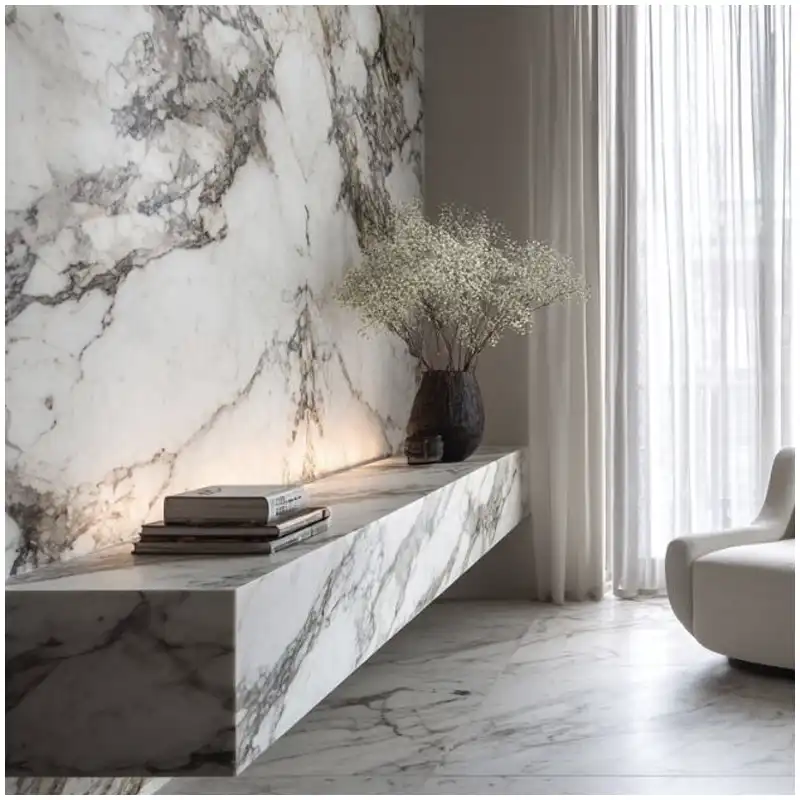
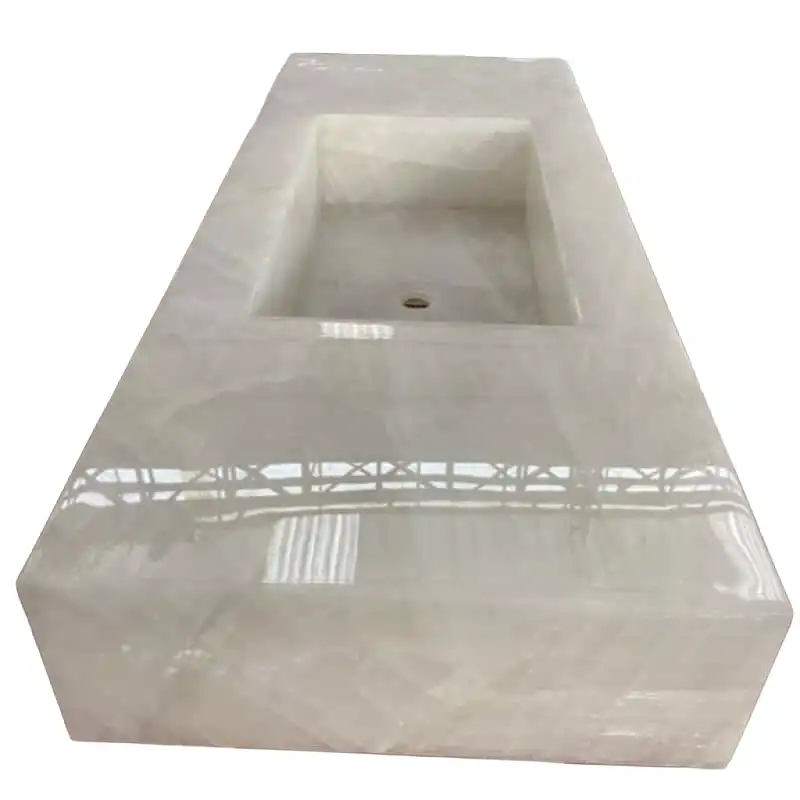
A Calacatta Gold marble vanity top receives cosmetics, soaps, toothpaste, metal containers and heat from appliances. Blot spills promptly according to the care plan. Do not scrape dried material with a metal blade. Pay attention to faucet bases, basin rims and backsplash joints where residue and water collect.
Walls hold less grit but reveal streaks under side light. Work in manageable sections and control runoff into joints, fixtures and the floor. For Statuario white marble, retain the original lighting record so maintenance can distinguish natural tone and vein movement from new surface haze.
A polished wall and honed floor in the same room need separate references. The goal is not identical reflection. It is consistency within each approved finish.
Protect the Stone from Bathroom Chemicals
Store toilet cleaners, descalers and acidic products away from marble surfaces. A leaking cap can etch a shelf before the next cleaning round. Train staff to spray a cloth where appropriate instead of creating overspray across nearby stone.
Hair dye, colored cosmetics and oils need prompt response according to the approved care method. Blot rather than spread. Photograph a persistent mark before treatment so the specialist can see its original boundary and likely source.
The marble face does not become acid-proof after sealing. Sealer may reduce absorption when suitable, but it does not stop the calcite reaction that creates etching. Maintenance training must keep those two risks separate.
Check cleaning cloths and buckets too. A cloth contaminated with metal polish, glass cleaner or another chemical can transfer it to the stone. Color-coded tools help only when the storage and washing system preserves the separation.
Record Changes before They Become a Room-Wide Dispute
A written how to clean white marble bathroom record includes room, area, stone, finish, date, product, dilution, tool, operator, observed condition, action and dry result. For repeated hotel bathrooms, photographs from the same angle can reveal whether a problem follows one room type, one cleaning shift or one material batch.
Do not use automatic phone enhancement for color evidence. Include a neutral reference where appropriate and keep the original image. Compare under the actual 3000K or 4000K lighting specified for inspection.
If one room shows a new issue, check representative rooms before treating all of them. A common mark may point to a shared cleaner or installation detail. An isolated mark may relate to local use. Batch action needs batch evidence.
Escalate a problem without erasing it
First photograph the dry area, surrounding surface, joint and likely source. Second, stop stronger cleaning and keep installation or repair work away from the location. Third, send the supplier and restoration specialist the material record, cleaning log and original images. Do not polish, seal or recolor the area before they compare the evidence.
Frequently Asked Questions
1. How to clean white marble bathroom surfaces every day?
Remove grit with clean non-scratching tools, use a suitable stone cleaner at the approved dilution, control water around joints, rinse when required, dry the surface and inspect the result. Keep acidic bathroom products away from the marble.
2. Can vinegar remove hard-water marks from white marble?
Do not use vinegar on marble. Its acidity can etch the calcite surface. A hard-water or residue complaint needs identification and a small compatible treatment test rather than an acidic household remedy.
3. Why does white marble look darker after cleaning?
Water can temporarily darken porous stone, especially near open edges or joints. Allow the area to dry under recorded conditions. If darkness persists or returns after use, investigate the moisture path instead of sealing or repeatedly cleaning it.
4. Does sealer stop white marble from etching?
No. A suitable impregnating sealer may reduce absorption, but it does not prevent acid from reacting with calcite. Etching prevention depends on product control, prompt spill response and the approved maintenance routine.
5. What should happen first when a cleaner damages the finish?
Photograph the dry area under room and raking light, stop using the product, and preserve the bottle, dilution record and untreated control. Send those records to the supplier and a qualified restoration specialist before attempting another treatment.
Quick-Reference Bathroom Cleaning Check
- Confirm the actual marble and finish before selecting a cleaner.
- Remove grit before adding water or moving a cloth across the face.
- Measure dilution and use clean tools reserved for the marble area.
- Keep acidic and unknown products away from every stone surface.
- Dry the test area before judging tone, sheen or treatment success.
- Stop when a mark changes texture, returns from below or follows a joint.
- Record the original condition before specialist treatment begins.
Final Conclusion
Learning how to clean white marble bathroom surfaces means knowing when routine care must stop. Confirm the material, remove grit, use a tested cleaner, control water, dry before judging and classify any persistent mark. I would rather pause one cleaning shift for evidence than let Esta Stone approve a bright patch whose polish has quietly disappeared.
References
- Natural Mármol Stone Care and Cleaning Guidance, Natural Stone Institute.
- Poultices and Stain Removal Guidance, Natural Stone Institute.
- Dimension Stone Design Manual, Natural Stone Institute.
- ASTM C503 Standard Specification for Marble Dimension Stone, ASTM International.
- Guide to Best Practice on the Cleaning of Internal and External Masonry Surfaces, Stone Federation Great Britain.
- Natural Stone Installation in Bathrooms, Shower Enclosures and Wet Rooms, Stone Federation Great Britain.
- TCNA Handbook for Ceramic, Glass, and Stone Tile Installation, Tile Council of North America.